You picked up a pencil to sketch a flower, and that same afternoon, a client asked for a sleeve. Mapping designs to body flow, designing in stages, and planning for aging aren’t talents you’re born with. They’re skills you build.
You’ll need three specific techniques to make tattoos that fit skin, not just paper.
Map Tattoo Designs to Body Flow and Curves
To map tattoo designs effectively, you’ll need to begin with the body itself, not the paper. A good tattoo artist always considers how a tattoo design flows with the human body, rather than forcing straight lines that fight natural movement.
Follow the Body’s Natural Curves
You’ll shape your drawing around muscles using organic, curved S-lines. This approach ensures your custom tattoo moves with the client, staying visually pleasing even if line work or shading techniques aren’t perfectly executed during practice tattooing.
Shape your drawing around muscles with organic, curved S-lines so your tattoo moves naturally with the body.
Account for 3D Structure
Paper placement differs from real anatomy. You’ll map the design onto limb and bone structure, especially tricky areas like elbows or shin bones, to prevent stretching that distorts the artwork.
Use a Structured Workflow
- Gather image reference
- Create tracing/overlay
- Outline the exact body part
- Add a dotted “wrap zone” for backgrounds
- Draw the design within those boundaries
Most tattoo artwork stays long and skinny because that format supports proper shape fitting when wrapping around any body part.
Recommended Products

Phomemo Tattoo Transfer Paper kit - Paper size: 8.27 in x 11.69 in (210 x 297 mm), Quantity: 1 Box, 100 Sheets in the box, Color: Blue. Phomemo Tattoo Transfer Paper is ideal for tattoo enthusiasts, artists and professional tattoo artists, offering reliability and consistency in tattoo stencil creation

Precision Transfers & Long Lasting: Tattoo stencil paper delivers vibrant, high-definition transfers even for intricate designs. Creates crisp, dark lines that transfer cleanly to skin (clearly on different skin tones) which are easy to follow during tattooing. The carbon layer made from high-quality dyes ensures sharp outlines without smudging or fading and maintains crisp lines visibility throughout long tattoo sessions, so you can focus on creating art instead of re-drawing lines

4-layer Design: The 4-layer design ensures a crisp, clean transfer with sharp lines and fine details. Each layer has a specific function — such as holding the stencil ink, releasing it evenly, and protecting the tattoo paper during storage — which minimizes smudging, prevents distortion, and makes application easier on different skin surfaces.
Design in Stages: From Basic Shapes to Clean Lines
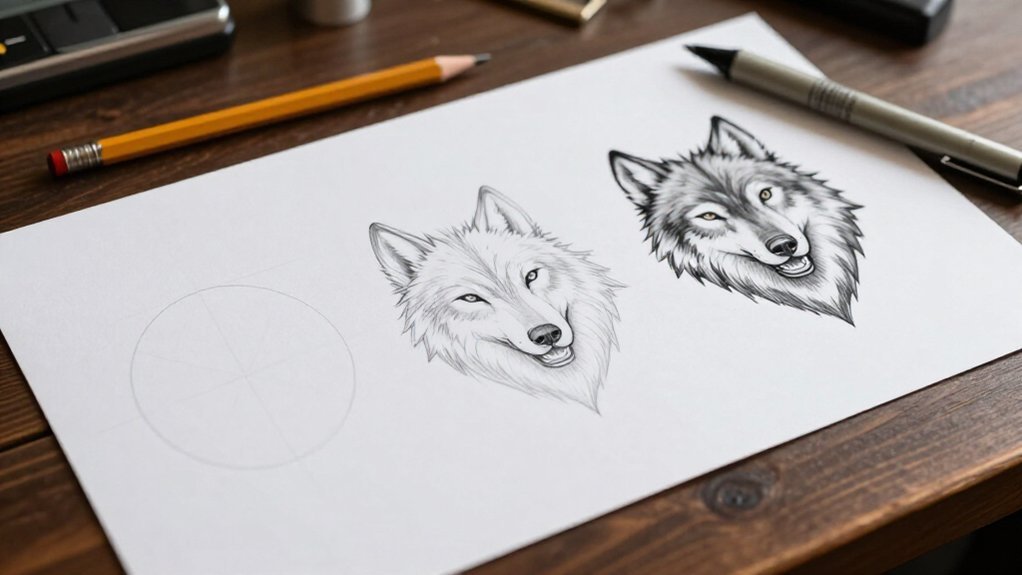
Professional tattoo work demands a layered approach, so you’ll build your design in deliberate stages rather than rushing toward a finished piece. When you design in stages, you start with a rough layout using red pencil for basic shapes and composition only. This saves time, since you won’t erase entire drawings when proportions shift.
Start drawing with blue pencil to refine details once your foundation feels solid. Practice drawing straight lines with light pressure before committing to ink. Finish with black pen for your clean outline, keeping line thickness even.
It’s a good idea to map stencil-ready elements separately from freehand details. For aspiring tattoo artists, simple designs build tattoo drawing skills faster than complex pieces. You’ll develop confidence through repetition, not perfection on the first try.
Recommended Products
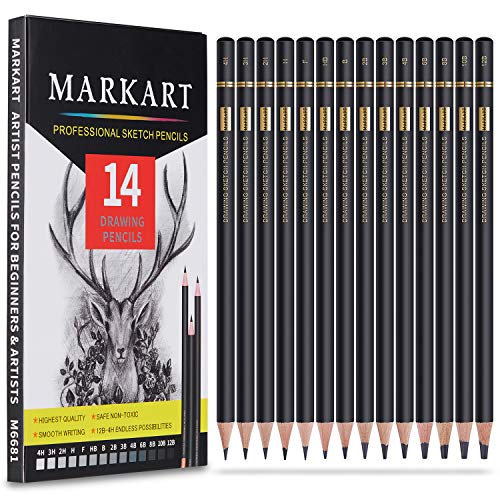
PREMIUM DRAWING SKETCH PENCIL SET - A wide variety of hardness for all your artwork needs. Includes 14 pre sharpened professional quality graphite pencils (12B 10B 8B 6B 4B 3B 2B B HB F H 2H 3H 4H).

Made in the use

Design for Longevity: Spacing, Shading, and Aging Prevention
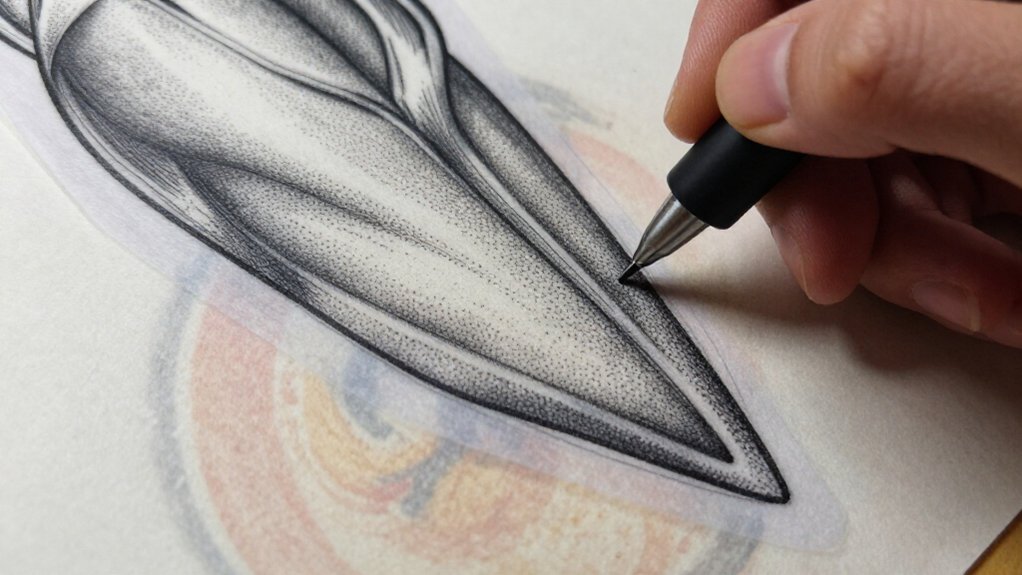
Although you’re creating art for today, you’re really designing for skin that will change over decades. You must design for longevity by anticipating ink spread, where tattoo lines thicken and drift together, sometimes within five years.
1. Build in spacing from the start. You’ll prevent fine details from merging into blurry masses. Practice drawing exercises that train your eye to leave adequate gaps between elements.
2. Plan your shading carefully. Design pieces you can execute with 7-mag needle shading; if you can’t, blur risk increases materially over time.
3. Choose tattoo placement wisely. Shoulders withstand aging better than stretch-prone areas like the abdomen.
4. Prioritize sun protection. Advise clients to position tattoos where clothing shields them, preserving line definition for years.
Your aging prevention strategy starts now, not later.
Recommended Products

Premium Quality 1.5mm Silicone Material – Crafted from premium 1.5mm thick silicone, this tattoo skin offers a true-to-life feel with excellent durability and a smooth surface for effortless needle movement during practice.

Clean, Flawless Transfers: Your artwork will look so clean once transferred to the skin with the Stencil Stuff gel! Gentle on the skin, Stencil Stuff transfer solution helps you achieve clear and sharp tattoo stencil transfers every time!

▶ Henna Tattoo Kit: 16 sheets tattoo stencils. airbrush tattoo stencils suitable for tattoo lovers. Experience the effects of tattooing without the pain of tattooing.