


Becoming a tattoo artist is like learning to play an instrument: your hands must know the notes before your mind catches up.
You’ll need to master drawing for the body, choose your training path, and survive the long hours that separate hobbyists from professionals.
The road is steep, but the blueprint exists.
Here’s how you walk it, step by step.
Start With Drawing Skills That Fit the Body
Before you ever touch a tattoo machine, you need to train your hands to draw for skin, not paper. Start by sketching tattoo designs on proportions that match the body. Most areas read as long ovals, so you must stretch and wrap your shapes correctly over curves.
Map First, Detail Later
Lay out your idea’s flow before adding details. Focus on how muscles sit, so your design motion follows the body’s natural S-shaped muscle lines.
Build Your Foundation
Study American Traditional style. Its bold forms and clear silhouettes translate well to different skin shapes and body placements, which helps you master becoming a tattoo artist.
Practice Multiple Placements
Re-sketch the same concept in different spots. You’ll learn how line weight, spacing, and curvature change with anatomy.
Draw clean structure first, then refine details so your work stays readable on skin.
Recommended Products

PRACTICE SKIN BOOK DESIGN – NO MORE LOOSE SHEETS Unlike ordinary loose fake skin sheets, NEDPAIN combines 10 silicone tattoo practice skins into a portable flip-book design with a durable hardcover and separator sheet. Stay organized, practice anywhere, and keep your designs neatly protected.

【Professional-Grade Practice Skin】Crafted with 3mm premium silicone, POSEIDON’s tattoo practice skins mimic real skin texture with flexibility and durability. The 5.9"x7.8" sheets resist tearing, hold ink like human skin, and are easy to clean—simply wipe with soap and paper during or after practice. Perfect for mastering shading, lining, and microblading techniques.

VALUE PACKAGE - The 20Pcs Tattoo Practice Skins 3MM with Transfer Paper Kit includes 15Pcs 11*8.5 inch Stencil Paper and 5Pcs 7.5*5.6 inch Double Sided Thick Blank Tattoo Fake Skin 3MM. The best combination of tattoo skin and tracing paper to help you save time and get a great deal.
Choose Your Path: Apprenticeship, Self-Taught, or Online Program
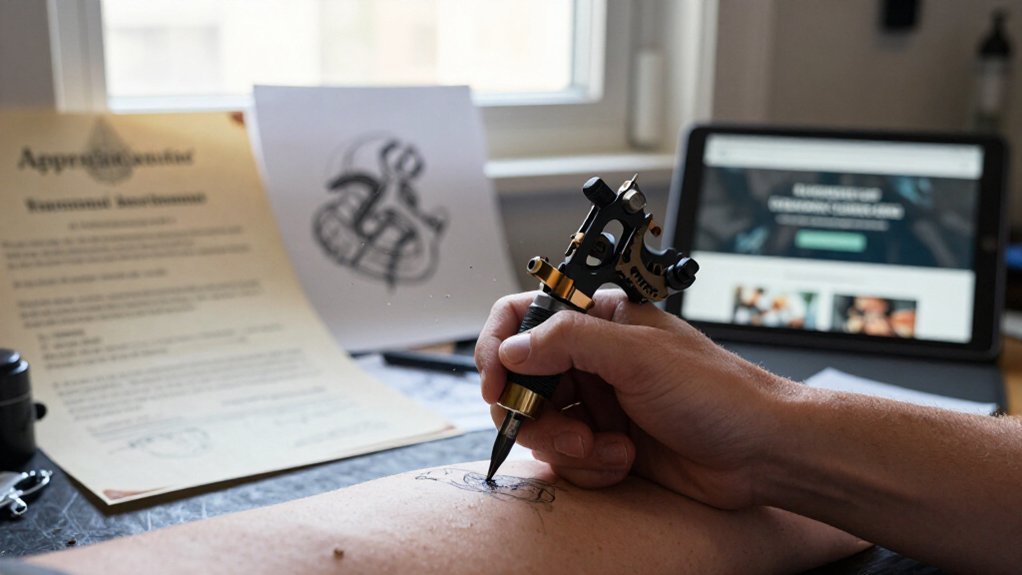
You can pursue tattooing through three main routes, each carrying distinct trade-offs in time, money, and structure. An apprenticeship offers hands-on mentorship but often demands 2–4 years of unpaid work and limited machine access until year two. Self-teaching through books and videos gives you freedom yet risks learning unsafe techniques without proper BBP certification. Online programs split the difference, delivering structured modules with instructor feedback so you progress at your own pace without the overwhelm of endless, unvetted content.
Apprenticeship Path Overview
Starting out as a tattoo artist means weighing three distinct routes, each with its own timeline, costs, and trade-offs.
1. The Apprenticeship Path Overview
You commit to a traditional 2, 4 year mentor-led apprenticeship, often unpaid, with limited machine access until year two. You build a portfolio first: gather 10–15 completed tattoo designs in a professional folder with sleeves. This proves dedication to potential mentors.
You clean shop floors, observe sterile setup practices, and study bloodborne pathogen precautions daily. Most states require BBP certification for legal practice, so you complete this training early. Your mentor gradually introduces lining, packing, and shading on practice skin before you touch clients.
Patience matters here. You trade speed for credibility, industry connections, and structured feedback that self-directed learning rarely matches.
Self-Taught Route Basics
Because an apprenticeship doesn’t fit every schedule or location, you can teach yourself, though you’ll trade structure for flexibility and full responsibility for your own safety training.
Self-Taught Route Basics
- Understand the timeline difference. Apprenticeships usually take 2–4 years, often unpaid. Your self-taught timeline varies, but you’ll need serious, dedicated practice plus a strong finished portfolio.
- Build original designs. Use your own sketching and tattoo-style references. Fit designs to body shape: long ovals, natural S-curve muscle flow. Never copy another artist’s work.
- Get certified first. Before tattooing anyone, complete bloodborne pathogens certification. Most states require this for legal practice. OSHA-approved training, such as Red Cross courses, meets this need.
- Practice safely. Master lining, packing solid color, and shading transitions on pencil setups and thick practice skin (2mm+, like Skinz, Pound of Flesh, or Reelskin) before touching human skin.
Online Program Benefits
Online programs offer a middle path between the rigid timeline of a traditional apprenticeship and the isolation of teaching yourself. You’ll find structured learning that breaks tattoo fundamentals into modular lessons, often with feedback and community support built in.
Key Online Program Benefits
- Faster skill acquisition. A 9-module approach lets you master lining, packing, and shading at your own pace, without the 2–4 year unpaid commitment of traditional apprenticeships.
- Built-in guidance. You receive critiques on your work, helping you build a polished portfolio of 10–15 finished pieces.
- Safer progression. Quality programs emphasize BBP training and sterile habits before you touch skin.
This route can shorten what you need to become job-ready, blending flexibility with professional structure.
What Tattoo Apprenticeships Actually Cost (Money and Time)
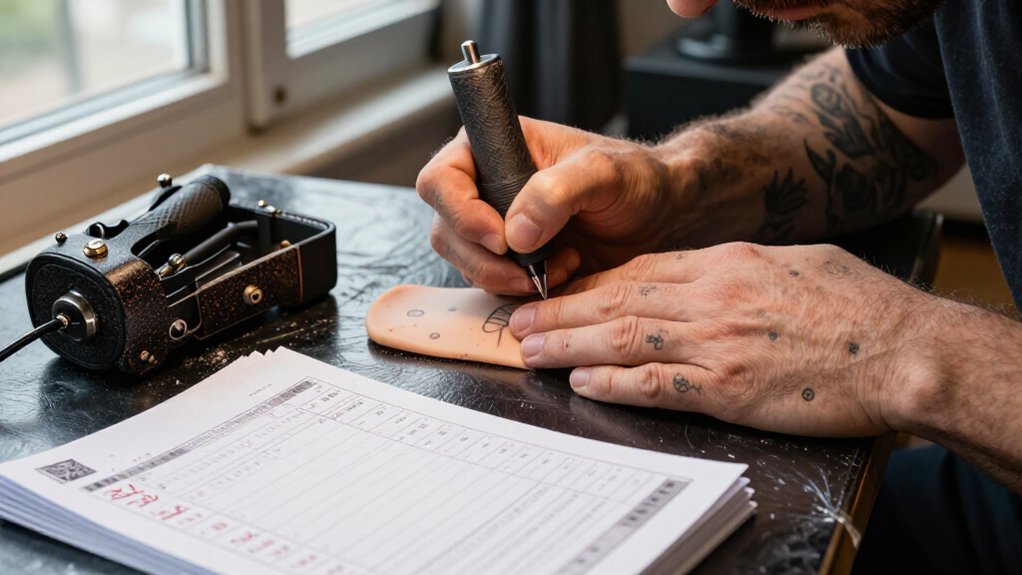
Before you commit to a tattoo apprenticeship, you need to understand what you’re actually signing up for in relation to money, time, and lost income.
1. Time Commitment
Tattoo apprenticeships typically span 2 to 4 years. Most are unpaid or low-paid, so you’ll likely work another job simultaneously. You won’t touch machines until roughly year two; early months involve cleaning, errands, sanitation, and observation.
2. Direct Costs
If you pay your mentor, expect $5,000 to $10,000. Some apprenticeships charge nothing but demand full-time shop labor instead.
3. Hidden Costs
Calculate your lost wages. One year of minimum wage work equals about $15,080. “Free” training carries real financial weight.
4. Licensing Reality
Most states require you complete tattoo apprenticeships before you can apply. You Need a License to work legally, making this step unavoidable regardless of expense.
Recommended Products

Complete Starter Tattoo Kit: Includes an aluminum alloy rotary tattoo pen, power supply, foot pedal, RCA cord, 20 cartridge needles, 8 bottles of 30ml ink, 2 transfer papers, practice skin, 40 ink caps, grip cover, gloves

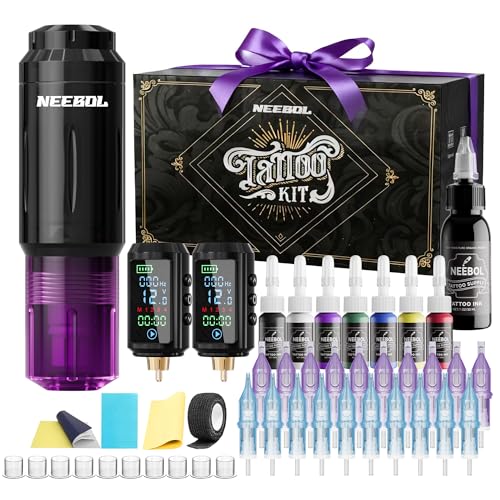
NEEBOL Tattoo Machine Kit with Complete Accessories:This tattoo machine kit includes 1 wireless tattoo gun, 2 x 1600mAh batteries, 20 needles, a large bottle off black ink, a full color ink set, and other essentials—ideal for beginners, apprentices, and professionals seeking a maquina para tatuar.
Protect Yourself From Exploitative Apprenticeships
Although tattoo apprenticeships can launch your career, they can also trap you in exploitative situations if you don’t know what to watch for. You must research apprenticeships in advance, and you should ask directly about pay or stipend, since many traditional tattoo apprenticeships are unpaid and can require full-time “slave work” rather than structured tattoo training.
To protect yourself from exploitative apprenticeships, watch for these red flags:
- Hazing or abuse from shop staff
- Progress stalled for months without cause
- Restricted machine access without a clear learning plan
You should set boundaries early, and you must request a written training progression. Don’t just clean without mentorship. If behavior turns unsafe or abusive, don’t wait it out. Leave when progress stops or harm occurs.
Arrive prepared with sanitation knowledge, like BBP/OSHA standards, plus a growing portfolio, so you can evaluate whether the mentor teaches or exploits you.
Practice Lining, Packing, and Shading Before Real Skin
You’ll master three core practice skills, lining, packing, and shading, before touching real skin. For ink packing technique, you’ll use small oval motions with a 15 curved magnum (1215RM) on larger areas, or a 9 round shader (1209RS) on tighter spots, building solid, consistent color.
Your shading progression steps start with whip shading: touch the needle down at your linework, then swing outward using black ink and that same 15 curved magnum, creating smooth gradients through controlled, repeatable motion.
Core Practice Skills
Once you’ve assembled your machine and workspace, it’s time to develop the three foundational skills every tattoo artist needs: lining, packing, and shading. These core practice skills form your technical base, and even a highly skilled tattoo artist might return to drills to maintain precision.
1. Master Your Setup
You use a round liner (RL) for lining, producing straight, even lines with consistent depth and minimal wobble. You build solid ink packing with controlled, small oval motions, using a 15 curved magnum (1215RM) for larger areas and a 9 round shader (1209RS) for smaller ones. You train shading with whip shading, touching down at the linework, then swinging the needle out and away.
2. Practice Properly
You work on practice skin, 2mm+ thick, with black ink, gloves, and proper cleaning.
3. Know When You’re Ready
You progress to real people only when you execute all three skills without blowouts or patchy saturation.
Ink Packing Technique
Before you touch real skin, you’ll spend hours building muscle memory for ink packing, the skill that separates patchy tattoos from solid, vibrant work.
1. Master the Ink Packing Technique
You’ll practice “filling” solid color using small oval motions to deposit consistent ink without overworking spots. Use a 15 curved magnum (1215RM) for larger areas and a 9 round shader (1209RS) for smaller sections. This teaches how needle choice affects coverage.
2. Build Proper Habits
Work on tattoo machine-friendly practice skin that’s 2mm+ thick, such as Skinz, Pound of Flesh, or Reelskin. Treat every session with client-like sanitation: wash, gloves, proper wrap, and needle setup.
You’ll gain practical experience while training your hands to move automatically, so solid packing becomes second nature before real clients.
Shading Progression Steps
After you’ve built confidence with lining and packing, you’re ready to tackle shading, the technique that gives tattoos depth and dimension.
You start with whip shading, touching the needle down right at your linework, then swinging out and away to build smooth gradients. Use a 15 curved magnum (1215RM) and black ink, focusing on transitions rather than harsh contrast.
Practice on thick fake skin, about 2mm or more, like Skinz, Pound of Flesh, or Reelskin. Treat this like a client environment to learn control and consistency before real skin.
Shading Progression Steps for Tattoo Artists:
- Master lining and packing first, so each skill reinforces the last.
- Practice whip shading with smooth, controlled motions for even gradients.
- Work on fake skin that mimics real conditions, building confidence gradually.
Get Your Bloodborne Pathogens Certification
You’ll need to complete an OSHA-approved Bloodborne Pathogens (BBP) training course, which teaches you how to safely handle blood and bodily fluids, before you can legally tattoo clients in most states. A bloodborne pathogens certification proves you understand infection control, and becoming a tattoo artist requires this credential in nearly every jurisdiction.
OSHA-approved Bloodborne Pathogens training is legally required before you can tattoo clients in most states, proving your competency in infection control and safe handling of blood and bodily fluids.
Complete Your Training
Take your BBP course online through providers like the American Red Cross, or find local OSHA-approved options. Most courses take 1-2 hours and cost $20-$50.
Meet Additional Requirements
Check your state’s specific rules. Many jurisdictions require Hepatitis B vaccination proof or a signed declination letter. Some areas also mandate CPR/First Aid certification.
Maintain Your Documentation
Keep your certificate accessible for license applications, apprenticeships, or job onboarding. Renew every one to three years as required.
Buy Your First Tattoo Machine Without Overspending
Once you’ve secured your certification, you’re ready to invest in equipment, but it’s easy to overspend before you understand what you actually need. Start with a starter bundle including machine, power supply, and essential grips, which keeps costs around $250 rather than paying premium prices twice on separate purchases.
Spend wisely on these priorities:
- Bundle over piecemeal: You’ll save money and avoid mismatched components.
- Sanitation first: Buy EO gas-sterilized needles, gloves, and machine wrap before upgrading hardware.
- Versatile needles: Start with round liner and round shader needles to practice lining and packing on one machine.
Choose reliable brands with available parts and good resale value. Set a firm budget cap, master lining and shading on your starter setup, and you’ll build skills essential for becoming a professional tattoo artist capable of delivering every successful tattoo.
Recommended Products

Safe and Healthy: Our tattoo transfer gel meets strict safety and non-toxic material standards, non-irritating to the skin and vegan-friendly. Maintains client comfort while achieving clear tattoo stencil transfers.

Clean, Flawless Transfers: Your artwork will look so clean once transferred to the skin with the Stencil Stuff gel! Gentle on the skin, Stencil Stuff transfer solution helps you achieve clear and sharp tattoo stencil transfers every time!

🛡️ SAFE AND GENTLE FORMULA - Our tattoo goo is made from skin-friendly, plant-based ingredients that are non-toxic and non-irritating, ensuring gentle use on all skin types during stencil transfer.
Get Licensed: State Tattoo Requirements Explained
Navigate your state’s licensing requirements early, since you can’t legally tattoo without proper authorization regardless of your skill level. You must get licensed, and you’ll need BBP certification, which proves you understand bloodborne pathogen safety.
Start early—state licensing is mandatory, and BBP certification is non-negotiable for legal tattooing.
1. Gather Your Core Documents
Most states require proof of training or experience plus a Bloodborne Pathogens (BBP) certification. You’ll also likely need a Hepatitis B vaccination record or an approved declination letter.
2. Know Your State’s Rules
- Texas: You need training proof, work experience, and a BBP certificate. A personal artist license may not be required, but studio authorization typically is.
- California: You must be at least 18, submit an application to the Environmental Health Division, and provide a California- or OSHA-compliant BBP certificate.
3. Check for Additional Requirements
Depending on your location, you may need CPR and First Aid credentials to meet state-specific health and safety rules.
Get Hired at Your First Shop and Find Initial Clients
After you’ve secured your license and BBP certification, it’s time to walk into shops with your materials ready. You carry a portfolio of 10–15 finished designs in protective sleeves, plus your BBP certification and state paperwork. You ask in person, you show your documents, and you wait for them to review your clean technique and portfolio quality.
To get hired at your first shop, remember that volume matters less than polish. You focus on finished pieces, not raw sketches. You start small, offering tap-in work to friends and family once sanitation basics are set. You build proof, you gather references, and you return to shops with stronger footing.
You also network actively inside your local tattoo community. You attend shop events, you track guest lists, and you offer consultations for available flash. These habits create visibility, and visibility creates opportunity.
Your priorities are simple:
- Present clean, complete work with proper documentation.
- Build early proof through small, safe placements.
- Stay visible, consistent, and ready for openings.






