


Real skin bleeds, but fake skin teaches you control. You will learn depth, stretch, and ink saturation without causing harm.
Start with 1.3mm medical-grade PU sheets; PU means polyurethane, a durable plastic that mimics human tissue. Apply thick stencil primer, press firmly, and wait three hours.
Wrap your station, mix gray wash with measured drops, and stretch evenly from bottom to top. Flip the sheet often to check your needle depth on the back.
You are building muscle memory that transfers directly to live skin, but one critical mistake will undo every careful step you have taken so far.
Choose Thick Fake Skin for Realistic Depth Practice
Start your practice with thick, high-quality fake skin, and you’ll build realistic needle control from day one. You’ll want to select Tattoo Practice Skin around 1.3mm thick, preferably medical-grade PU leather, because this density delivers needle feedback and ink absorption that closely mimics real tissue.
Thick silicone or PU surfaces let you practice depth, lines, and shading repeatedly without the material feeling flimsy. You’ll develop better habits because the surface won’t distort under your machine.
Avoid thin practice skin when you’re learning depth control. It masks the sensation of drilling through, which prevents you from building consistent needle depth habits.
Thicker, stretchable material also supports realistic elasticity during stretching practice. Your technique will transfer more smoothly to actual clients when you’ve trained on surfaces that respond like real skin.
Recommended Products

📏1.3mm Professional Grade - 30 sheets of 1mm thick synthetic skin with dermis-like texture, certified by tattoo artists for real needle feedback and ink absorption. Ideal for beginners to avoid mistakes on real clients.
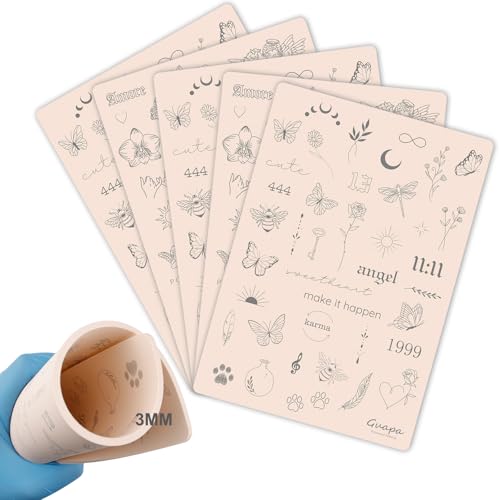
3MM Tiny Tattoo Practice skin Made from high-quality materials, it is closely mimic the texture and feel of real human skin. This gives you a realistic experience, allowing you to refine your skills before working on actual clients

【Package and Size】 - Includes 5pcs blank tattoo practice skin. Individual packaging for each tattoo fake skin. Thickness of these silicone pads is 3mm, measures 7.48" long by 5.62" wide. Providing enough space for your masterpiece creation.
Apply Stencil Primer and Wait 3+ Hours to Dry
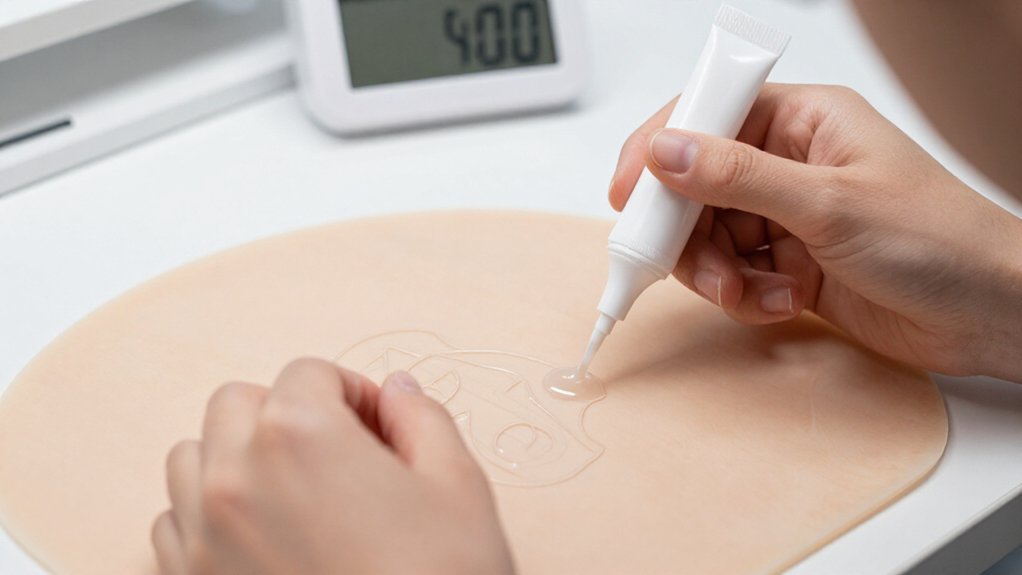
Once you’ve secured your thick practice skin, you’ll need a clean stencil that won’t smudge mid-session. You’ll apply Green Gold stencil primer, the thickest option available, because it transfers cleanly without drying too slowly on synthetic surfaces. Dab only a small amount onto your practice skin, then press your stencil firmly for several seconds to ensure full pickup.
Pat the area with a paper towel to remove excess primer; this speeds drying and keeps lines sharper. Let the stencil dry for at least 3 hours before tattooing. This waiting period prevents smearing and blurry guidance, giving you reliable reference lines comparable to real skin preparation. If the stencil appears too light, wipe it off with a paper towel and reapply for clearer visibility.
Recommended Products

Locks Your Stencil in Place: Electrum tattoo stencil transfer gel was designed by a group of veteran tattoo artists to create dark, bold transfers that last a long time, preventing your tattoo stencils from rubbing off during application

Locks your Stencil in Place - Nothing is more frustrating than having your tattoo stencils rub off! Electrum tattoo stencil transfer gel was designed by a group of veteran tattoo artists to create dark, bold transfers that last a long time.
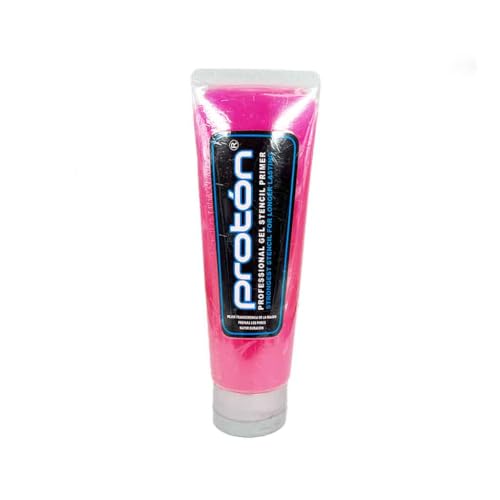
Ensures strong, long-lasting stencil adhesion for extended tattoo sessions. Wax-like texture prevents smearing, spreading, or blurring of stencil lines. Suitable for all skin types and compatible with standard stencil transfer papers. Helps artists achieve precise, consistent stencil transfers with minimal effort. Designed for professional tattoo use, offering reliable performance and clarity.
Wrap Your Station and Prepare Gray Wash While You Wait
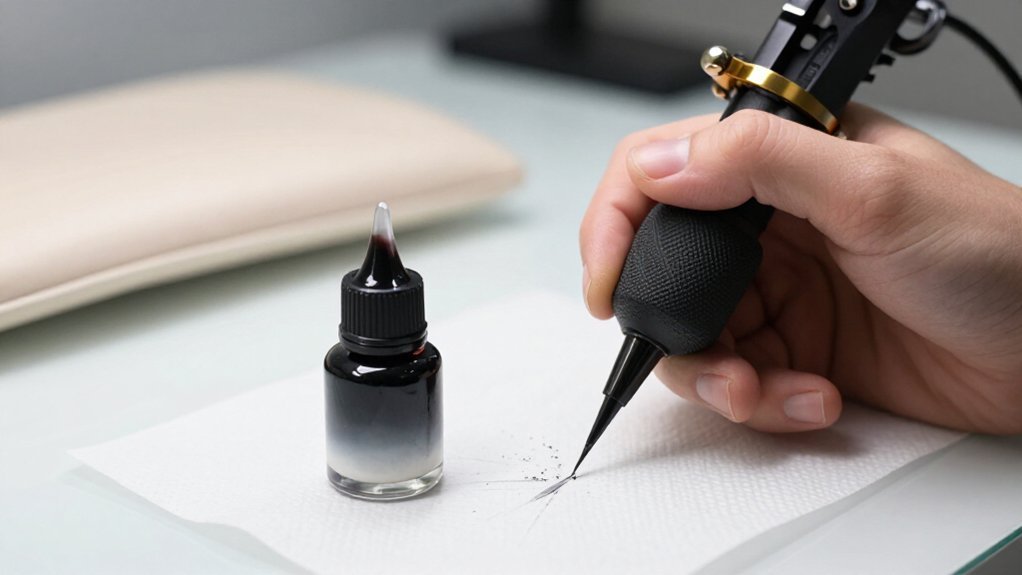
Since you’re waiting three hours for that stencil to set, you’ve got time to build professional habits that’ll carry over to real clients. Wrap your entire station, including your machine and work area, just like you would for real human skin. This builds muscle memory for safe, hygienic practices.
Prepare Your Gray Wash
Mix your gray wash now so you’re ready to line without pauses. For early practice, combine black ink with distilled water. Try 10 drops black plus water, or 6 drops for lighter tones. Use medium-sized ink caps, matching listed measurements, so your consistency stays predictable.
Keeping your station wrapped and your wash prepared eliminates delays. You’ll maintain steady technique, and these rituals will feel automatic when you transition to real human skin.
Recommended Products

【PREMIUM 3MM THICKNESS】Our practice skins are crafted from 3mm thick, professional-grade silicone to deliver an authentic tattooing experience. This optimal density provides superior needle resistance, elasticity, and durability — just like real skin. Perfect for mastering stretching techniques, shading, and outlining without the pressure of working on live models.
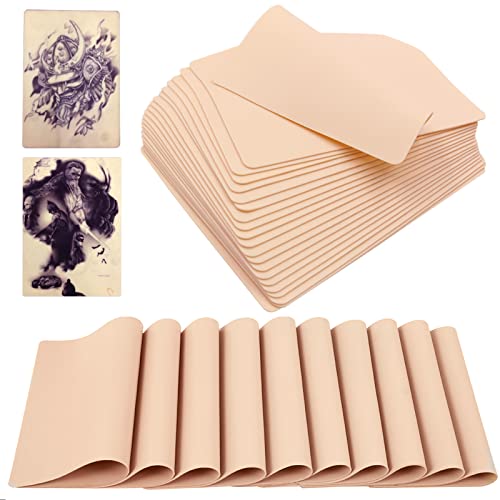
【Package And Sizes】 - 10pcs individual packaging for each 7.4x5.6"tattoo practice skin. You can use it with tattoo needles, tattoo kits, tattoo machines and other tattoo supplies, suitable for beginners and experienced artists. Both sides of each tattoo skin are blank, providing enough space for your masterpiece creation.

VALUE PACKAGE - The 20Pcs Tattoo Practice Skins 3MM with Transfer Paper Kit includes 15Pcs 11*8.5 inch Stencil Paper and 5Pcs 7.5*5.6 inch Double Sided Thick Blank Tattoo Fake Skin 3MM. The best combination of tattoo skin and tracing paper to help you save time and get a great deal.
Stretch the Skin and Start From the Bottom of Your Design
Stretch your practice skin taut with your non-dominant hand, anchoring it at multiple points to simulate real client tension. Begin tattooing from the bottom of your stencil, working upward so you don’t smear the ink and lose your guide.
This bottom-up method, paired with consistent stretching, builds muscle memory that transfers directly to human skin.
Recommended Products

VERSATILE TATTOO INK COLOR SET: Our vinrant tattoo ink color set features four shades of gray tattoo ink—Light, Light Medium, Medium Dark, and Dark. Ideal for blending and mixing, this professional tattoo ink simplifies your color palette, saving time for artists.

Premium Material: Tattoo ink cup is made of high-quality hard plastic, which is durable, not easy to deform, break, and leak. Avoiding ink leakage accidents during tattooing, ensuring a smooth and easy tattoo process.
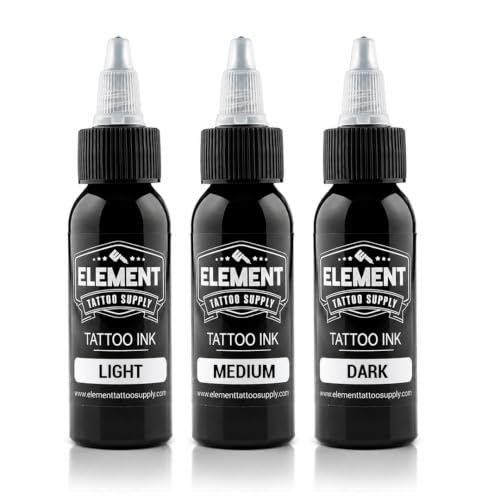
All the tones you need light medium and dark greywash tattoo inks give you the full range for shading transitions in black and grey tattoo work for any Artist out there, I would love to simplify their game in black and gray tattooing
Stretching Practice Skin
Because you’ll need realistic feedback as you build muscle memory, stretch your practice skin exactly like you’d stretch a client’s living tissue. You’re training your hands to feel proper resistance, so the way you anchor silicone matters just as much as needle depth.
1. Anchor three points firmly. Picture your non-tattooing hand spreading the surface flat, your pinky resting steady, and your wrist locked against the table.
2. Maintain even tension. Imagine pulling fabric taut, not snapping it, so your lines stay true.
3. Feel the surface shift. Notice how the material bounces back, teaching you when pressure’s too heavy.
4. Keep the stretch constant. Watch your shading stay put instead of drifting sideways.
Consistent tension prevents surprises. You’ll recognize proper elasticity before touching real skin.
Bottom-Up Stenciling
Apply your stencil to stretched practice skin exactly as you would on a client, locking in proper tension before you begin. Press the stencil firmly so you get clean pickup, then lock in your workflow with bottom-up stenciling.
Why Bottom-Up Stenciling Works
Start from the bottom of your design, not the top. When you work upward, your hand moves away from fresh stencil lines. This reduces smearing.
If you start at the top and move down, you’ll drag across wet stencil ink. Your line placement becomes unreliable.
Building Confidence
Bottom-up stenciling lets you establish your foundation first. You line the bottom section, then build precision as you move upward. Each completed area reinforces your rhythm. You’re not fighting gravity or your own hand position.
Practice this method until it feels automatic. Your stencil stays intact, your lines stay true, and your technique transfers cleanly to real skin.
Flip the Skin to Check Your Needle Depth
After a few test passes, flip your practice skin over to inspect the backside for visual depth indicators. You’re looking for smooth ink saturation without any clear cuts, which would mean you’ve gone too deep.
Adjust your technique accordingly by modifying your needle depth until you achieve consistent, clean lines without damaging the back of the skin.
Recommended Products
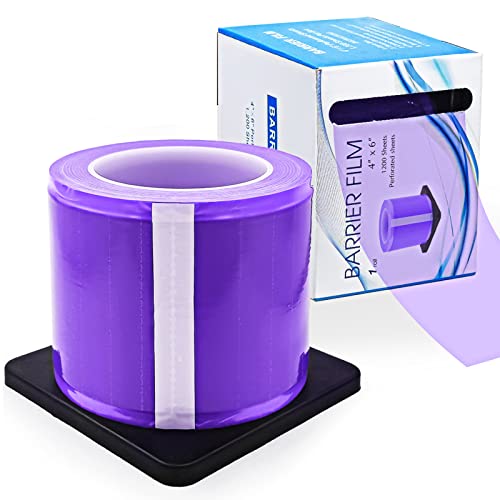
Pre-perforated Design: Adhesive barrier film is divided into 1200 sheets measuring 4" x 6" sizes, each sheet is perforated so it is particularly easy to tear, and you can easily cover items of any length.

PROFESSIONAL-GRADE PROTECTION YOU CAN TRUST - PEPAX barrier film tattoo is designed for high-contact environments, creating a clean protective layer against ink and fluids. Ideal for tattoo studios, dental clinics, and beauty workstations—helping you maintain a safe, professional setup your clients can trust.

What You Will Receive: This tattoo supplies set includes 200pcs blue tattoo machine covers(7.2"x2.5") and 4 rolls of black tattoo machine wrap (2"x5 yards). These upgrade sealable tattoo pen bags and tattoo grip tapes are suitable for most tattoo pen machines. Save your time and money
Visual Depth Indicators
You’ll often find that checking your needle depth feels uncertain when you’re first starting out, but there’s a simple method that removes the guesswork entirely. Flip your practice skin over after each line, and you’ll see exactly what’s happening beneath the surface.
Visual Depth Indicators
- Clean cuts on the back mean you’re drilling too deep, like slicing through paper instead of drawing on it.
- Barely visible front lines show you’re riding too shallow, scratching the surface without depositing ink.
- Consistent gray shadowing without breakthrough reveals you’re in the sweet spot, mimicking tattooing real skin.
- Uneven depth across passes creates patchy results, so check the back frequently to catch drift early.
Keep your needle from “hanging” on the tube tip, as this changes your targeting. These thick skins don’t require table contact for proper saturation.
Backside Inspection Method
Flip your practice skin over, and the backside tells you everything your eyes couldn’t catch from the front. After you finish a few practice passes, flip the fake skin and inspect underneath to confirm your needle depth stays consistent.
What to Look For:
- Clear cuts or cut-through: Your depth is too deep. Reduce how far the needle travels.
- Barely-visible marks: You’re going too light. Adjust upward slightly until marks show reliably without cutting through.
Keep depth consistent by avoiding “hanging” the needle in your setup, which causes riding on the tube instead of true penetration. Thicker practice skins mimic real needle resistance, so you shouldn’t drill through to the table. Backside inspection should reveal controlled penetration only. Master this, and you’re building the foundation every tattoo artist needs.
Adjusting Technique Accordingly
Regularly flipping your practice skin gives you immediate feedback on whether your adjustments are working. After each practice session, flip the fake skin over to inspect the backside. You’re looking for barely-visible marks versus clear cuts, which tells you exactly how your needle is behaving.
Here’s what to watch for:
- Visible cuts on the back mean your needle is going too deep, so reduce your depth immediately.
- Barely showing lines indicate your needle is too shallow, so increase depth slightly for consistent response.
- Avoid hanging your needle, because this causes you to ride the tube rather than strike correct depth.
- Repeat short line tests after each adjustment, re-checking the back for matching results.
This method builds muscle memory you’ll rely on with real people, ensuring your depth control becomes automatic before you ever touch human skin.
Master Linework Before Adding Shading or Color
Before you attempt shading or color, commit to mastering clean, consistent linework on fake skin. Practice tattoo work by using already-lined stencil designs, so you’re only training how to run consistent, clean lines.
1. Set Up Your Stencil Correctly
Start executing stencil work from the bottom of the design. This reduces stencil smearing while your hand moves downward. Keep your stencil primer amount just right; too much makes blurry guidance, while too little makes lines too faint to follow accurately.
2. Build Muscle Memory
Focus on repeated setup, station wrap included. Your hand speed and line quality will improve through this consistency.
3. Check Your Depth
Flip the skin to verify: too-deep shows cuts on the back, too-light barely shows lines. Once your lines hold consistent depth, return later for shading and color sequencing rather than tackling everything at once.
Recommended Products

Premium Quality 1.5mm Silicone Material – Crafted from premium 1.5mm thick silicone, this tattoo skin offers a true-to-life feel with excellent durability and a smooth surface for effortless needle movement during practice.
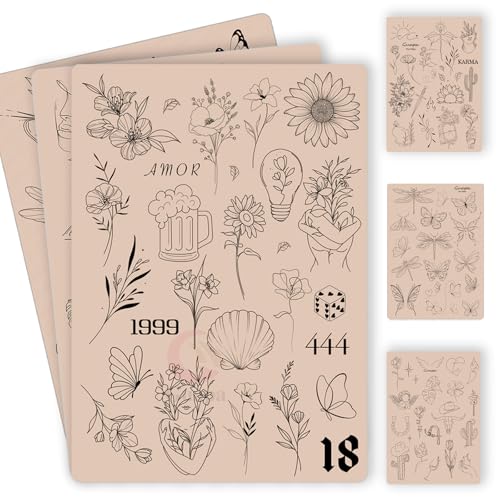
100+ Pre-Printed Designs – Features a wide variety of fine line and tiny tattoo stencils to enhance detailing skills.

📦 [10Pcs Individually Sealed] 10 sheets of premium tattoo practice skins (8"x6" / 1.0mm thick), each vacuum-sealed for hygiene. Double-sided blank fake skin maximizes usage – wipe & reuse for multiple techniques.





