


You want clear, safe results from laser tattoo removal, but the process involves more than showing up for appointments.
Your preparation, daily habits, and aftercare directly impact how well your skin heals and how quickly the ink fades.
These seven practices cover everything from your first dermatologist visit to the weeks between sessions. Start with the right foundation, and you’ll minimize complications while maximizing progress.
The first step begins six weeks before you ever see the laser.
How Laser Tattoo Removal Works (And Why It Takes Multiple Sessions)
Picture your tattoo ink as tiny rocks buried beneath your skin. Laser tattoo removal breaks these down using focused light energy, which shatters the tattoo ink into smaller ink particles. Your immune system then recognizes these fragments as intruders, and it gradually clears them through your lymphatic system.
Your immune system treats shattered ink fragments as intruders, flushing them gradually through your lymphatic system.
Why You’ll Need Multiple Sessions
Tattoo artists build ink in layers, so you can’t remove everything at once. Most people need 6–12 laser treatments, spaced 6–8 weeks apart. This gap allows proper healing between visits and gives your body time to flush fragmented pigment. The treated area needs rest, just like any wound.
What Affects Your Results
Black and dark blue inks respond best. Yellows, purples, and complex designs require more patience. Your technician selects appropriate wavelengths based on your specific colors and how deeply the pigment sits in your dermis.
Recommended Products

CLEAN INGREDIENTS FOR NEW TATTOOS - Our Soothing Gel skips the skin-suffocators and instead focuses on lightweight botanical oils like Sweet Almond and Argan which are naturally rich in fatty acids antioxidants to help nourish and offset environmental stressors that can further aggravate your ink.

FRAGRANCE FREE TATTOO AFTERCARE FOR SENSITIVE SKIN - The same #1 artist recommended Hustle Butter formula, now with no added fragrance, dyes, or parabens. The unscented tattoo lotion of choice for sensitive or easily irritated skin.

TATTOO AFTERCARE ESSENTIAL: Hustle Butter is the original tattoo aftercare balm for new and older tattoos. With over 10 years in the market, we are a pioneer of the tattoo aftercare category.
Book Your Dermatologist Visit: Questions to Ask First
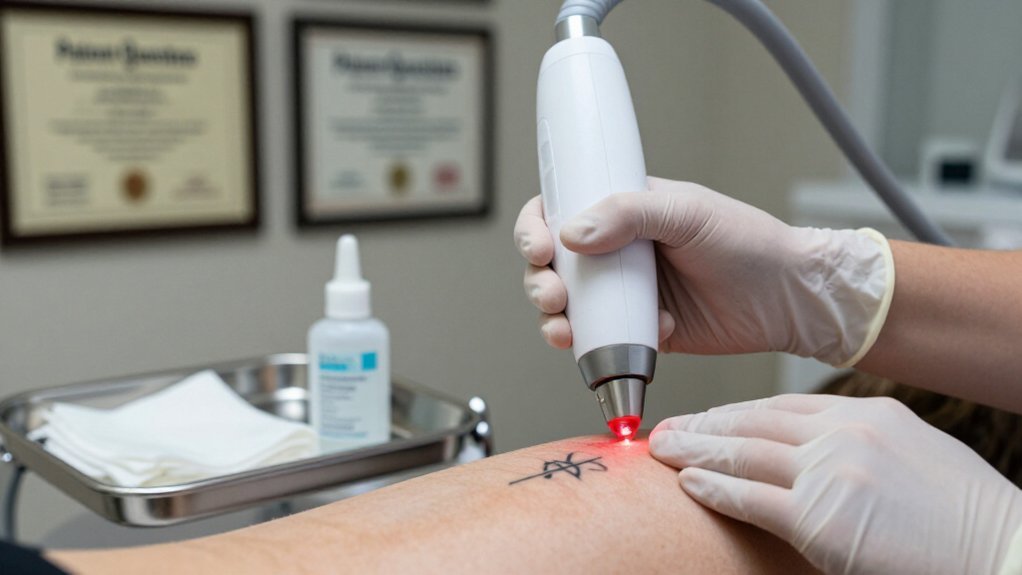
How do you know if you’re ready to start laser tattoo removal? You schedule a consultation with a board-certified dermatologist first. This visit determines if your skin can safely handle the tattoo removal process.
Questions to Ask Your Dermatologist
- What laser do you use for my ink colors and depth?
- How many removal sessions will I need? (Expect multiple visits, spaced 6–8 weeks apart.)
- Do you offer local anesthetic for discomfort?
- What possible side effects should I watch for?
- What’s your aftercare plan: washing, ointments, and sun protection?
Tell your dermatologist about prior allergic reactions and any pigment minerals in your tattoo. Ask how to handle severe pain or swelling. Remember, your skin needs time to heal between treatments. Protect Your Skin by following their guidance exactly.
Recommended Products

SUPERIOR ENDURANCE VS. SWEAT & WATER — From family fun to hardcore competition, Banana Boat Sport Sunscreen provides strong sun protection that stays on so you can play on

Water Resistant: Coppertone Sport SPF 50 sunscreen lotion is water resistant (80 minutes), and stays on strong when you sweat

SPF sun protection: Oil-free broad spectrum SPF 50 sunscreen spray with Helioplex technology that delivers UVA/UVB protection from sunburn and harsh summer elements
Start Prepping 6 Weeks Early: Sun Protection and Daily Care
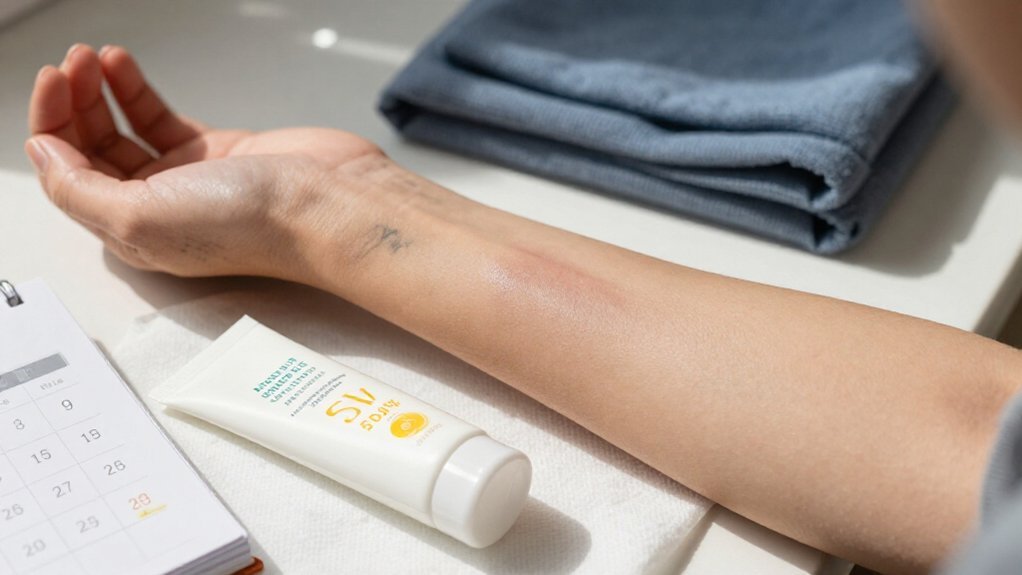
Six weeks before your first laser session, you’ll need to start shielding your tattoo from all ultraviolet exposure. Your ability to remove a tattoo depends heavily on consistent sun protection during this period. Apply broad-spectrum sunblock with SPF 30 or higher every morning, and reapply every two hours when outdoors. Keep the tattoo covered with clothing whenever possible, as UV exposure darkens skin color and creates uneven laser targeting.
Moisturize the tattoo twice daily for at least one week before treatment. Healthy skin responds better to laser energy, and your skin needs time to heal between sessions. Avoid tanning beds completely, since melanin interference makes pigment harder to target.
Stay hydrated with water and fresh juices to support immune function. Your skin color must remain consistent for accurate technician planning.
Recommended Products

16-fluid ounce bottle of Lubriderm Fragrance Free Daily Moisture Lotion + Pro-Ceramide, Shea Butter and Glycerin to help restore skin's moisture barrier for healthier-looking skin

24-hour results: Clinically proven to help moisturize dry skin for 24 hours** with Pro-Ceramide and glycerin, this hydrating lotion helps strengthen your skin’s natural moisture barrier for healthier-looking, hydrated skin

Protect Your Body Art: Moisturizing with the bonus of itch relief! Tattoo Goo's Tattoo Care Lotion soothes healing skin & keeps healed ink looking sharp for life. With olive oil & glycerin, it delivers deep, breathable hydration that won’t clog pores
The 24 Hours Before: Hydration, Exercise, and Final Prep
With your six-week preparation routine established, you’re now entering the final stretch before your laser appointment.
You’ve laid the groundwork—now it’s time to cross the finish line strong.
1. Boost Your Hydration
Drink extra water and fresh fruit juices. Proper hydration supports your immune system and helps your body flush fragmented ink in your skin through the lymphatic system.
2. Skip the Gym
Avoid heavy exercise for 24 hours before your session. Increased circulation and swelling make tattoo boundaries harder to target. Your skin needs time to stay calm and responsive.
3. Protect From the Sun
Keep covering your tattoo and using sunblock. UV exposure darkens skin and reduces laser accuracy.
4. Moisturize Consistently
Apply moisturizer twice daily to tattooed and surrounding skin. Healthy skin heals faster and experiences fewer side effects of laser treatment.
5. Plan Your Recovery
Schedule 24 hours of rest after your appointment. Avoid sweating and strain to minimize irritation.
Among types of tattoo removal, laser requires this preparation most strictly. Your efforts now ensure safer, more effective results.
Recommended Products

FSA HSA Eligible Over-the-Counter Medication - This topical lidocaine numb cream with Allantoin, Vitamin E, and Aloe is clinically proven to temporarily relieve pain, burning, itching, discomfort, inflammation, and soreness in local and anorectal areas

Anorectal Numbing Cream and Temporary Pain Relief for Hemorrhoids
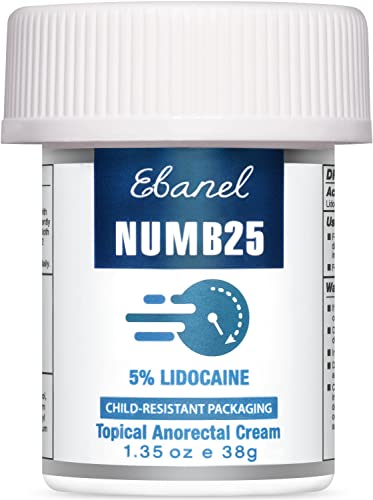
FSA HSA Eligible Over-the-Counter Medication - This topical lidocaine numb cream with Allantoin, Vitamin E, and Aloe is clinically proven to temporarily relieve pain, burning, itching, discomfort, inflammation, and soreness in local and anorectal areas
What Happens During Your Laser Tattoo Removal Session
Before the laser touches your skin, you’ll put on protective eye shields while the technician tests settings to find the energy level that targets your ink most effectively. The laser then delivers focused light pulses that heat and shatter ink particles in the dermis, the layer beneath your skin’s surface where pigment sits.
Most people feel a quick “rubber band snap” sensation, and numbing cream can be applied if needed. Each session takes only minutes since your body needs time to flush out the broken ink between visits.
Recommended Products

Sterile & Individual: Each of the 20 individually packaged Saline Solution units remains sterile after opening, ensuring every use is fresh and uncontaminated

STERILE SALINE WOUND CLEANSING - Helps cleanse minor cuts, scrapes, abrasions, burns, and skin irritations by flushing away dirt, debris, and contaminants without harsh chemicals.

Derma Rite manufactures high quality, affordable skin care, advanced wound care, and nutritional products for healthcare and senior-care facilities
Pre-Session Preparation Steps
Your path to clearer skin begins with a thorough evaluation, where a certified physician examines your tattoo’s age, ink depth, and overall skin health to build a personalized treatment plan. This pre-session preparation ensures your tattoo removal proceeds safely and effectively.
1. Initial Consultation
You’ll meet with a certified physician who reviews your tattoo’s history, prior removal attempts, and skin condition. The American Academy of Dermatology recommends choosing trained providers over tattoo artists for this medical procedure. Your doctor will explain tattoo removal options, including how laser light breaks ink into tiny particles your body later clears.
2. Day-of Preparation
You’ll receive protective eye shields before treatment begins. The clinic tests laser energy levels to confirm ideal settings for your specific ink. Technicians may apply numbing cream to minimize discomfort. Sessions typically last only minutes, though you’ll need multiple visits spaced 6–8 weeks apart for proper healing.
Laser Treatment Process
Once you’re positioned for treatment, the clinician finalizes your laser settings based on your earlier evaluation, adjusting for your tattoo’s specific age, size, ink depth, and color composition.
1. Protection and Testing
You’ll receive protective eye shields before the clinician test-pulses the laser on your skin. This confirms the energy level matches your needs.
2. How the Laser Works
The effects of laser tattoo removal rely on concentrated light penetrating layers of your skin. This heat shatters ink particles so your immune system clears them gradually.
3. Treatment Realities
Q-switched lasers are standard for this work. Because tattoos sit in multiple skin layers, your laser tattoo removal requires multiple sessions. The American Academy of Dermatology notes that size and color directly impact your timeline.
4. Between Sessions
Each session lasts minutes, but you’ll need weeks of healing and ink-flushing before returning.
First 48 Hours After: Ice, Rest, and What Not to Touch
You’ll start your recovery by icing the treated area for three minutes at a time, waiting 15–20 minutes between sessions, and you’ll keep this up through the first 48 hours to control swelling and soreness.
You’ll also need to rest completely for at least 24 hours, skipping workouts because sweat and increased blood flow can irritate your healing skin.
Finally, you’ll keep your hands off any scabs or peeling that form, since picking raises your risk of scarring and infection.
Recommended Products

✅【GREAT MATERIAL】 - Scar repair cream contains natural Vitamin A and Vitamin D as well as potent skin-soothing herbal ingredients, which can effective prevent scarring and nourish your skin. Refine the ointment from the thyme hibiscus, celery, snokeweed, licorice, which is safe without side effects.

COMPLETE AFTERCARE KIT FOR NEW & EXISTING TATTOOS: This Tattoo Aftercare Kit brings together 3 essentials, Antimicrobial Soap, Tattoo Balm, and Tattoo Lotion, to help cleanse, protect, and moisturize fresh ink. Useful after tattoo sessions and throughout healing, it supports vibrant color and skin comfort for dedicated ink enthusiasts and artists
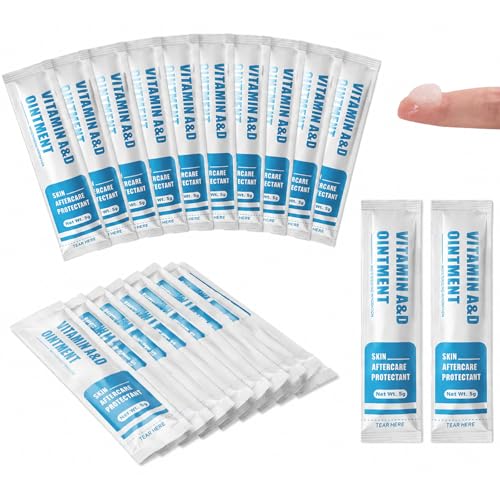
Honest, Accurate Care – This protective ointment comes in 50 hygienic single-serve packets for mess-free, on-the-go convenience. Easy to apply for tattoo protection anytime.
Ice Application Protocol
During the first 48 hours after your laser session, ice becomes your most effective tool for managing discomfort and controlling inflammation. You’ll want to apply ice to the treated tattoo area for about 3 minutes, then remove it and wait 15–20 minutes, repeating as needed for comfort. This ice application protocol helps reduce swelling and soothe soreness effectively.
Follow these practical steps during your first 48 hours:
- Ice for 3 minutes on, 15–20 minutes off, repeating cycles as needed
- Stop icing once your pain or discomfort decreases, not when numbness persists
- Avoid touching or disturbing the area, including picking scabs or applying “healing balms”
Skip no strenuous exercise 24 hours after treatment, since sweat and heat worsen skin irritation. You’ll heal faster when you respect these boundaries.
Rest and Recovery
Ice manages your immediate discomfort, but your body needs stillness to actually repair the skin. After laser tattoo removal, you must rest the skin and avoid strenuous activity. Take no exercise for at least 24 hours, since increased blood flow and sweat irritate the treated area and blur tattoo boundaries.
You may notice redness, swelling, or minor blistering. These changes are expected. Do not pick scabs or blisters that form; disturbing them raises your risk of scarring and infection.
Skip healing balms or ointments unless your dermatologist specifically tells you to apply them, because thick layers slow recovery. Contact your provider urgently if you develop severe pain or swelling beyond what they described.
Your careful attention during these first 48 hours protects your results and your skin.
Hands-Off Healing
Starting your recovery right means protecting the treated skin while it begins its work. During the first 48 hours of your tattoo removal, you’ll focus on hands-off healing to support clean, uncomplicated recovery.
Apply Ice Sessions Properly
You should apply ice in short bursts: about 3 minutes on, then 15–20 minutes off. This soothes swelling and discomfort without damaging sensitive tissue.
Rest and Protect
You must rest during the first 24 hours and skip exercise. Sweat irritates fresh skin and increases swelling, so take this downtime seriously.
What You Must Avoid
- Do not pick, scratch, or peel any scabs or blisters that form
- Avoid picking or scratching to lower risk of scarring and infection
- Skip healing balms unless your provider approves them; they can smother skin and slow recovery
Follow your bandaging instructions exactly. When you remove tattoos responsibly, you protect your results.
Between Sessions: Timing, Healing, and Habits That Slow Progress
Once your laser session ends, the real work begins, and how you manage the weeks between appointments determines how quickly you’ll see that ink fade. You must schedule your laser sessions with adequate spacing, often about 6 to 8 weeks, so your skin can heal and your body can flush out the shattered ink particles. This recovery time is essential for successful tattoo removal.
1. Protect Your Healing Skin
You should avoid picking or rubbing scabs, since this increases scarring risk. Do not apply thick ointment to your skin unless your dermatologist specifically advises it, as some products trap moisture and slow healing.
2. Adjust Your Habits
Skip intense exercise for 24 hours after treatment, because increased blood flow irritates the area. Avoid smoking and alcohol between sessions, since they slow immune function and may extend your treatment timeline. Keep your expectations realistic throughout this process.
Recommended Products

ORIGINAL SPF 50 SUNSCREEN LOTION . This is the stuff we use every day. It's the formula that started it all. People say it smells like summer. We like that. Whether we're spending a lazy day at the beach or just hangin' out, our Original formula is definitely our fav.

[ BROAD SPECTRUM SUNSCREEN FOR BODY SPF 50 ] 100% Mineral-based sunscreen, also known as a physical sunscreen, reflects UVA/UVB rays to help protect the skin. Formulated with titanium dioxide and zinc oxide sunscreen. Developed with dermatologists.

WATER AND SWEAT RESISTANT UP TO 80 MINUTES: EltaMD UV Sport can be applied to wet and dry skin and is specially formulated for active lifestyles and sport activities; it won’t drip in your eyes and sting when you sweat or rinse off easily in the water





