


You might not realize that your skin begins resealing itself within hours of getting tattooed, but how you protect that process changes everything.
Saniderm creates a breathable, waterproof film over fresh ink, while traditional lotion demands constant attention through peeling and scabbing.
The catch is that one method traps plasma and bacteria in, and the other leaves you vulnerable to contaminants out.
Your daily habits, budget, and tolerance for maintenance will decide which risk you prefer managing.
Saniderm vs Lotion: Which Aftercare Method Fits Your Tattoo?
If you’re standing in your artist’s shop with a fresh tattoo and a choice to make, you’ll want to know exactly what each aftercare method demands of you.
1. Understanding Your Two Options
You’ll choose between a Saniderm bandage approach or traditional lotion care. A waterproof tattoo bandage, Saniderm stays sealed for 3–6 days, while regular aftercare requires washing 2x daily with unscented antibacterial soap and applying unscented lotion sparingly.
2. Daily Responsibilities
With Saniderm, you’ll monitor the seal and avoid soaking, letting the bandage handle protection. If fluid builds up or irritation occurs, you’ll remove Saniderm early under warm water, then switch to washing and lotion. Regular lotion demands more attention: you’ll wash, pat dry, and moisturize thinly for 2–4 weeks.
3. Finding Your Match
Consider your schedule and environment. The healing process differs: sealed protection versus active maintenance. Neither method guarantees perfection, but both succeed with consistent, careful attention to your skin’s needs.
Recommended Products

FLEX VS ORIGINAL BANDAGES – Saniderm’s all-new Flex tattoo aftercare bandages are engineered with a 50% thinner profile than our original gloss bandages while retaining their same trusted adhesive and durability. Ultraflexible and perfect for high-movement areas, Flex delivers exceptional tattoo healing with no compromise on comfort. A matte, non-reflective finish ensures a smooth feel, eliminates glare on new tattoos, and delivers a refined, premium user experience.

THE ORIGINAL TATTOO AFTERCARE BANDAGE – Saniderm’s Original Gloss Bandage is the tried-and-true, industry-defining tattoo aftercare bandage. Dermatologist-recommended and trusted by expert tattoo artists worldwide, this medical-grade bandage ensures your tattoo heals quickly, safely, and more vibrantly. With over a decade of experience and millions of tattoos healed, it’s the perfect way to heal your ink.

THE ORIGINAL TATTOO AFTERCARE BANDAGE – Saniderm’s Original Gloss Bandage is the tried-and-true, industry-defining tattoo aftercare bandage. Dermatologist-recommended and trusted by expert tattoo artists worldwide, this medical-grade bandage ensures your tattoo heals quickly, safely, and more vibrantly. With over a decade of experience and millions of tattoos healed, it’s the perfect way to heal your ink.
Saniderm’s Sealed Healing: The 3–7 Day Timeline
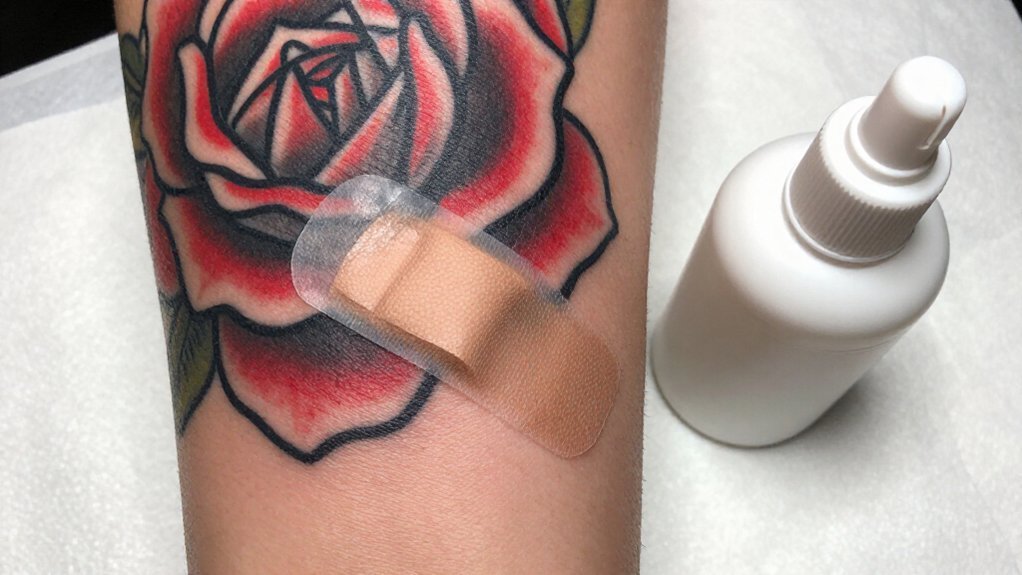
You’ll wear your first Saniderm bandage for 3–4 days, sometimes stretching to 5–7 days if fluid levels stay manageable. During this window, you’ll move through three key phases: the first 24 hours when plasma and ink pool underneath; the mid-phase where the seal protects fragile new skin; and the final removal day when you’ll peel it off carefully under warm water.
Watch for warning signs like excessive leakage, rash, or burning, and never push past 7 days.
Recommended Products

Dimora Transparent Film Dressing is composed of a layer of adhesive transparent polyurethane film and release paper, latex free. Hypoallergenic adhesive minimizes the risk of an allergic response. Film provides gentle and secure fixation. Pre-cut design for easier application

RELIABLE PROTECTION: Hion transparent adhesive bandage shields your skin from dust, dirt, germs and bacteria, as well as friction or scrubbing. It is good to protect minor burns, scrapes, cuts, blisters, abrasions and new tattoo in healing. The transparent film dressing allows you to observe healing progress of your wound without having to peel it off.

✡Various Purpose - Care for all types of wounds; Waterproof cover; Fixed dressing; Tattoo aftercare. It can help lock in the color, protect your tattooed skin, and reduce scabbing when you wash or moisturize your tattoo, quickly form a protective film then accelerate your recovery
First 24 Hours
First 24 Hours
Because Saniderm creates a sealed barrier over your fresh tattoo, the first 24 hours are about letting that protective layer do its job without interference. The bandage locks in plasma and blood, reducing scabbing and contamination risk. You’ll notice the tattoo looks hazy or muddy underneath; this is normal.
Keep the first Saniderm piece on for 8–24 hours, or longer if fluid stays minimal. Never apply lotion between the tattoo and bandage; Saniderm needs clean and dry skin to stick. Replace the bandage under warm running water if fluid buildup breaks the seal.
Watch for warning signs. If you see rash, burning, bumps, or severe leaks, remove the bandage immediately. After removing, wash with soap and pat dry, then switch to regular aftercare. Your protective barrier works best when you don’t interfere.
Mid-Phase Protection
Once your tattoo settles past the first day, you’re entering the window where Saniderm truly earns its keep.
1. How Long to Keep It On
Your first Saniderm bandages should stay put 3–5 days, though 7 days is the absolute max. Replace sooner, within 24–48 hours, if fluid buildup threatens adhesion.
2. Daily Life With Saniderm
Saniderm While Showering is simple, it’s waterproof yet breathable. You’ll wash normally, no re-wrapping needed, just avoid soaking.
3. When Problems Arise
Remove immediately if you spot rash, burning, significant leakage, or acne-like bumps, then switch to normal aftercare.
4. Proper Removal Technique
When healing progresses, remove under warm running water. Pull slowly over itself, not upward. New Tattoo After Removing needs gentle washing with fragrance-free antibacterial soap, pat dry, then continue aftercare.
Final Removal Day
When the adhesive loosens, and the edges begin to lift, it’s time to plan your removal. Remove the Saniderm in the shower, or under running warm water, so the adhesive softens without abrading your healing skin. If you used one piece of Saniderm, you’ll remove the bandage after 3 to 4 days, when fluid collects underneath. With the two-piece method, you remove the second piece after 5 to 7 days; do not exceed 7 days total.
After you remove the bandage, wash the tattoo with mild, fragrance-free, unscented antibacterial soap. Pat it dry with a clean paper towel, or let it air dry. Apply only a thin layer of aftercare, fragrance-free moisturizer, and avoid hot tubs until fully healed.
The tattoo may look fully healed, but deeper layers repair for 2 to 4 months.
When Traditional Lotion Beats Saniderm
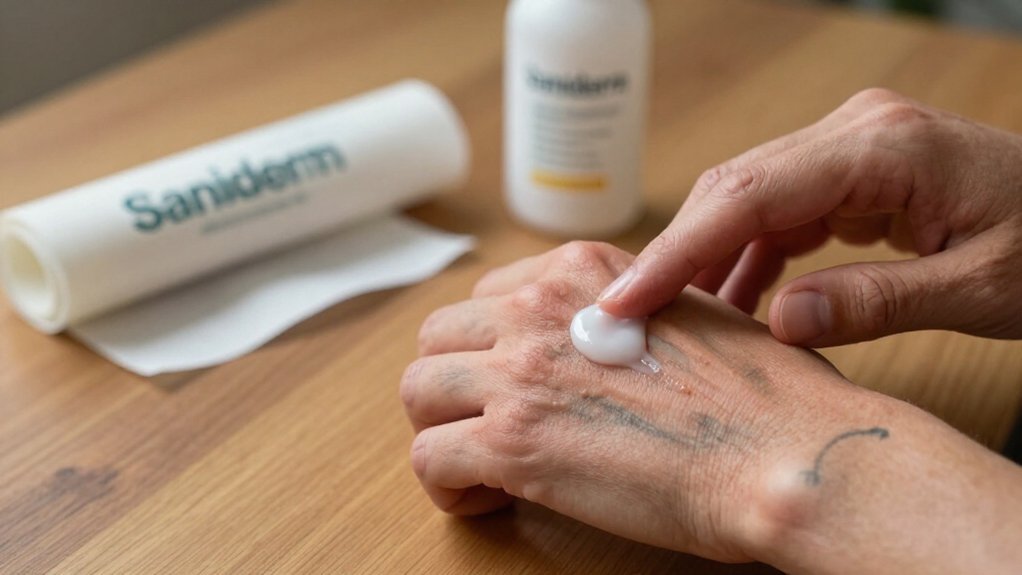
You’ll save money skipping Saniderm entirely, since quality fragrance-free lotions cost far less per ounce than medical-grade adhesive bandages, and you won’t face the 7-day limit that forces early removal. When your lifestyle demands extended wear, like swimming or heavy sweating, traditional aftercare lets you adjust your routine daily without worrying about trapped moisture weakening the seal.
You control the process completely: wash with unscented antibacterial soap, pat dry, and apply a thin layer whenever your skin feels tight.
Recommended Products

GENTLY CLEANSES NEW TATTOOS: Use Repair Tattoo Wash during the healing process to keep your fresh tattoo ink clean or as a prep wash before and after tattooing

Gentle, Deep Cleansing: Tattoo Goo Foaming Cleansing Soap for tattoos and piercings helps remove impurities and clean the inked or pierced areas at a deep level by removing dirt, dead skin cells, and killing germs without damaging the skin

PERFECT FOR THE TATTOO ARTIST AND COLLECTOR – Whoever you are, you want to make your tattoo aftercare experience convenient and effortless. This soap ensures the tattoo always leaves the shop or house sanitized and moisturized.
Cost Savings
Although Saniderm offers convenience, traditional aftercare can save you money if you’re watching your budget. A Saniderm tattoo routine requires bandage sheets that cost more upfront, and you may need replacements if sweat or activity loosens adhesion.
Your cost savings come from simple, low-cost supplies. You wash with antibacterial soap, pat dry with a clean towel, and apply traditional lotion. This aftercare method stretches your dollars further.
Consider these budget advantages:
- Unscented antibacterial soap (like Dial Gold) and a $5–$15 lotion bottle cost less than multiple Saniderm sheets
- You control how much soap and lotion you use, reducing waste
- No replacement costs from early bandage failure due to sweat or movement
If you handle the routine yourself, you’ll spend less overall.
Extended Wear
Since Saniderm is designed for sealed, bandaged healing, traditional lotion becomes your better option when you prefer leaving the tattoo uncovered during the peeling and dryness phases.
When Lotion Works Better for Extended Wear
- Beyond the 7-day window. Saniderm isn’t recommended for use past one week. If your tattoo aftercare needs stretch longer, or your skin rejects the adhesive, regular lotion offers simpler daily support.
- Failed seals mean more hassle. When Saniderm lifts or traps fluid, you’ll bandage back repeatedly, sometimes every 8–24 hours. Lotion eliminates this cycle.
- Managing the “muddy” phase. As plasma collects under film, your tattoo looks hazy. Lotion, applied 2 times a day in thin layers, controls moisture without visual interference.
- Surface healing comfort. Once healed on the surface, uncovered skin breathes easier. You avoid adhesive irritation while maintaining protection through controlled hydration.
Blood, Plasma, Scabbing: The Biological Difference
Peek beneath the surface of a fresh tattoo, and you’ll find your body working overtime to repair itself. Blood and plasma seep to the surface during the first 24 to 48 hours, and the amount of fluid you see depends on size, placement, and your individual response.
With traditional healing, you’re watching for scabbing and red bumps as that fluid dries. You’ll pat the area with a clean paper towel, but the skin will still form a crust. That scabbing itches, and scratching risks pigment loss.
Saniderm changes this dynamic. The bandage traps that initial fluid, keeping your tattoo moist underneath while letting gases escape. You’re not ready to remove it until that early plasma settles, typically after day one. This approach reduces scab formation, protecting your ink during that delicate stage.
Recommended Products

Protect Your Body Art: Moisturizing with the bonus of itch relief! Tattoo Goo's Tattoo Care Lotion soothes healing skin & keeps healed ink looking sharp for life. With olive oil & glycerin, it delivers deep, breathable hydration that won’t clog pores

COMPLETE AFTERCARE KIT FOR NEW & EXISTING TATTOOS: This Tattoo Aftercare Kit brings together 3 essentials, Antimicrobial Soap, Tattoo Balm, and Tattoo Lotion, to help cleanse, protect, and moisturize fresh ink. Useful after tattoo sessions and throughout healing, it supports vibrant color and skin comfort for dedicated ink enthusiasts and artists

FRAGRANCE FREE TATTOO AFTERCARE FOR SENSITIVE SKIN - The same #1 artist recommended Hustle Butter formula, now with no added fragrance, dyes, or parabens. The unscented tattoo lotion of choice for sensitive or easily irritated skin.
Shower, Sweat, Sleep: Daily Limits of Each Method
Your daily routine shifts once the needle stops buzzing, and the method you choose determines where you can push boundaries versus where you’ll need restraint.
1. Saniderm: Sealed Protection
You can shower while wearing Saniderm, since it’s waterproof, but keep water brief and lukewarm. Very hot water can help loosen the adhesive prematurely. You may exercise while wearing Saniderm, but stick to light exercise only. Heavy sweating weakens the seal, and if moisture seeps underneath, remove the bandage immediately.
Sleep comes easier, as Saniderm blocks bedding friction, though excess movement overnight still risks peeling edges.
Saniderm lets you rest without sheets rubbing against fresh ink—though restless sleepers should watch for lifted corners.
2. Regular Lotion: Active Maintenance
Without Saniderm, you wash your tattoo thoroughly twice daily, morning and night. You apply only a thin, even layer of fragrance-free lotion. Over-moisturizing delays healing. Sweat and friction demand immediate cleansing.
3. The Core Limit
Both methods require keeping your tattoo clean and dry, whether through Saniderm’s 3–7 day seal or vigilant lotion care.
Recommended Products

THE ORIGINAL TATTOO AFTERCARE BANDAGE – Saniderm’s Original Gloss Bandage is the tried-and-true, industry-defining tattoo aftercare bandage. Dermatologist-recommended and trusted by expert tattoo artists worldwide, this medical-grade bandage ensures your tattoo heals quickly, safely, and more vibrantly. With over a decade of experience and millions of tattoos healed, it’s the perfect way to heal your ink.

THE ORIGINAL TATTOO AFTERCARE BANDAGE – Saniderm’s Original Gloss Bandage is the tried-and-true, industry-defining tattoo aftercare bandage. Dermatologist-recommended and trusted by expert tattoo artists worldwide, this medical-grade bandage ensures your tattoo heals quickly, safely, and more vibrantly. With over a decade of experience and millions of tattoos healed, it’s the perfect way to heal your ink.

🎁WHAT’S INCLUDED - 3 Rolls, 3 Sizes – (2"x2yd, 4"x2yd, 6"x2yd) for any tattoo size, from delicate linework to full sleeves. Cut freely for custom shapes! Total 19.6ft – Ample length to cover multiple sessions or large pieces. Ideal for artists stocking aftercare kits.
Cost, Time, Convenience: Lifestyle Match
Choosing between Saniderm and regular lotion means weighing what fits your budget, schedule, and daily habits.
Saniderm costs more upfront, but it delivers real time savings by cutting down washing and applications during the first few days. You’ll enjoy shower convenience without rewrapping or reapplying ointment every time you get wet. The waterproof barrier protects your new piece from sweat, friction, and sheets.
Consider these factors for your lifestyle match:
- Saniderm stays on 3 to 6 days total, offloading daily work to the bandage
- Lotion demands a careful moisturizing regimen, washing and applying multiple times daily for 1 to 4 weeks
- You’ll swap for a new piece of Saniderm if fluid buildup occurs, adding minor effort
Pick the method that actually suits your routine, not just your wallet.
Recommended Products

What You Get - The tattoo aftercare bandage totall 4.4 yard (6" x 4.4 Yard), you will get tattoo aftercare bandage, the size is 6" x 4.4 Yard. You will the tattoo supplies is best combination of with guaranteed quality. According to the size of the tattoo area, the shape can be freely cut, and it is suitable for all kinds of large-area new tattoos

50% Thinner & More Flexible: Saniderm Flex is 50% thinner than the Original Saniderm, offering superior flexibility and comfort for high-movement areas without sacrificing durability, protection, or adhesion.

What You Get: you will receive 9 rolls of tattoo wrap bandages in 3 different sizes, including 2 inch x 2.2 yard, 4 inch x 2.2 yard, 6 inch x 2.2 yard, which can be applied according to your actual needs, enough length and various size also could meet your multiple needs
Red Flags: When to Switch From Saniderm to Lotion
Saniderm works well for most people, but you’ll want to know exactly when to pull it off and switch to lotion.
1. Watch for These Warning Signs
Stop immediately if you develop a rash, burning sensation, or acne-like bumps, since these signal an allergic reaction or irritation. Remove the bandage and wash the area gently with antibacterial soap and pat dry with a clean towel. Never apply a second bandage if symptoms appear.
2. Check Your Seal and Fluid
Take Saniderm off sooner if you see excessive fluid buildup, leaking, or lost adhesion. Pooling plasma compromises healing and increases infection risk. Saran Wrap, sometimes used as a backup, isn’t breathable and traps moisture poorly.
3. Adjust for Comfort
If daily maintenance proves impossible, the tattoo may appear worse with repeated lifting. Switch to standard lotion rather than forcing reseals. Your skin heals best with consistency, not struggle.
Recommended Products

SUPERIOR PROTECTION & HEALING - Our transparent film dressing (4" x 4.7" after paper rim removal) acts as a reliable barrier against dirt, bacteria, and water. Creates a clean, breathable environment to support faster recovery for wounds, abrasions, IV sites, and post-surgical areas.

Breathable & Comfortable: Transparent film dressings are highly breathable, allowing the skin to breathe freely and helping to promote natural wound healing. High ductility, can be used for flexible connectors. Pre-cut transparent design, easy to use, easy to observe the wound site or equipment conditions.

It is composed of three layers of PET backing, adhesive and release paper. The transparent elastic tape has good adhesion, simple use, good air permeability, and prevents cross-infection of injuries and other pollutants. The soft, stretchable non-woven polyester material is very Well adapted to body contours





