You might expect tattoo aftercare to drain your wallet for months, but most of your spending happens fast.
In weeks one and two, you will buy gentle cleanser and a healing balm, usually $15 to $25 total.
After that, you switch to basic, fragrance-free lotion.
By month two, your costs often drop near zero.
The real question is not whether you can afford aftercare, it is whether you are buying the right things at the right time.
Tattoo Aftercare Costs: Less Than You Think
Tattoo aftercare is a self-care routine, not a recurring expense. You’ll find that monthly tattoo cost for aftercare stays lower than most people expect, since you’re mostly reapplying core products, not booking ongoing services.
Your Daily Investment
Proper aftercare takes just a few minutes. You grab fragrance-free, alcohol-free moisturizer, add sunscreen basics, and you’re done. That’s it.
Product Math That Works
Buy Hustle Butter Deluxe Tattoo Balm once, about $24.99 for 5 fl oz, and it covers daily conditioning throughout healing. For fresh tattoos, you’ll use A+D or Aquaphor only the first day or two. After that, you switch to simple, low-cost lotion. Even though deeper healing takes 3 to 4 months, you’re not buying new supplies repeatedly.
The Touch-Up Protection
Better aftercare reduces patchy healing, and reputable artists often include free touch-ups within 3 to 6 months. This protects both your skin and your budget.
Recommended Products

GENTLY CLEANSES NEW TATTOOS - Use Repair Tattoo Wash during the healing process to keep your fresh tattoo ink clean or as a perfect prep wash before and after tattooing.

Gentle, Deep Cleansing: Tattoo Goo Foaming Cleansing Soap for tattoos and piercings helps remove impurities and clean the inked or pierced areas at a deep level by removing dirt, dead skin cells, and killing germs without damaging the skin

ESSENTIAL AFTERCARE FOR TATTOOS & PIERCINGS: After Inked Aftercare Foam Cleanser is designed to gently cleanse and remove dirt from tattoos, piercings, and body modifications. It provides an effective yet soothing clean without causing skin irritation or dryness.
Essential Tattoo Aftercare Supplies and What They Cost
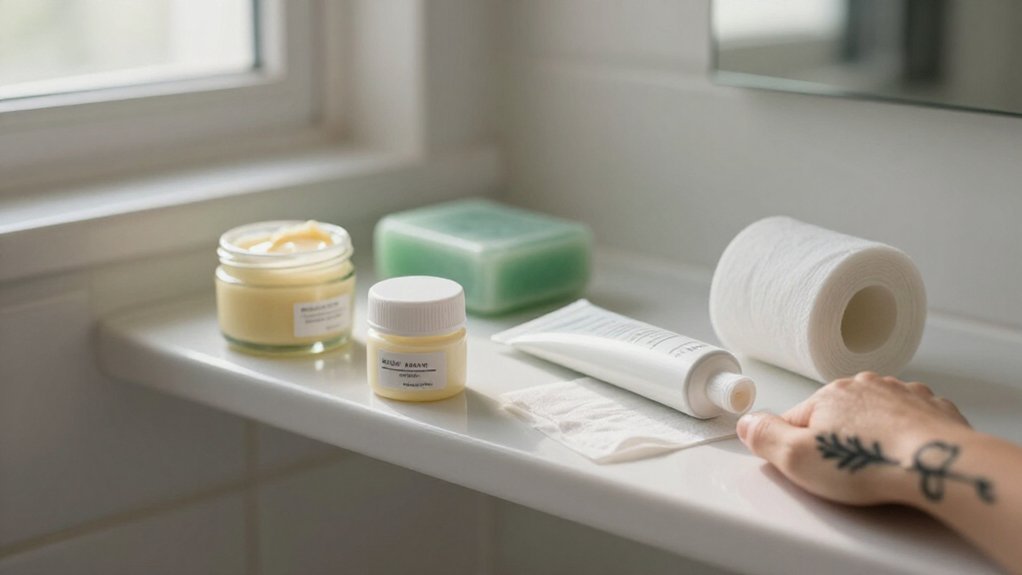
Because healing skin demands simplicity, you’ll need just two core product categories: a gentle cleanser and a moisturizer.
Healing skin needs less, not more: a gentle cleanser and a simple moisturizer are all it takes.
Your Essential Supply List
- Mild, fragrance-free soap or tattoo cleanser, such as pure-castile baby soap or sensitive-skin bar
- Fragrance- and alcohol-free moisturizer, starting with ointment like A+D for the first day or two, then Aquaphor
- Sun protection once healing progresses, though standard sunscreen works fine
Tattoo aftercare costs are front-loaded. One tube of unscented ointment stretches for weeks, so you’ll spend most in weeks 1–2, then switch to lotion. Specialized options like Hustle Butter Deluxe ($24.99) cost more but serve long-term upkeep too. The essential part of your monthly spend depends on healing length: outer layers heal by weeks 2–3; deeper tissue needs 3–4 months.
Recommended Products

ONE ESSENTIAL SOLUTION: Aquaphor is one essential solution for many skin care needs; use on dry, cracked skin, as a lip moisturizer, facial moisturizer, hydrating mask, minor wound care and much more
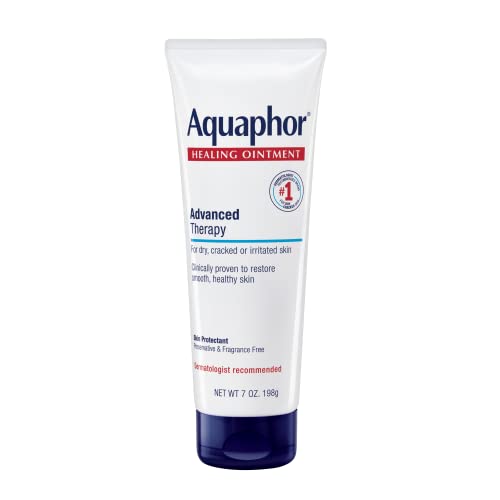
Net Weight and Dimensions: Each tube holds 7 oz. (198 g) of ointment, and measures approximately 19.9 x 5.7 x 5.2 cm; ideal for portability and easy storage

PEDIATRICIAN RECOMMENDED DIAPER RASH OINTMENT: A+D Ointment is pediatrician-recommended and contains Vitamin A and vitamin D to soothe, moisturize & protect the skin. Free of parabens, dyes and phthalates
Extra Costs Nobody Warns You About (and How to Avoid Them)
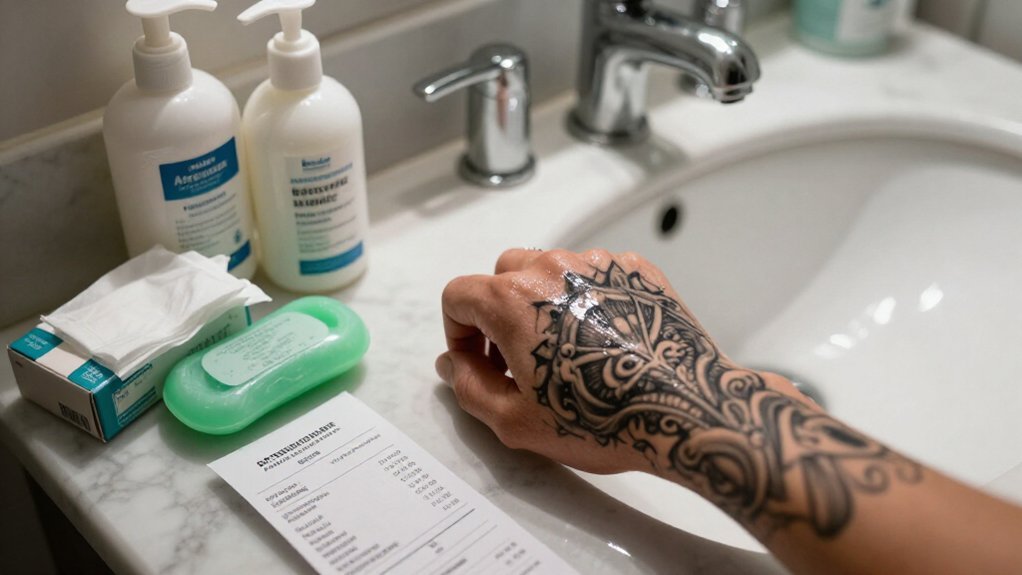
Although you might budget for soap and ointment, the real money drain hides in the mistakes you don’t see coming.
1. Product Hopping Spikes Your Aftercare Total Cost
You switch ointments too early, buying replacements you don’t need. Stick to fragrance-free soap, thin A&D for days 1–2, then alcohol-free moisturizer. One routine beats three half-used tubes.
2. Second-Skin Waste
You buy extra patches or wear them past days 4–6. This wastes money and risks irritation that prolongs healing.
3. Infection Is the Real Budget Killer
Red, swollen skin past week 3 means urgent care bills. Daily gentle washing prevents this.
4. Touch-Up “Tax”
You pick scabs or skip sun protection. Now you pay for touch-ups outside the free 3–6 month window.
5. Forgotten Sun Costs
UV fades ink fast. Budget shade and loose clothing now, avoid expensive refresh work later.
Recommended Products

FRAGRANCE FREE TATTOO AFTERCARE FOR SENSITIVE SKIN - The same #1 artist recommended Hustle Butter formula, now with no added fragrance, dyes, or parabens. The unscented tattoo lotion of choice for sensitive or easily irritated skin.

COMPLETE AFTERCARE KIT FOR NEW & EXISTING TATTOOS: This Tattoo Aftercare Kit brings together 3 essentials, Antimicrobial Soap, Tattoo Balm, and Tattoo Lotion, to help cleanse, protect, and moisturize fresh ink. Useful after tattoo sessions and throughout healing, it supports vibrant color and skin comfort for dedicated ink enthusiasts and artists

INFUSED WITH CLEAN, EFFECTIVE INGREDIENTS - The clean ingredients like Glycerin & Shea Butter provide lightweight nourishment and bounce to skin without ever feeling heavy or greasy on the surface. Anti-aging powerhouse vitamin A promotes visible firmness to skin, offsetting the appearance of fine lines and wrinkles.
How Tattoo Size and Placement Change Your Spending
Your monthly aftercare budget shifts dramatically based on how much skin you’ve covered and where the ink sits. Larger tattoos demand more balm, more lotion, and more time per application. Sensitive placements like ribs or feet often require gentler, more frequent product use to heal properly. Understanding these variables helps you predict real costs before you commit to the chair.
Recommended Products
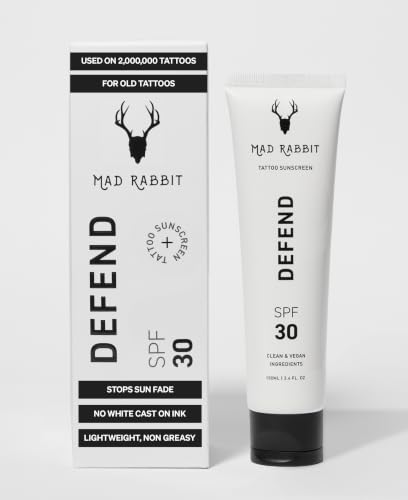
FOR ALL SKIN TYPES, INKED OR NOT - This daily, 100% mineral sunscreen works hard to protect skin and tattoos from the damage caused by exposure to harmful UVA & UVB rays.

FITS ALL SKIN TYPES, - TATTOO SUNSCREEN, 100% NATURAL sunscreen works hard to protect skin and tattoos from the damage caused by exposure to harmful UVA & UVB rays.
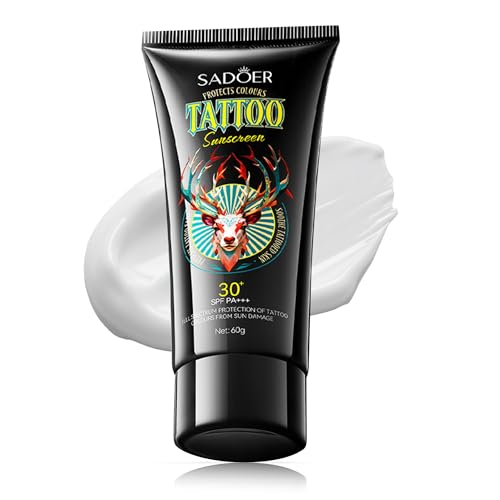
ULTIMATE SUN PROTECTION FOR TATTOOS & SKIN: Our advanced SPF 30+ formula delivers broad-spectrum UVA/UVB protection while locking in tattoo vibrancy. Suitable for all skin types – inked or uninked – its compact size fits your pocket easily, making it perfect for daily on-the-go protection.
Size-Based Supply Needs
Since a 2×2 inch tattoo demands only a thin layer of cleanser and a pea-sized dab of ointment, you’ll spend far less per month than someone nursing a half-sleeve through its healing cycle. Tattoo size directly drives your Cost, because larger work stays swollen and scabby longer, forcing you to stretch moisturizer and protective coverage across more days.
If you choose a “second skin” system, you’ll burn through dressing material faster on bigger pieces, accelerating repeat purchases once the initial wrap phase ends. Color-heavy designs, with more skin trauma, extend moisturizing needs further than simple black-and-grey flash.
To manage size-based spending, follow these priorities:
- Measure your coverage area to estimate weekly ointment volume.
- Buy travel sizes first for small tattoos to avoid waste.
- Stock extra moisturizer for detailed work that heals slowly.
Placement Healing Complexity
Where you put the ink matters just as much as how much you get. Placement healing complexity drives your monthly spending because high-sensitivity or high-friction areas—ribs, feet, hands, and fingers—demand stricter, longer-maintenance moisturizing and sun protection. You will use more product over the healing process in these spots.
Larger tattoos cost more to care for each month. There is more surface area to wash and keep hydrated. A small 2×2 inch design needs far less balm than a half-sleeve.
Detailed styles, watercolor realism or dense linework, stay red, swollen, or cloudy longer. You spend more on gentle cleanser plus frequent, thin layers of fragrance-free, alcohol-free moisturizer during those first weeks. Complex placements keep you in active care longer, increasing your monthly aftercare budget.
Ongoing Care Duration
Although the heaviest spending hits early, your monthly costs don’t drop to zero once the initial healing passes. Your ongoing care duration depends heavily on tattoo size and placement, which directly shape your spending pattern.
Larger tattoos require more cleanser, ointment, and moisturizer through weeks 3–8 as deeper healing continues. Sensitive placements (ribs, feet, hands) demand stricter daily moisturizing routines, extending product use.
Sun protection becomes your recurring cost for healed tattoos, preventing fading that triggers expensive touch-ups.
You’ll front-load most purchases in month one, but don’t abandon your budget. High-sensitivity areas and bigger pieces keep you buying supplies longer. Once fully healed, shift spending toward quality SPF and protective clothing. This long-term investment preserves your ink and controls lifetime costs.
The 2–4 Week Healing Window (and Why It Saves Money)
You’ll spend roughly two to four weeks in active healing, which means a brief, focused routine: gentle washing once or twice daily, patting dry, and applying a thin layer of fragrance-free, alcohol-free moisturizer to control dryness and itch.
If you invest in the right products now, you’ll cut your risk of prolonged redness, heavy scabbing, or ink fallout, all of which often force you into paid touch-ups later. This small upfront cost, just soap and a bit of ointment, protects your wallet from bigger repair bills once your tattoo fully stabilizes around week eight.
Recommended Products
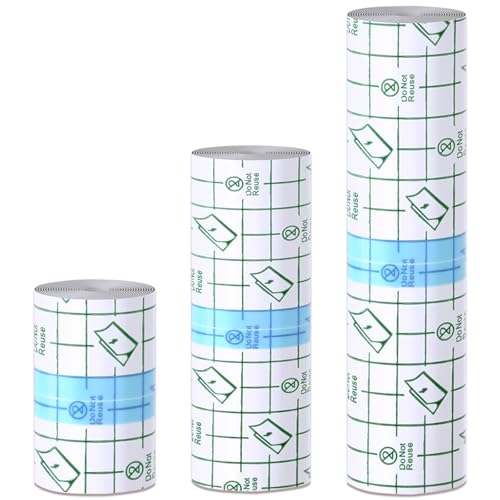
Triple-Size Value Pack for Every Tattoo Style - Get 3 full rolls of premium second skin tattoo cover (2" x 2.2 Yd, 4" x 2.2 Yd, 6" x 2.2 Yd) - sized for wrist art, back pieces, or sleeve designs. The tattoo aftercare bandage can be cut freely to match any ink!

WHAT IS PAMIOU TATTOO AFTERCARE FILM? - The second skin tattoo cover is design of three-layer: Composed of PU film, PE protective layer and the release paper. It can be used to lock the tattoo ink, protect your tattooed skin.

✡Various Purpose - Care for all types of wounds; Waterproof cover; Fixed dressing; Tattoo aftercare. It can help lock in the color, protect your tattooed skin, and reduce scabbing when you wash or moisturize your tattoo, quickly form a protective film then accelerate your recovery
Short Healing Time
Most tattoos move through their busiest healing phase in roughly two to four weeks, which keeps your aftercare spending tightly focused on a short window. Your initial healing demands the most attention, and this concentrated period actually lowers your final cost compared with drawn-out routines.
- Days 1–3: Wash gently with fragrance-free soap, manage oozing, and apply thin ointment layers frequently.
- Days 7–14: Scabbing settles, so you cut back on product amounts and frequency.
- Weeks 2–4: Outer-layer healing completes; you switch to lighter moisturizing only when needed.
You avoid extra spending by not rushing touch-ups before 4–8 weeks. Waiting prevents added trauma that prolongs healing. Once the visible window closes, you stop treating skin like it’s actively healing, which reduces repeat purchases and keeps your monthly aftercare budget minimal.
Preventing Costly Repairs
Since the first 2–4 weeks determine how well your ink settles, the choices you make now directly affect your wallet later. Resist picking scabs and use gentle, fragrance-free soap to prevent ink loss that leads to paid touch-ups.
1. Follow the Timeline
Reputable artists recommend waiting 4–8 weeks before evaluating touch-ups. Rushing this window prolongs healing and increases repair costs.
2. Use Proper Products
Apply mild, fragrance-free soap and thin, alcohol-free moisturizer, shifting from ointment to lotion as healing progresses. This prevents patchy healing that requires re-saturation.
3. Protect From Sun
Avoid UV exposure during healing and beyond. Sun damage causes faster fading, forcing maintenance every 5–10 years.
Preventing complications now is cheaper than extended repairs, especially after free touch-up windows expire. Keep your tattoo healthy to avoid expensive tattoo removal or corrective work later.
Aftercare Investment Value
The first 2–4 weeks of healing are when your tattoo is most vulnerable, and this brief window is where small investments pay off most. Your tattoo is an investment, which means protecting it early costs far less than fixing it later.
- Spend a few minutes daily washing with fragrance-free soap, patting dry, and applying a thin layer of fragrance- and alcohol-free moisturizer
- Avoid picking scabs or over-moisturizing, since these habits pull ink and cause patchy healing
- Use sun protection immediately, because UV exposure fades work and triggers expensive refreshers
Remember: the dull, cloudy look and flaking around days 2–6 are normal, but deeper healing takes 3–4 months. What you need to know is simple: reliable aftercare now prevents paid touch-ups once your free window closes.
Budget vs. Premium Aftercare: What $10 vs. $30 Gets You
How much should you actually spend on keeping your new tattoo healthy? You can protect your ink for roughly $10 monthly with generic, fragrance-free, alcohol-free cleansers and thin moisturizers that meet basic healing needs. Tattoo artists often respect this approach when you follow instructions precisely. Consistent care may earn you free touch-ups if colors stay vibrant.
Smart aftercare doesn’t require expensive products—just fragrance-free, alcohol-free basics applied consistently.
What $30 Gets You
Premium options, like Hustle Butter Deluxe Tattoo Balm (~$25), prioritize skin comfort and compliance. These artist-friendly formulas moisturize without clogging pores like petroleum-based products. The real value isn’t the monthly price; it’s reduced long-term costs. Better aftercare supports bold, vibrant healing, lowering your chance of needing costly refreshers later.
The Fair Test
Compare products by three criteria: fragrance-free, alcohol-free, and appropriate thin-layer application. Whether you spend $10 or $30, meeting these standards determines your results.
Recommended Products

Foaming Tattoo Soap: Great for in-process and post-tattoo and piercing care. Keeps new tattoos & piercings clean during the healing process.

Complete Tattoo Aftercare Kit – Includes 1.7oz Tattoo Balm and 2oz Tattoo Foam Soap Cleanser to support a full tattoo care routine. Clean, hydrate, and maintain the appearance of your body art.

GREAT FOR NEW TATTOOS - H2Ocean Blue Green Foam Soap cleanses skin on and around new tattoos and the addition of aloe vera aids the healing process.
Your Day-by-Day Aftercare Routine (and What Each Step Costs)
Budget versus premium products only matter if you’re using them correctly. You start your new tattoo care by washing 1–2 times daily with fragrance-free soap, then applying a thin layer of ointment. For the first 1–2 days, you’ll use A+D or plain Petroleum Jelly, which costs just a few dollars.
If you chose a second skin dressing like Saniderm or Tegaderm, you remove it around Days 4–6, then continue gentle washing. Your heaviest spending happens in weeks 1–2.
Here’s your daily cost breakdown:
- Days 1–6: Cleanser plus ointment, minimal expense
- Days 6–14: Fragrance-free moisturizer applied several times daily
- Days 15–30: Lighter moisturizing until healed
Use thin layers only. Overuse wastes product and irritates skin.
Recommended Products

Multi-Purpose Use: Effective for dry, cracked skin, minor cuts, burns, chapped lips, and more.
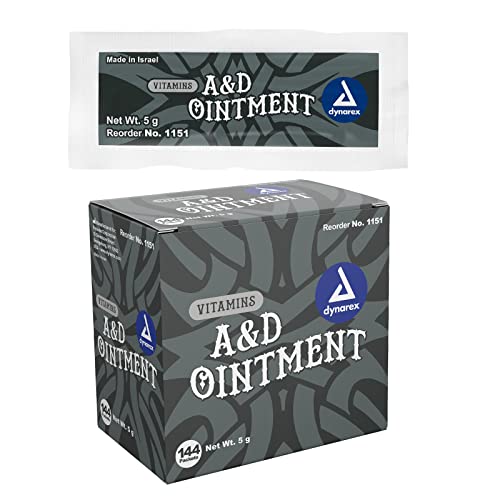
Protect Your Skin - Shield minor cuts, burns, and scrapes from further damage, chafing, and irritation with a skin salve ointment that will help keep wetness and impurities away from your injury.

Dry Hands and Cuticles: Frequent exposure to water, hand soap, hand sanitizer or extreme weather conditions can cause dry, cracked heels, hands, and cuticles. Use A plus D First Aid Healing Ointment, an effective moisturizer, to help protect and relieve dry and cracked skin
Can You Use Household Items? The Risks of DIY Aftercare
Because you’re trying to save money, you might reach for whatever’s already in your bathroom cabinet. But household items almost always create problems you didn’t anticipate.
The short-term savings of using household items on your new tattoo quickly turn into long-term regrets you could have avoided.
1. Petroleum jelly traps moisture
Original Vaseline blocks airflow, which prolongs scabbing and irritates healing skin.
2. Scented products sting and dry
Soaps or lotions with fragrance or alcohol strip moisture from fresh tattoos. You need gentle, fragrance-free formulas instead.
3. Heavy layers suffocate the surface
Chasing itch with thick DIY applications oversaturates your tattoo, especially during days 6–14 when scabs flake.
4. Infection risk rises
Household items aren’t sterile. Since your tattoo remains an open wound for days, unclean products introduce bacteria.
5. Mistakes cost more later
Poor early aftercare causes patchiness, requiring paid touch-ups after 4–8 weeks. Getting the right tattoo means investing in proper supplies from day one.
Recommended Products

FRAGRANCE FREE TATTOO AFTERCARE FOR SENSITIVE SKIN - The same #1 artist recommended Hustle Butter formula, now with no added fragrance, dyes, or parabens. The unscented tattoo lotion of choice for sensitive or easily irritated skin.

PROTECT & HEAL - H2Ocean Aquatat seals the skin in a moisturizing barrier to protect from irritants while still allowing the skin to breathe. Aquatat will also heal topical wounds on skin such as tattoos, rashes, cuts and scrapes while minimizing scabbing.

1.7-ounce Aveeno Calm + Restore Skin Therapy Balm with colloidal oatmeal & ceramide designed for sensitive skin with nourishing oat goes beyond soothing & restores skin's moisture barrier & reveals healthy-looking skin
How to Spend Less on Aftercare Without Ruining Your Tattoo
You don’t need a bathroom full of specialty products to heal a tattoo well, but you do need a simple plan that protects your investment without draining your wallet. Spend just a few minutes daily on gentle, fragrance-free washing and a thin moisturizer layer. This prevents costly touch-ups later.
- Stick to basics. Use mild fragrance-free soap, a small amount of A+D for days 1–2, then switch to fragrance-free moisturizer or Aquaphor. You won’t expect to pay much for these household staples.
- Moisturize smartly during scabbing. Days 6–14 bring itch and flaking. Apply the thinnest layer possible, since over-moisturizing worsens irritation and can build scar tissue.
- Avoid expensive mistakes. Skip petroleum jelly, pools, and hot tubs. Poor healing forces you to expect to pay for touch-ups after free windows close.
Recommended Products
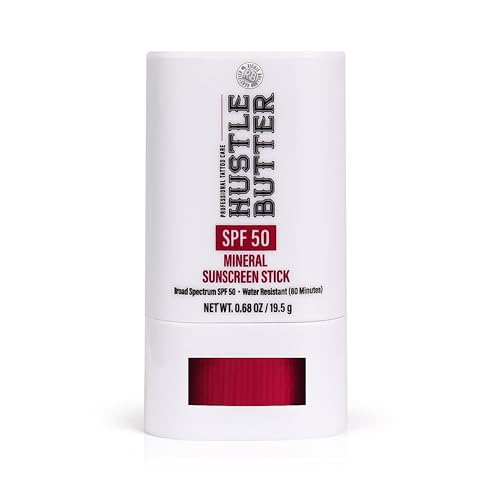
Tattoo Sun Protection, SPF 50: Our tattoo sunscreen stick provides broad-spectrum UVA/UVB coverage, preventing sun damage and fading, keeping tattoo ink vibrant and sharp.

CLEAN & EFFECTIVE INGREDIENTS - This tattoo starter set is the perfect way to keep your tattoos vibrant and healthy from the day you leave the tattoo studio