
You want that ink, but you’re dreading the needle. Smart move researching before you commit to the chair—plenty of people just wing it and regret their lack of prep. The good news? You can substantially dial down the discomfort with strategic choices about placement, timing, and body prep. But there’s one mistake even seasoned collectors make that sabotages everything from the start.
Key Takeaways
- Choose fleshier areas like the outer arm or thigh instead of bony spots with thin skin.
- Get solid sleep, avoid alcohol and blood thinners, and moisturize daily before your session.
- Eat a balanced meal with complex carbs and protein two hours prior to stabilize your nervous system.
- Apply numbing cream correctly before starting, and use slow breathing or distractions during needlework.
- Take breaks at natural stopping points and follow aftercare instructions precisely to reduce prolonged discomfort.
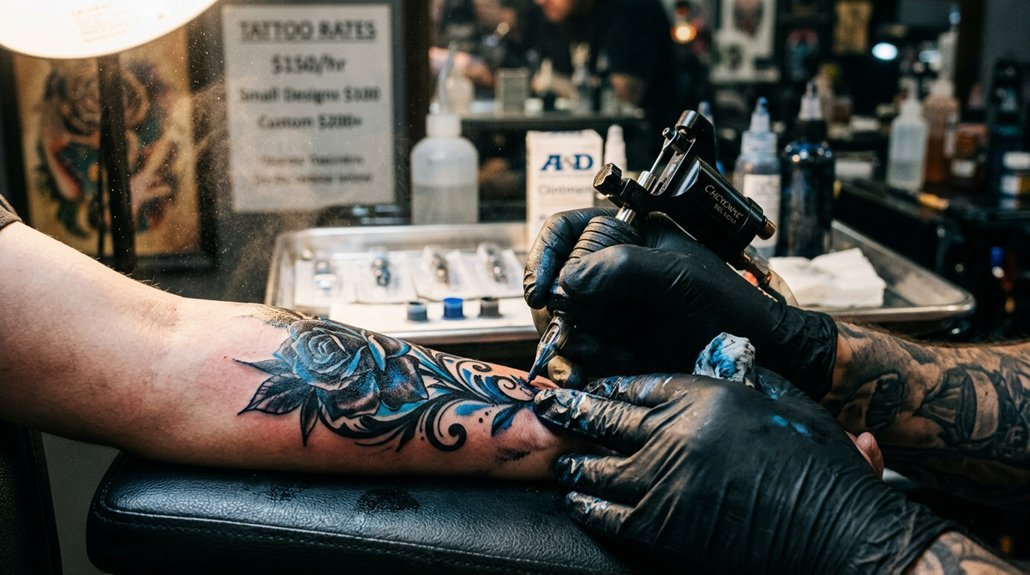
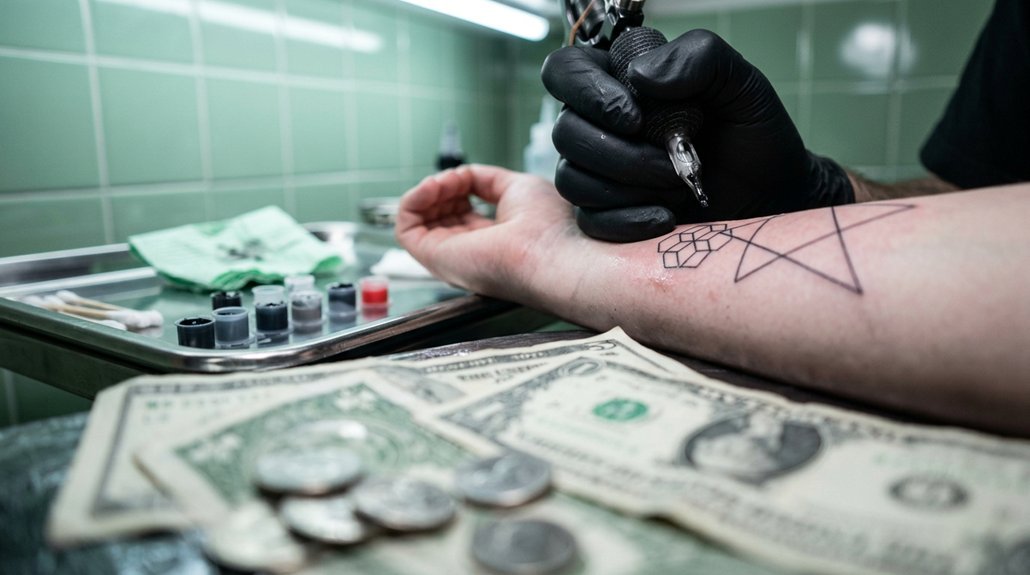
Reduce Tattoo Pain by Choosing the Right Placement
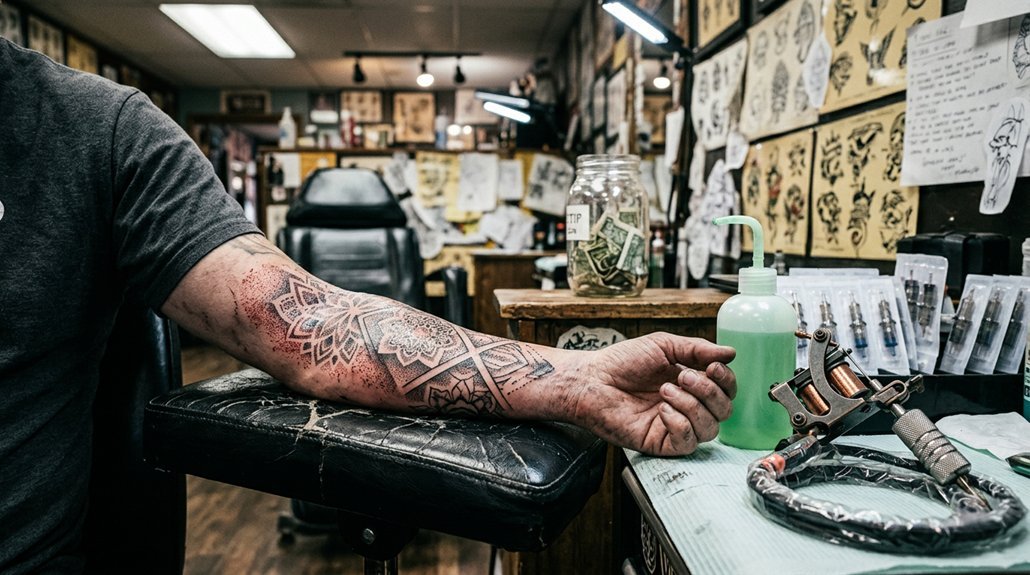
Where exactly are you getting inked? You’ll feel far less pain if you avoid bony areas with thin skin. Your ribs, spine, ankles, and collarbone scream during sessions because needles rattle against bone with minimal padding. You’re better off choosing fleshier spots like your outer arm, thigh, or calf where muscle and fat cushion the sensation.
Consider your tattoo’s size too. You’re tempting fate when you book an eight-hour session for your first piece. Start smaller, build tolerance, then tackle ambitious placements.
Think about nerve density as well. Your fingers, feet, and armpits host clusters of sensitive nerves that amplify every poke. You won’t enjoy that experience.
Research your artist’s specialty. They’ll know which placements age well and which ones distort over time. You deserve clean lines that last.
Prep Your Body 24 Hours Before Your Session
You’ve locked in your placement; now your body needs readying. Skip alcohol completely—it thins your blood and heightens sensitivity. Avoid aspirin and ibuprofen for the same reason; switch to acetaminophen if you need pain relief. Get solid sleep tonight; exhaustion amplifies discomfort and weakens your resolve. Shave the area carefully to prevent your artist from wrestling with stubble. Moisturize the skin daily leading up, but stop twelve hours before; too much lotion creates a slippery surface. Skip intense workouts the day prior—sore muscles tense during the needle’s work. Apply a numbing cream if your artist approves; you’ll need to time it precisely. Tanning burns or fresh sun damage will make the session unbearable, so stay out of the sun. Pack clean, loose clothing that won’t rub your fresh ink on the ride home.
Eat and Hydrate to Stabilize Your Nervous System
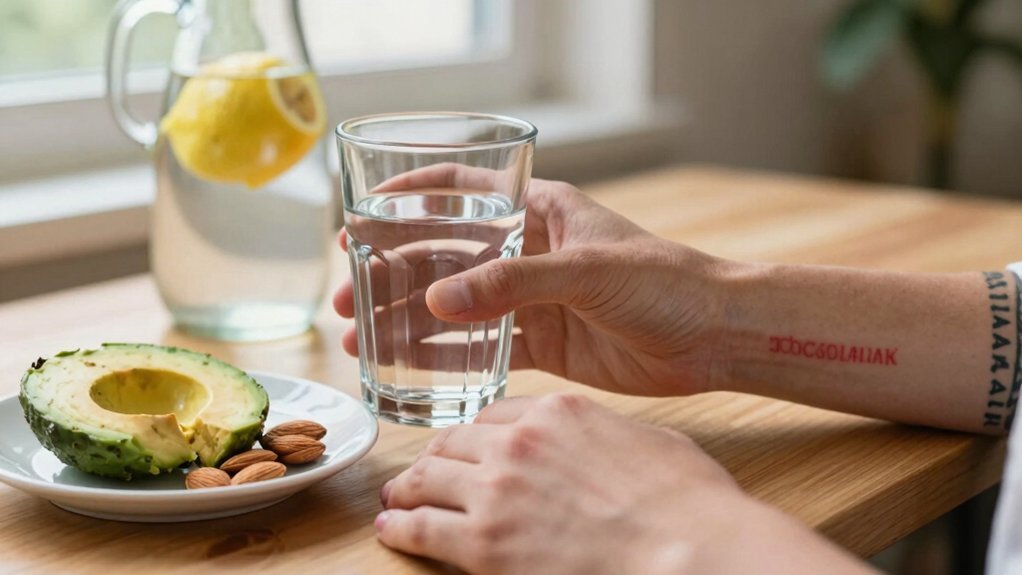
Why arrive on an empty stomach when your blood sugar holds the keys to your pain tolerance? You’ll crash fast without fuel, and your nerves will scream louder when you’re running on fumes. Eat a solid meal two hours before your session—complex carbs, lean protein, healthy fats. Think oatmeal with peanut butter or chicken and rice. You need sustained energy, not a sugar spike.
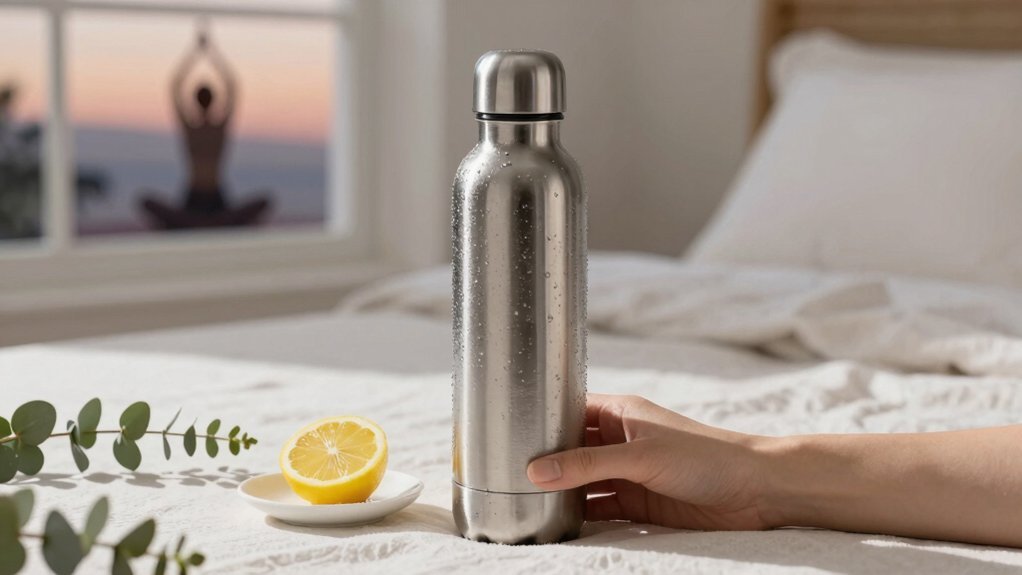
Hydrate aggressively starting the day before. Drink water until your urine runs pale. Dehydration thickens your blood and amplifies every needle strike. Skip alcohol for forty-eight hours—it dehydrates you and thins your blood, making you bleed more during the process.
Bring snacks. Granola bars or fruit restore your glucose when sessions drag past three hours. Your nervous system stays steadier when you’ve fed it properly. Don’t ignore this step.
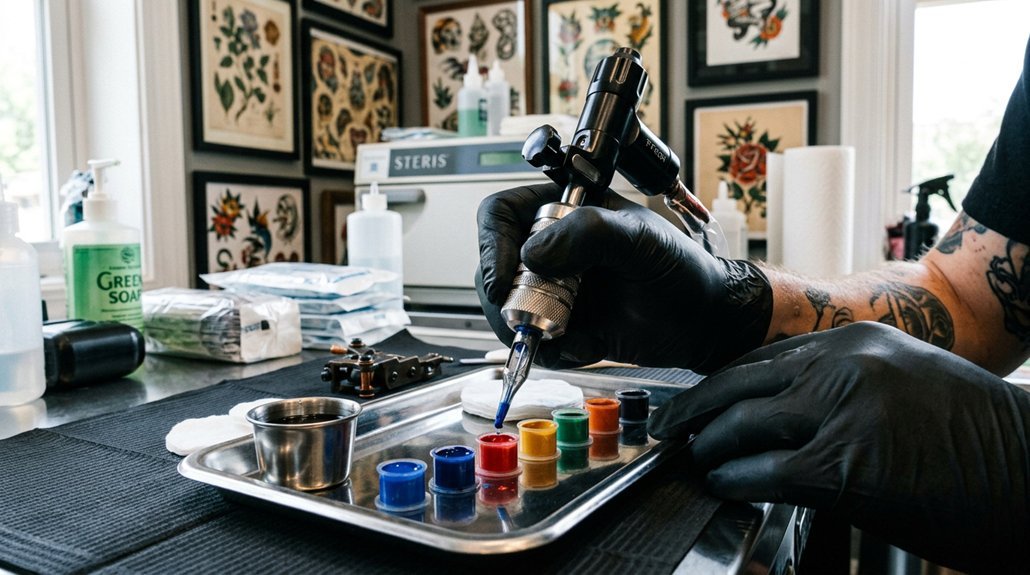
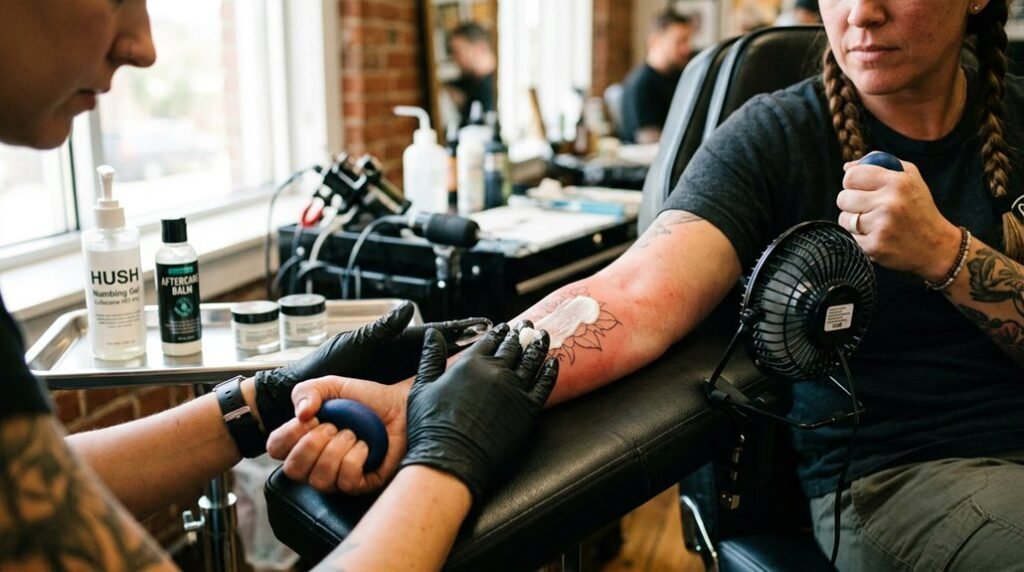
Use Numbing Creams and Sprays Correctly
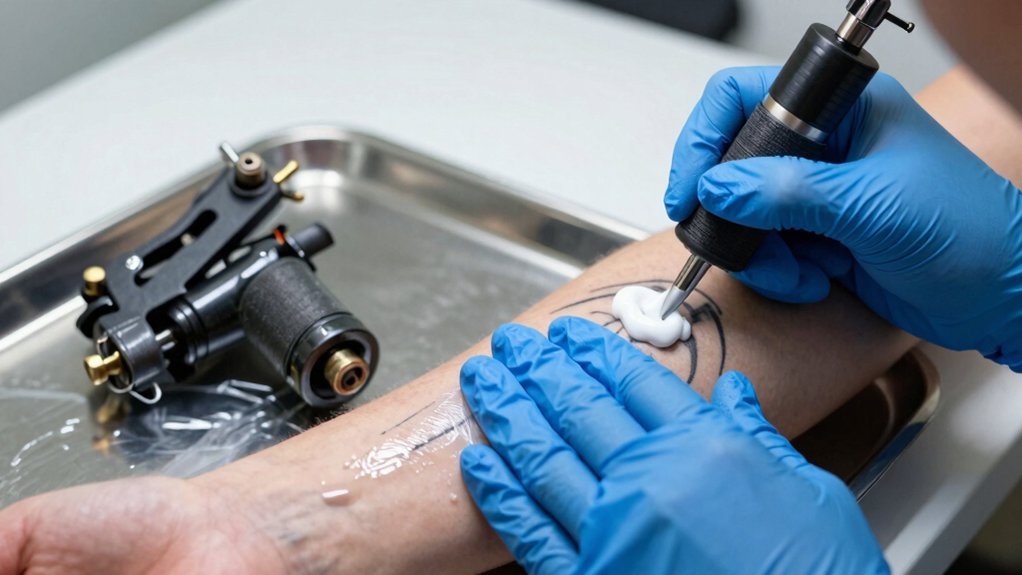
The right numbing product won’t eliminate pain completely, but it’ll dull the edge enough to keep you in the chair.
Apply numbing cream about 30 to 60 minutes before your appointment following package directions precisely. Don’t slather on extra; you’ll irritate skin and risk uneven numbing. Cover the area with plastic wrap to help the product penetrate deeply. Remove it right before the artist sets up.
Discuss numbing products with your artist beforehand. Some creams change skin texture, making their job harder. Respect their preferences; they’ve worked with numbed and non-numbed skin alike.
Sprays work mid-session when initial numbing fades. Ask your artist before spritzing anything—they’ll tell you when and where it’s safe. Never numb large areas yourself; you’ll mask warning signs your body needs you to hear.
Breathe Through the Pain and Stay Mentally Distracted
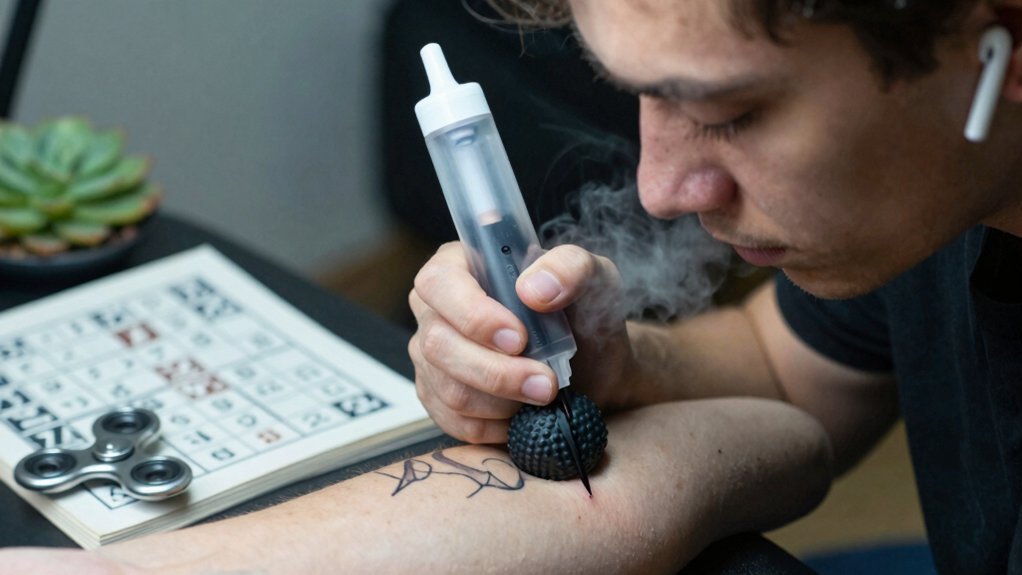
When the needle starts buzzing, your body’s first instinct is to tense up and hold your breath—but that’s exactly what’ll amplify every sensation, so you’ll need to retrain that reflex fast.
Breathe slowly and deeply, matching your exhale to when the needle hits skin. You’ll trick your nervous system into staying calmer than it wants.
Distract your mind actively: bring headphones and blast your favorite album, or chat with your artist if they’re talkative. Count backward from 100, visualize your happy place, or flex your mental muscles on a puzzle app.
Your brain can’t focus on two demanding things at once, so you’ll dilute the pain by keeping it occupied. You’ll endure those hours far more comfortably when you’re not zeroing in on every prick.
Time Your Breaks to Keep Your Body Relaxed
How often should you push through versus pause? You know your body best, so speak up before you tense up. Ask your artist for breaks when your muscles start locking or your breathing turns shallow. You’ll want to time these strategically—request them at natural stopping points between design elements rather than mid-stroke.
Sitting for two to three hours without relief exhausts your nervous system and amplifies every subsequent sensation. Stand, stretch, hydrate, then return before your endorphins fully crash. Don’t abuse the privilege though; excessive pauses prolong the session and make each restart feel sharper.
Balance steadiness with self-awareness. Your artist wants you comfortable because a relaxed canvas holds ink better. Negotiate a rhythm that keeps you present without pushing past productive limits.
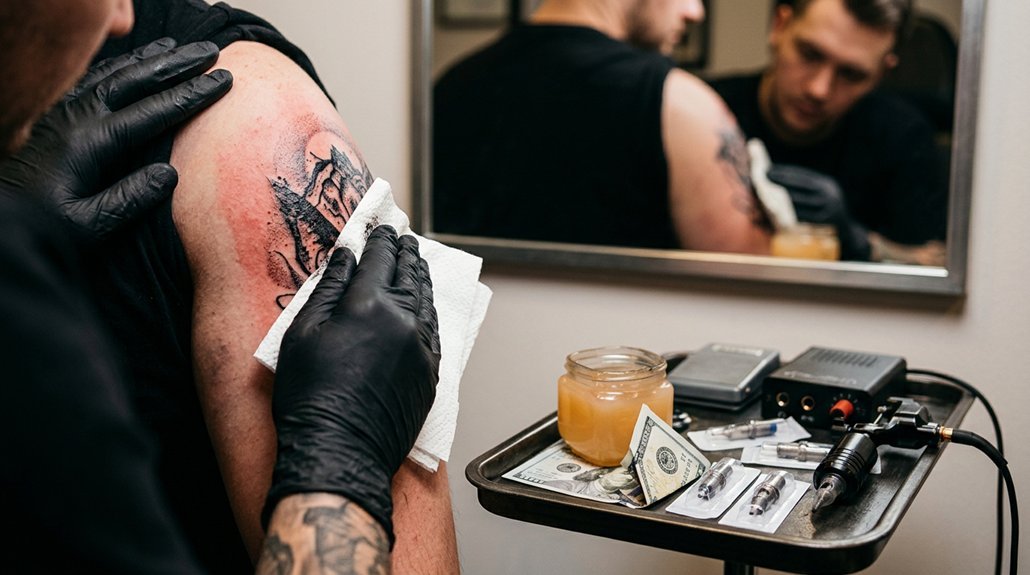
Protect Your Healing Skin From Added Irritation
Why add unnecessary pain to a process you’ve already endured? You’ve invested time, money, and discomfort into your new ink—don’t sabotage it now.
Protect your healing skin from added irritation by following your artist’s aftercare instructions precisely. Wash gently with fragrance-free soap, then pat dry—don’t rub. Apply only the recommended ointment or moisturizer; never slather on petroleum jelly or random lotions you grabbed from your bathroom.
Keep your tattoo out of direct sunlight—UV rays will burn and fade fresh ink. Skip swimming pools, hot tubs, and ocean water until you’ve fully healed; bacteria and chemicals invite infection and prolong discomfort. Resist scratching scabs or peeling skin, no matter how maddening the itch becomes.
Wear loose cotton clothing over your tattoo. Tight fabrics trap moisture and friction against tender skin, creating unnecessary inflammation.
Guard your investment. You’ve already suffered once—don’t let carelessness make you suffer again.
Conclusion
You can’t eliminate tattoo pain entirely, but you’ll manage it much better with smart preparation. Choose fleshier placements, fuel your body properly, and use numbing products wisely. Stay relaxed through breathing and distraction, and don’t skip breaks when you need them. Your aftercare matters too—protect that healing skin. Follow these steps and you’ll get through your session with less discomfort than you feared.