
You’re staring at bare skin, imagining canvas. A sleeve isn’t a single decision—it’s a commitment you’ll wear for decades, and most people skip the step that makes or breaks the entire piece. You think you know what you want until you realize you haven’t asked yourself why.
Key Takeaways
- Establish a unified artistic vision by researching styles, cultural histories, and reference materials before committing.
- Select your arm based on visibility needs, sun exposure, and your dominant hand’s usage patterns.
- Vet artists through completed sleeve portfolios, healed photos, and direct questions about their experience.
- Begin with a single anchor piece and expand gradually, allowing each section to heal before adding more.
- Design for cohesive flow using strategic filler elements and negative space mapped with your artist.
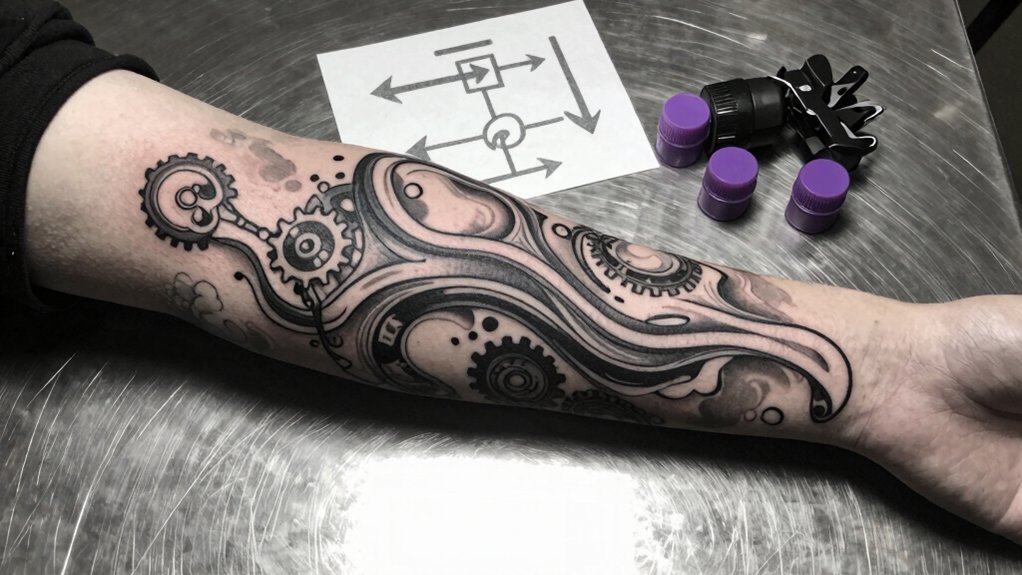
Choose Your Sleeve Style and Theme
Your tattoo sleeve’s foundation rests on a single, unifying vision—whether that’s Japanese irezumi, American traditional, black-and-grey realism, or something entirely your own.
You’ll want to immerse yourself in reference materials, artist portfolios, and cultural histories before committing. Don’t rush this exploration; you’re mapping skin you’ll wear for decades.
Your chosen theme determines everything—color palette, imagery flow, negative space usage, and artistic specialists you’ll seek. Nature sleeves demand different expertise than biomechanical or geometric designs. You’ll match subject matter to your personal narrative, letting symbols accumulate meaning through careful selection.
Research artists whose portfolios align with your vision. You aren’t hiring proximity; you’re commissioning mastery. Schedule consultations, examine healed work, and verify stylistic consistency. Your sleeve deserves an artist who breathes your chosen aesthetic. Trust your instincts, but validate them through evidence.
Decide Which Arm (and How Visible)
Once you’ve locked in your style and theme, you’re ready to figure out which canvas you’re actually marking. Consider your dominant hand first; you’ll show that arm more naturally during gestures and daily tasks. If you’re right-handed, your left sleeve stays slightly more protected from sun and minor bumps.
Think hard about visibility limits. Short sleeves reveal everything below the shoulder. You’ll need solid forearm coverage or a strict long-sleeve commitment for conservative workplaces. Some employers still enforce strict tattoo policies. Plan around your career reality, not your weekend ideal.
Upper arms offer easier concealment. Full sleeves demand complete commitment. You can’t easily hide them without strategic clothing choices. Measure your comfort against your professional obligations. Pick the arm and coverage level that fits your actual life, then move forward without second-guessing your choice.
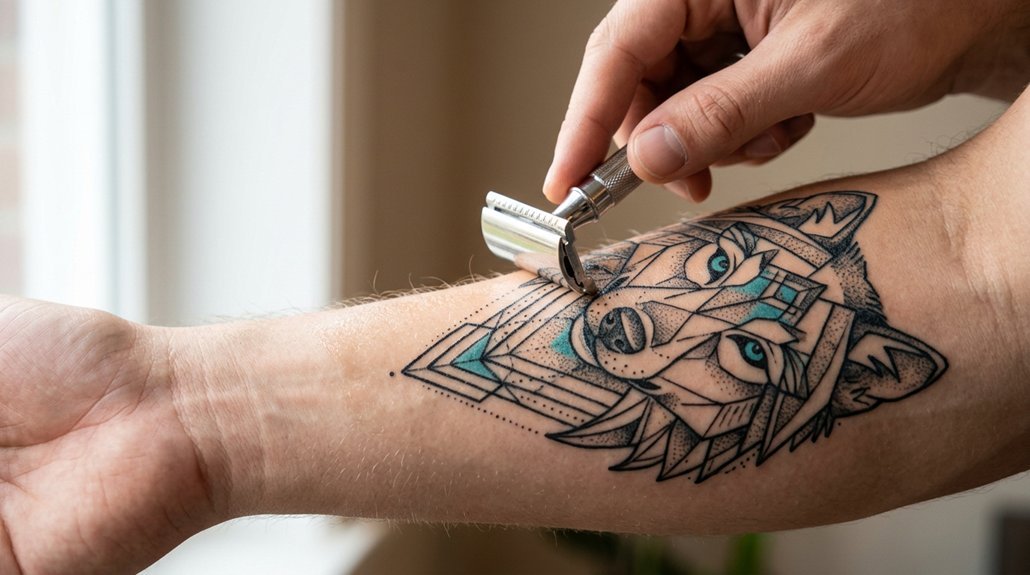
Find an Artist Who Actually Does Sleeves

Where do you actually find someone who won’t botch a project this big? You’ll start by scrolling through Instagram, but don’t stop there. You need an artist whose portfolio shows completed sleeves, not just scattered flash.
Check who’s tattooing at conventions. Sleeves demand consistency across multiple sessions, so look for healed photos too. Fresh work looks different from work that’s settled into skin.
You’ll visit shops in person. Watch how an artist talks about flow, negative space, and how pieces connect around the arm. Ask directly: “How many sleeves have you finished?” Someone who’s only done small tattoos will hesitate. You’ll notice.
Don’t bargain hunt. You’ll pay for expertise. A sleeve takes years. You’re building trust, not just buying ink. Pick wrong, and you’re stuck or facing expensive, painful corrections.
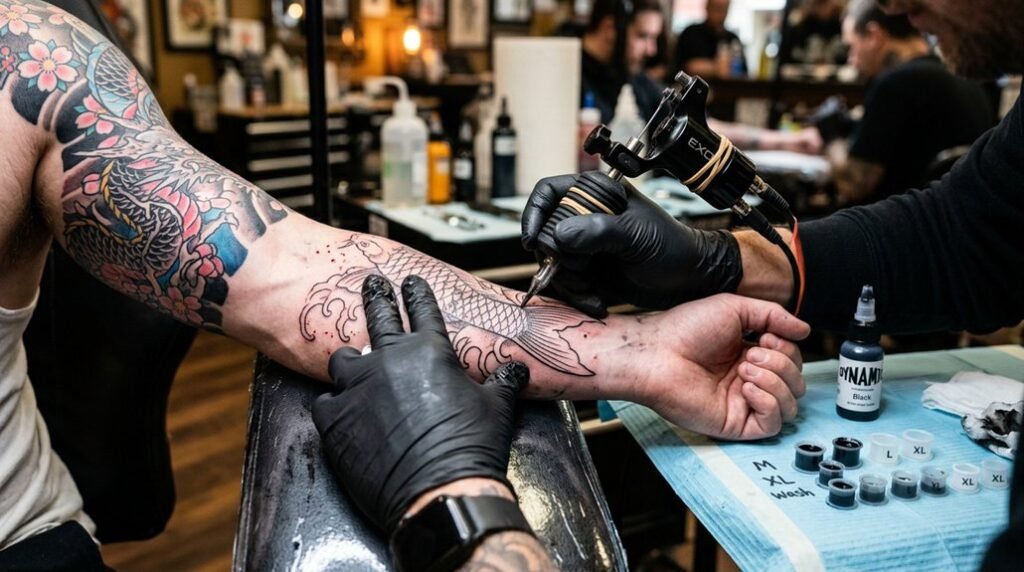
Plan Your Sleeve in Stages, Not All at Once
With an artist locked in, resist the urge to map out every inch before the first session starts. You’ll evolve, and your sleeve should grow with you. Start with one bold piece—your anchor—and build outward from there. Let each session settle into your skin before you commit to what comes next.
You’ll sit better, heal better, and think clearer when you break the work into manageable chunks. Your artist will adapt the design as your arm changes shape and your tastes refine. Trust the process; you’re not installing kitchen cabinets. You’re creating living art that’ll walk around for decades.
Pause between sessions. Live with each addition. Notice how it moves with your muscle, how it catches light. Then return, ready, for the next chapter.
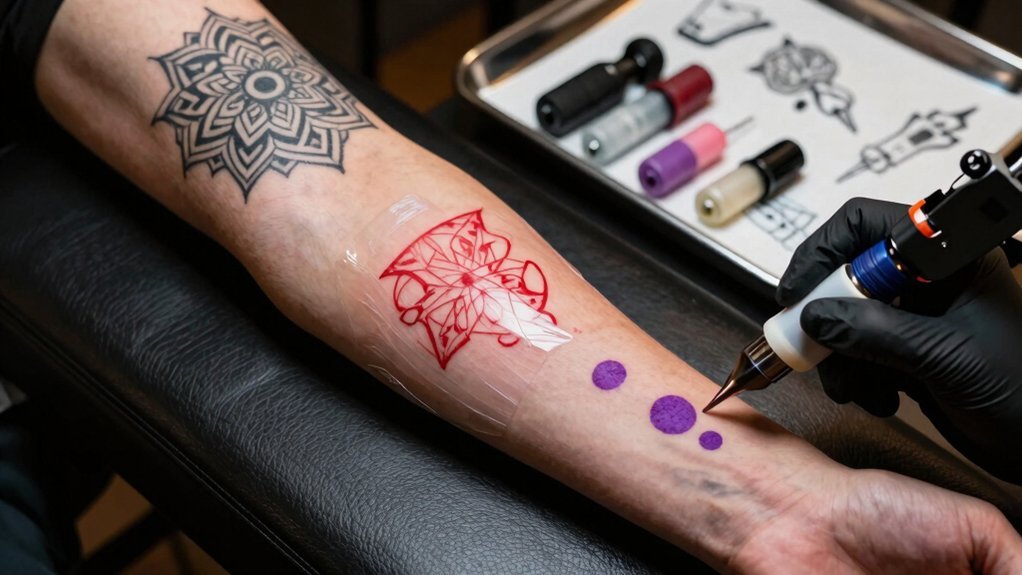
Design the Layout: Flow, Filler, and Negative Space
How do you make dozens of separate images read as one continuous piece? You’ll weave them together through directional flow, ensuring each element guides the eye naturally around your arm.
Position larger focal points at high-visibility areas like the shoulder or forearm, then rotate smaller pieces to complement their lines.
Don’t let gaps kill the momentum; you’ll need filler elements—waves, smoke, foliage, or geometric patterns—to bridge awkward, empty spaces between main subjects.
Strategic negative space prevents suffocation, letting your skin breathe and highlighting the inked portions.
Work closely with your artist to map these transitions before the needle touches skin, creating a blueprint where every component supports the whole.
This cohesive approach transforms scattered tattoos into a unified narrative that wraps your arm completely.
Budget for Multiple Sessions (and Future Touch-Ups)
Why expect a single payment when your sleeve demands patience? You’ll invest across months or years, paying per session as your artist builds the artwork. Ask your artist upfront about hourly rates and estimated sessions. Set money aside beyond the initial work.
Skin fades, lines blur, and colors soften—plan for touch-ups every few years to keep your sleeve sharp. You can’t predict your immune system’s response or how pigment settles. Budget an extra fifteen to twenty percent beyond the quoted total for unexpected needs.
Prioritize quality over speed; rushing into cheap, marathon sessions damages skin and design. You’ll stretch finances, but you’ll wear this forever. Start saving now, and treat your sleeve as the long-term investment it is.
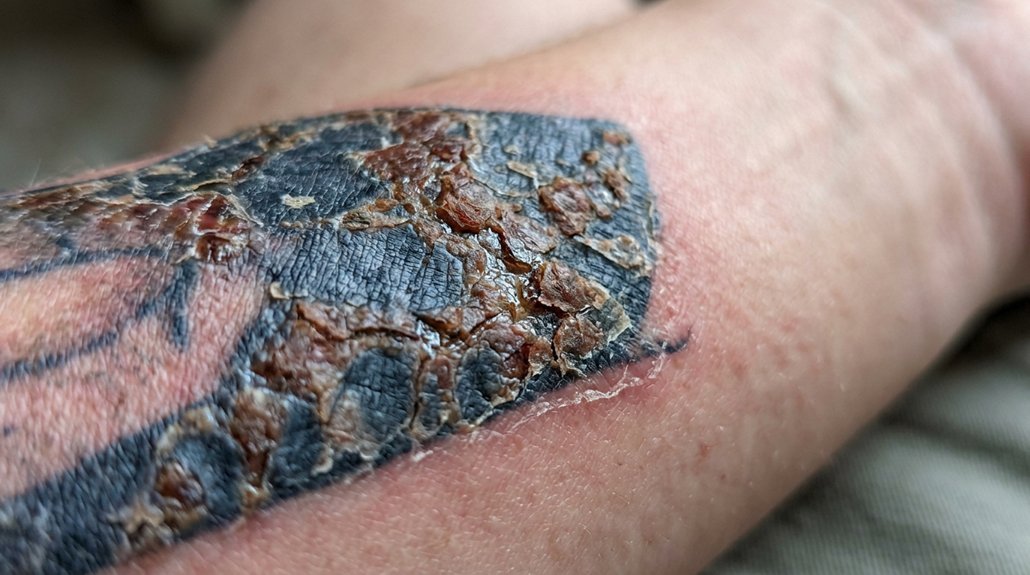
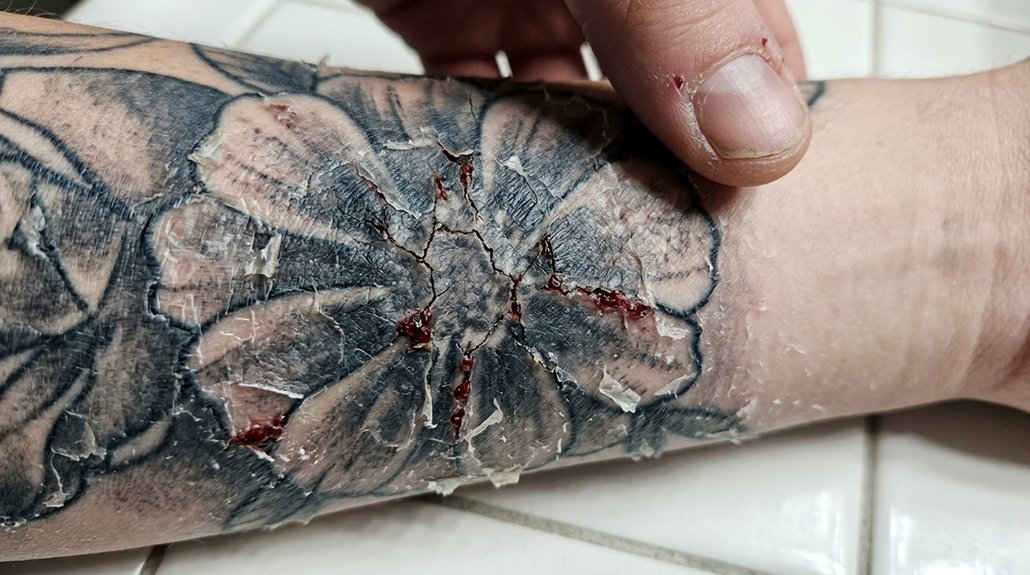
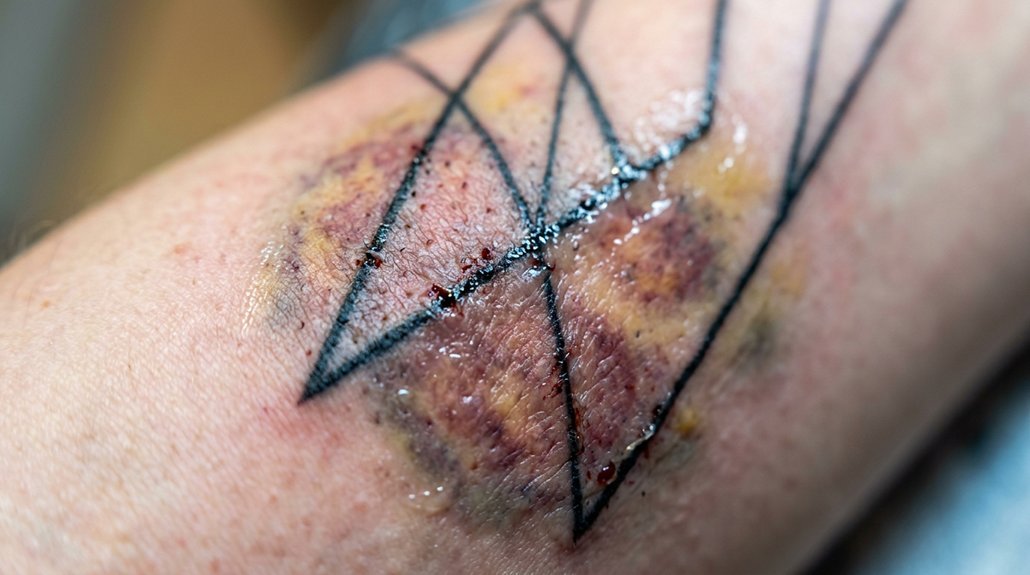
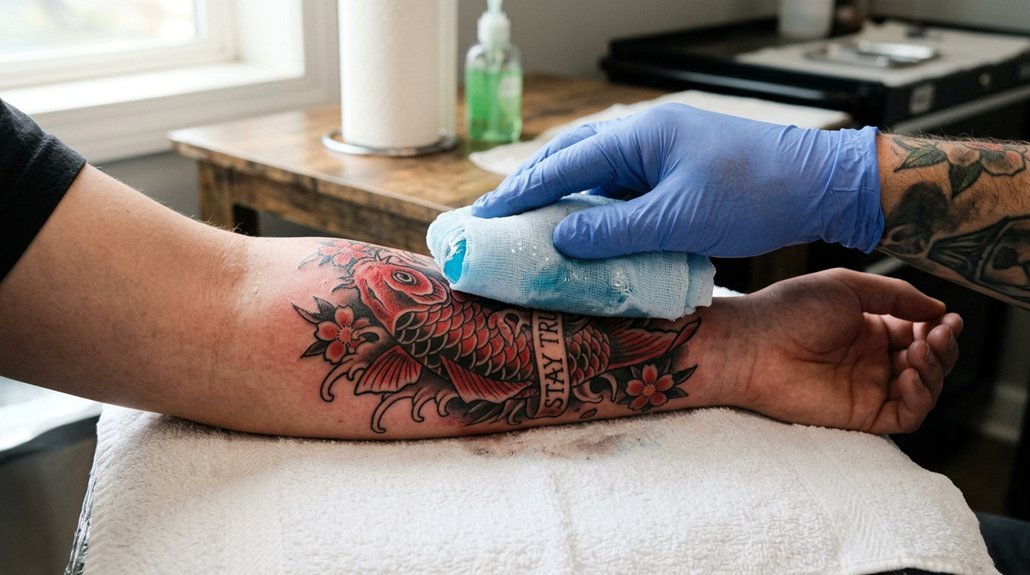
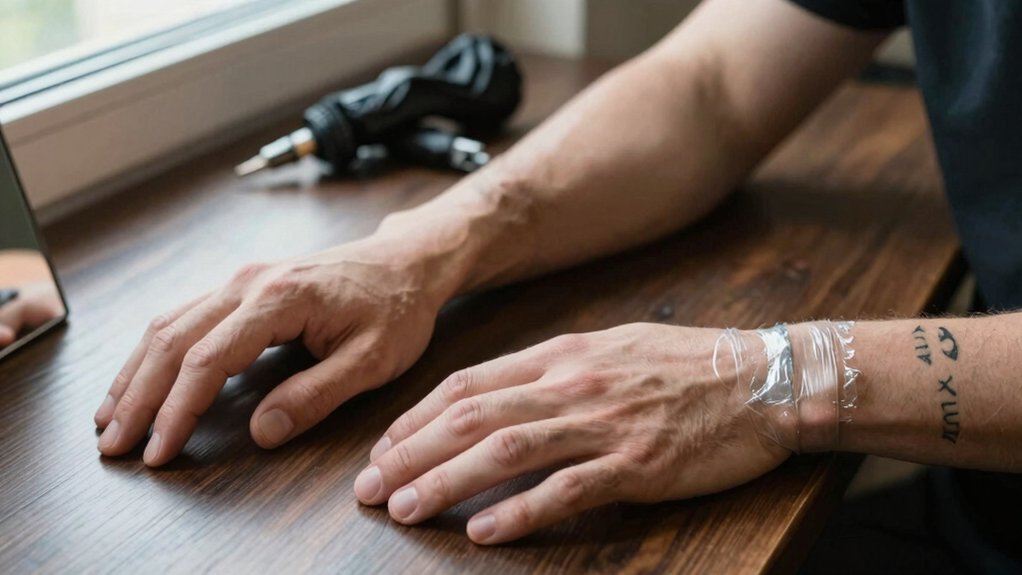
Care for Your Healing Sleeve Between Sessions
Where does your sleeve stand when the needle stops? You’ve got fresh ink, open skin, and weeks of healing ahead. Don’t sabotage your investment.
Wash your tattoo gently twice daily with unscented soap. Pat dry—don’t rub. Apply a thin layer of recommended ointment for the first few days, then switch to unscented lotion. Keep it moisturized but never suffocated.
Avoid direct sunlight, swimming pools, and soaking in baths. Wear loose clothing that won’t stick to the healing skin. Don’t pick scabs or scratch when itches—let the flakes fall naturally.
Sleep carefully to avoid pressing fresh work against sheets. Your artist mapped this sleeve strategically; damaged healing disrupts their plan. Healed skin takes ink better, so respect the timeline. Return only when you’re fully recovered.
Conclusion
You have got everything you need to start your sleeve journey. Lock in your theme, pick the right arm for your life, and hunt down an artist who lives and breathes this work. Take it session by session, trust the process, and let each piece heal before pushing forward. Plan smart, budget honestly, and protect your investment. Your sleeve is a story you are building—make sure it is one you will always want to tell.