

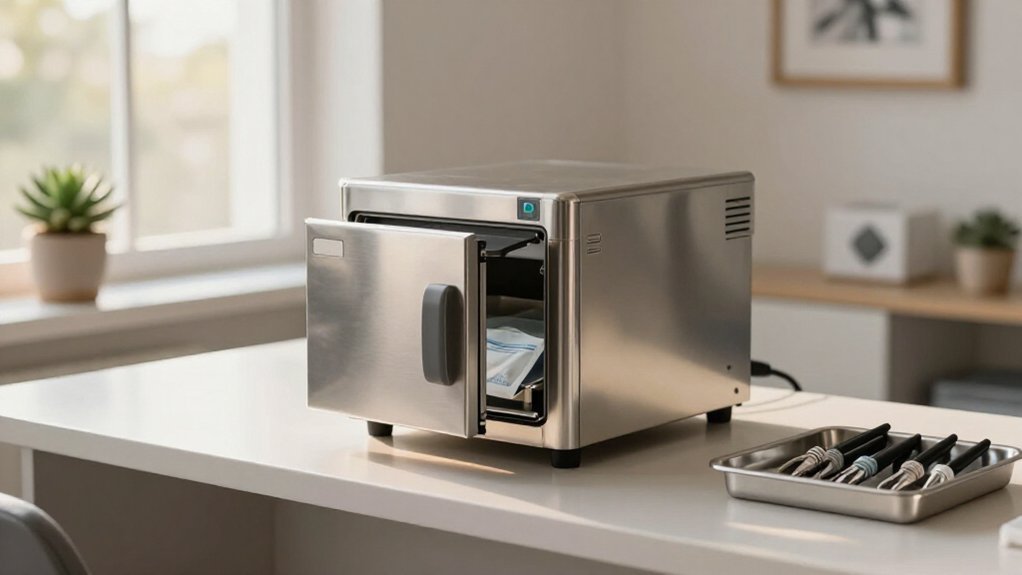
You need to sterilize your tattoo equipment properly, or you’re putting every client at risk. Bloodborne pathogens don’t negotiate, and neither should your safety protocols.
Start with thorough pre-cleaning, validated autoclave cycles, and weekly spore testing.
But here’s what most guides get wrong about keeping that sterility intact once the machine leaves the bag.
Sterilize With Autoclave (or Use Cold Sterilization as Backup)
Before you sterilize anything, you’ll need to scrub away every trace of ink, blood, and debris, because an autoclave can’t clean what you can still see. You’re cleaning and sterilising reusable grips, needle cartridges, and other tools with a detergent solution first, then drying them completely.
An autoclave can’t sterilize what you can still see—clean first, dry completely, then sterilize.
Run Your Autoclave Correctly
You’ll pack items in steam-permeable pouches, label each one, and run the proper cycle: typically 275°F at 15–23 psi for 20 minutes. Don’t leave during the cycle; wet packs mean compromised sterilisation.
Verify Every Load
You’re checking chemical indicators inside each pouch. You’re also doing weekly spore testing to confirm your autoclave kills resistant organisms. This biological monitoring proves your equipment actually achieves sterilisation, not just heat exposure.
When Autoclaving Won’t Work
Some items, like machine motors, can’t tolerate heat. You’re using validated cold sterilization instead, with 8–24 hour chemical contact times, after the same thorough pre-cleaning.
Recommended Products

Sanitize Your Tools - Keep dental, medical, and personal care tools clean with our pouch bags. They’re available in 7 sizes to fit your instruments and get them ready for autoclave sterilizers.

Sanitize Your Tools - Keep dental, medical, and personal care tools clean with our pouch bags. They’re available in 7 sizes to fit your instruments and get them ready for autoclave sterilizers.

STRONG SEALS: Triple-sealed on both sides, with a reinforced seal at the closed end to prevent splitting during loading and sterilization, and a self-adhesive seal - no tape or heat sealer required. Perfect for busy clinics, spas, and tattoo studios. Available in a range of sizes for any clinical setting.
Clean First: Why Residue Ruins Sterilization
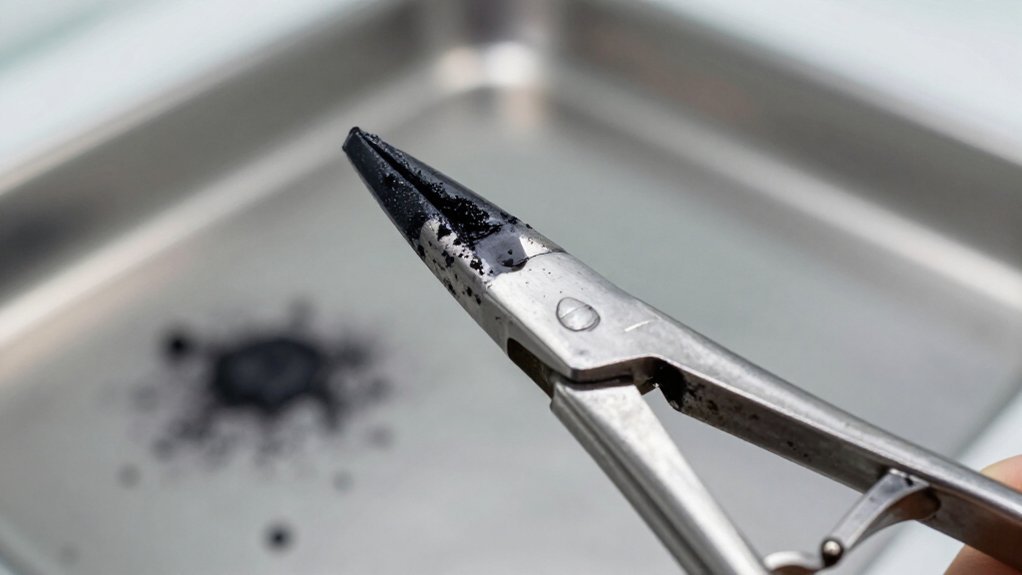
Because sterilization can’t penetrate what’s still sitting on your equipment, you’re removing every trace of residue first. Cleaning tattoo equipment is the step you can’t skip, and here’s what you need to know: organic matter blocks microbial kill.
Why Pre-Cleaning Matters
You’re preventing “sterilized residue,” where tools look processed but hide contamination. Use enzymatic detergent, like Tergazyme mixed below 55°C/130°F, or enzymes degrade. Don’t use bleach here; it degrades proteins poorly compared to enzyme action.
Handling Heavy Residue
With heavy residue, you’re doubling concentration to 2% and rinsing thoroughly. Gloved hands protect you at every step. Remember, enzyme solutions work up to 8 hours; old solution fails you.
Clean first, or sterilization fails. That’s the rule you follow.
Recommended Products

The indicator dot printed on the distal end of the 8" strip permits a secure sterile presentation

Clear Temperature Indication – Take the guesswork out of the sterilization process. The color paper stripes of your tape turn black after 5 minutes of exposure to 273°F at steam pressure of 1.02kg/cm².
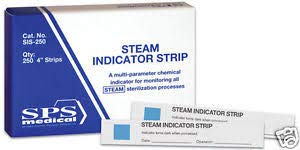
A chemical indicator for monitoring STERRAD 100S, 200, NX, 100NX, and STERIS V-Pro vaporized hydrogen peroxide sterilizers
Test Your Autoclave With Weekly Spore Checks
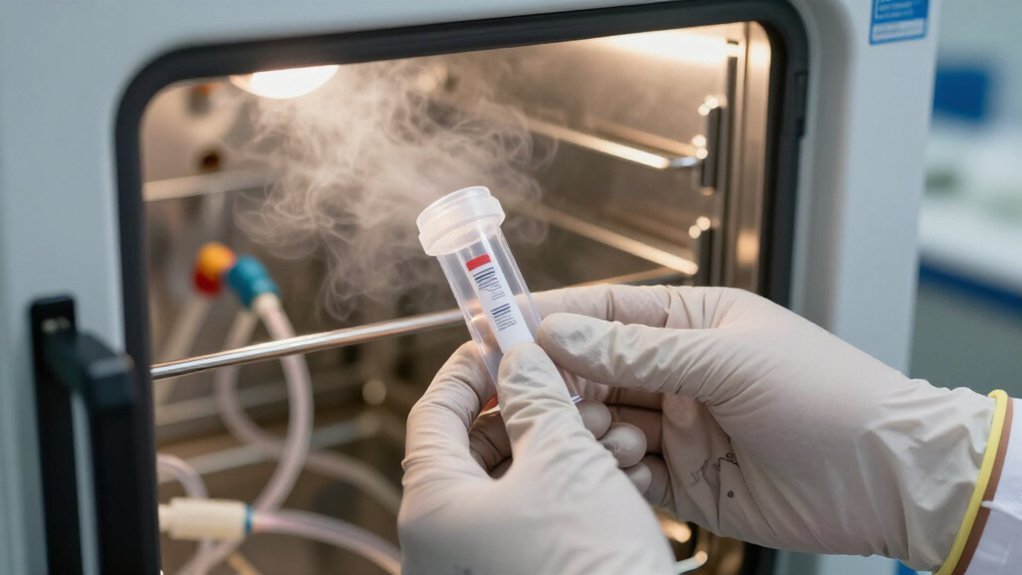
Once your equipment is clean, you’re ready to verify your sterilizer actually works. Run weekly spore tests for your autoclave to confirm true sterilization, not just that the machine cycled. These biological indicator tests use commercially prepared units placed in “worst case” loads, challenging steam contact through pack density and positioning.
Weekly spore tests confirm your autoclave achieves true sterilization, not just a completed cycle.
Place biological indicators in representative tattoo instrument loads after cleaning solution cycles. Pair these with chemical indicators and cycle logs, since those check exposure but don’t prove biological kill. Never leave your autoclave unattended during operation.
If spore tests return positive, stop sterilizing reusable critical instruments immediately. Troubleshoot, retest, and document corrective actions before resuming. Maintain records tying each load to that week’s biological verification.
Professional tattoo studios often follow protocols from local health departments, so check your specific requirements.
Recommended Products

Fast Turnaround - Results available in as little as 1 business day for steam sterilizers after test is recieved at laboratory For Steam, Chemical Vapor, Dry Heat or EtO...
Bag Your Machine to Keep It Sterile During Sessions
While you prepare your station, you’ll need to protect your tattoo machine from contamination before the needle ever touches skin. You’ll cover the entire tattoo machine, including metal grips and steel tubes, with a plastic machine bag or purpose-made wrap. This barrier prevents blood, tattoo inks, and other fluids from reaching the motor housing or internal parts you can’t clean mid-session.
If you’re using a pen-style machine, you’ll also need a fitting clip cord sleeve. Slide it over the clip cord to protect both the cord and connection points from exposure. For cartridge or coil setups, you’ll store your covered items in a drawer, not openly on the bench, because open coverings increase splash contamination risk during work.
You’ll only open the sterile bag when you’re ready to tattoo. Keep the outside clean and dry until that moment, so package integrity stays intact. After the session, you’ll keep the machine wrapped until post-session cleaning, preventing re-contamination.
Never use household cleaners on your equipment; they’re not formulated for this purpose. Secure loose clip cords with a rubber band to prevent them from dragging across contaminated surfaces.
Recommended Products

Surgical instrument detergent is formulated to effectively clean surgical instruments and medical devices, such as scalpels, scissors and forceps, making them sanitary for their next use

McKesson multi-enzymatic detergent contains a synergistic combination that effectively removes bodily fluids and tissues from medical equipment
Reset Your Station Between Every Client
After you’ve finished a session, you’ll need to break down your station completely before the next client arrives. Tattoo artists use specific protocols to protect every New Tattoo client.
1. Contain and Dispose
Keep used items contained immediately. Throw needle cartridges and razors into FDA-approved sharps or biohazard containers. Empty the entire trash area so no contaminated paper towels remain.
2. Re-wrap Your Equipment
You’ll need to re-wrap anything handled at the workstation. Use fresh barriers on your tattoo machine, grips, clip cord sleeves, and bottles or sprayers. Do not reuse contaminated barriers between clients.
3. Clean and Disinfect
Perform the required cleaning cycle on all touch surfaces with an EPA-registered hospital-grade disinfectant. Follow label contact time, approximately six minutes for products like Madacide.
Take care: never spray disinfectant directly onto the tattoo machine itself. Machines must stay properly wrapped while you disinfect surrounding areas.
4. Protect Yourself
Use fresh gloves for setup and reset steps. Perform hand hygiene, washing for twenty-plus seconds, so you don’t transfer contamination from dirty to clean surfaces.
Recommended Products

Professional Tools Cool Sterilization Plastic Tray is an ideal choice for sterilizing instruments

MADE IN THE USA SINCE 1990 — For over 30 years Dynamic Color has produced professional tattoo supplies in the United States, an established American brand artists built their work on long before most imported labels existed.

[EFFICIENT CLEANING OF TATTOO NEEDLES] - The tattoo needle cleaner will rinse the tattoo needles with a large amount of water to ensure that the tattoo cartridges are rinsed within 2-3 seconds, avoiding you from mixing the colors during the tattooing process. It is a great tattoo cleaning product, more efficient than dip cup






