

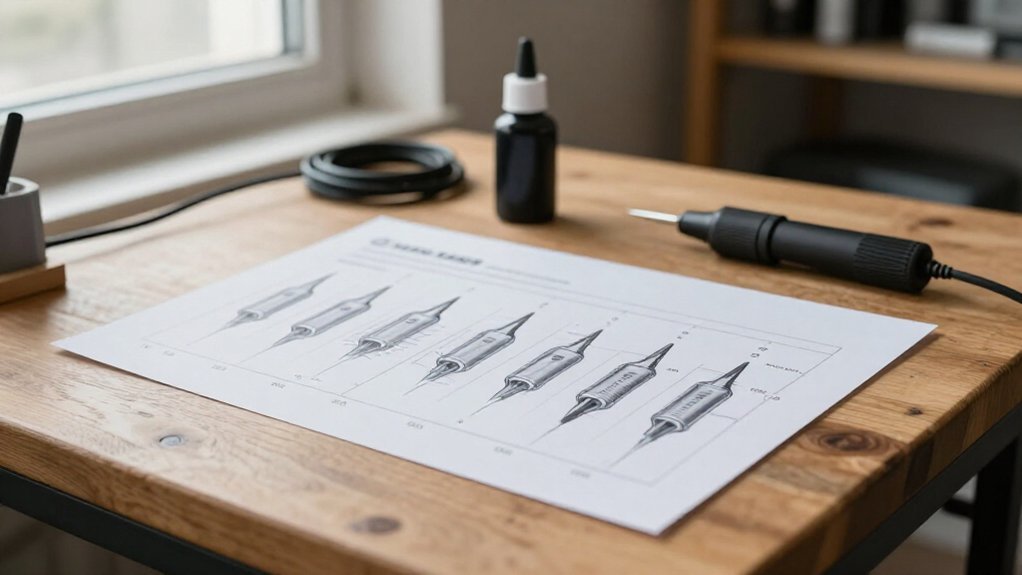
A 7-needle configuration demands voltage precision most artists overlook until lines blow out or color heals patchy.
You’re about to learn why your 7RL liner behaves nothing like your 7M1 magnum, and how small adjustments prevent costly mistakes.
The difference between crisp saturation and skin damage often sits at half a volt.
7-Needle Voltage Chart: Exact Settings for Liners, Shaders, and Mags
When you’re dialing in a 7-needle setup, you’ll want precise voltage targets rather than guesswork. Start with 7-needle liner settings around 7.5, 9V, then adjust based on line quality.
For 7-needle shader voltage, begin in the 6, 8V window to build smooth gradients without overworking skin. When you’re 7-needle mag color packing, target 7, 9V for even color saturation.
Remember your rotary vs coil voltage range: you’ll land lower with rotary machines, higher with coils. Watch for incorrect voltage settings through quick diagnostics. If the skin reddens too fast, lower voltage; if penetration feels weak, raise it slightly. Match needle movement speed to your client’s skin type, and consult a reliable tattoo needle voltage chart as your baseline reference.
Recommended Products

Mast Pro purple tattoo cartridges needles have been providing with high density clear plastic body.
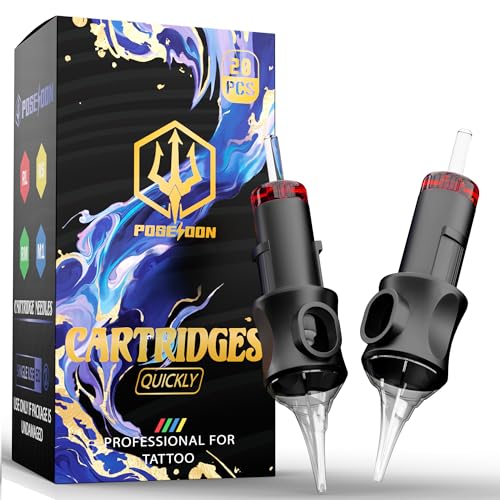
Complete Packaging: 20pcs tattoo cartridge needles set. The unique design of the needle can store more ink, and the sharp needle thread better completes tattoo activities, suitable for both professional tattoo artists and beginners
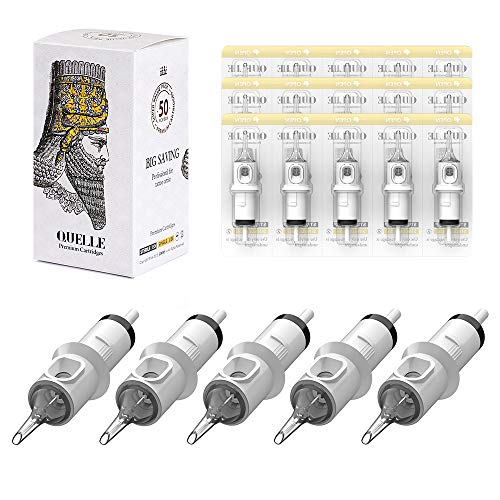
Hawink New Tattoo Cartridge Needle,Exquisite in every step of production,Make your tattoo work exceptionally smooth and joyful.
7RL vs. 7M1: Why Your 7-Needle Voltage Differs by Needle Type
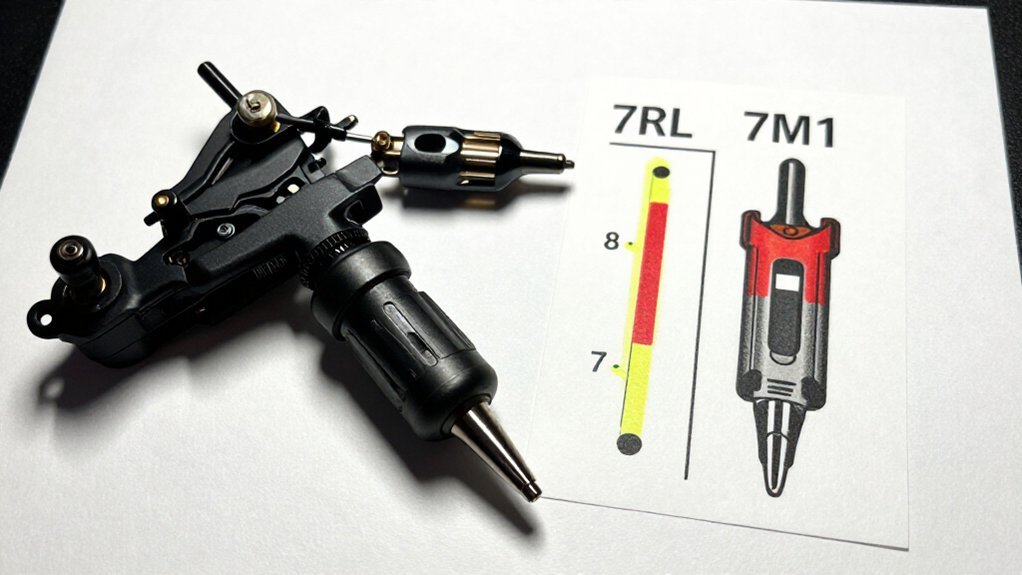
- 7RL (round liner): Uses lower voltage for crisp line penetration
- 7M1 (magnum): Needs higher voltage for broad color packing
The needle speed and surface area differ dramatically. A rotary mechanism running magnums demands more power to push pigment through wider configurations. Check any voltage range chart: you’ll see lining sits ~7.5–9V while packing climbs higher.
If you’re testing a new machine, start conservative. Watch how the needle behaves: sluggish M1 performance means raise gradually, but irritated skin signals you’ve gone too far.
Recommended Products
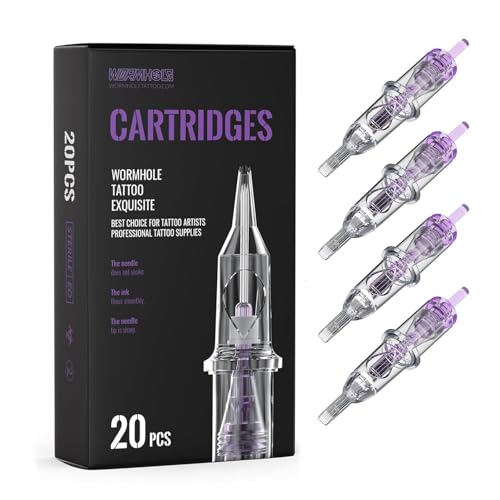
Cartridge Needles Sizes: 20 pcs 7M1 tattoo cartridge needles for Shading. The needle edges are specially designed to catch more ink. Transparent body, high visibility. Great gifts for tattoo artist and beginners.

E.O. sterilized and packaged in sterile blister packs,Single use only, Easy to open and use

BIGWASP tattoo needle cartridges (Generation 3)
Rotary vs. Coil: Adjusting Your 7-Needle Voltage by Machine Type
You’ve seen how 7RL and 7M1 needles demand different voltages, but your machine type changes the game just as much.
1. Know Your Baseline Voltage Range
For any 7-needle configuration, start here:
- Rotary liners: 6–8V
- Coil liners: 7–10V
Coil machines need more power for equal needle movement.
2. Adjust for Technique
Match your voltage to the job:
Match your voltage to the job: shading demands less power, color packing needs more—keep your machine humming steady.
- Shading: Rotary 7–9V; coil 8–10V
- Color packing: Rotary 8–10V; coil 9–11V
This maintains penetration and saturation without bogging down.
3. Fine-Tune for Speed and Precision
Listen to your machine. If it runs too aggressive, drop the voltage. If it stutters or drags, raise it slightly. Rotary offers smoother speed and precision; coil delivers harder hits.
Adjust the voltage accordingly until you hear that steady, happy hum.
Recommended Products

★ Rotary machine with strong and stable power, suitable for both liner and shader.

【Complete Professional Tattoo Kit】This Mast Flip kit includes 1 Mast Flip rotary tattoo machine, 2 replaceable batteries, 1 bottle of black tattoo ink, 10pcs 1203RL & 10pcs 1205RM Mast Pro cartridge needles, 1 beginner practice skin, and other essential accessories. It’s a ready-to-use set for both learning and professional tattoo work.

Material:Ambition soldier tattoo machine is made by aluminium alloy. Its length is 148mm, grip diameter is 32mm, and weight is 210g. Well balanced in weight, comfortable to hold.
Skin Type & Hand Speed: Final 7-Needle Voltage Tweaks
Across thinner or thicker skin, it isn’t just the needle style or machine type that determines your ideal voltage. Skin type and hand speed demand final tweaks to your 7-needle setup.
Thinner, Sensitive Skin (Wrists, Ankles)
Start at lower voltages, increasing by 0.5V steps. This prevents overworking and excessive irritation on delicate areas.
Thicker Skin (Back, Chest)
Push toward the higher end of your ideal voltage range. You’ll need reliable power for solid ink deposition without dragging your new machine.
Matching Hand Speed to Voltage
Faster hand speed requires slightly higher voltage for consistent saturation. Slower hand speed lets you run lower, reducing trauma while maintaining speed and precision.
Reading Your Results
Dotted, weak linework means raise voltage; rapid swelling means lower it. Listen for the “happy hum,” adjust voltage, and avoid extra passes when skin resists. Your right voltage validates through steady, controlled performance.
Recommended Products

Dual Purpose Design: Functions effectively as both a liner and shader tattoo machine.

Package Included: 1 X RCA Connector

【Metal material】The aluminum alloy frame makes the structure of the entire tattoo machine more stable and firm, improving the machine's service life and accuracy.






