

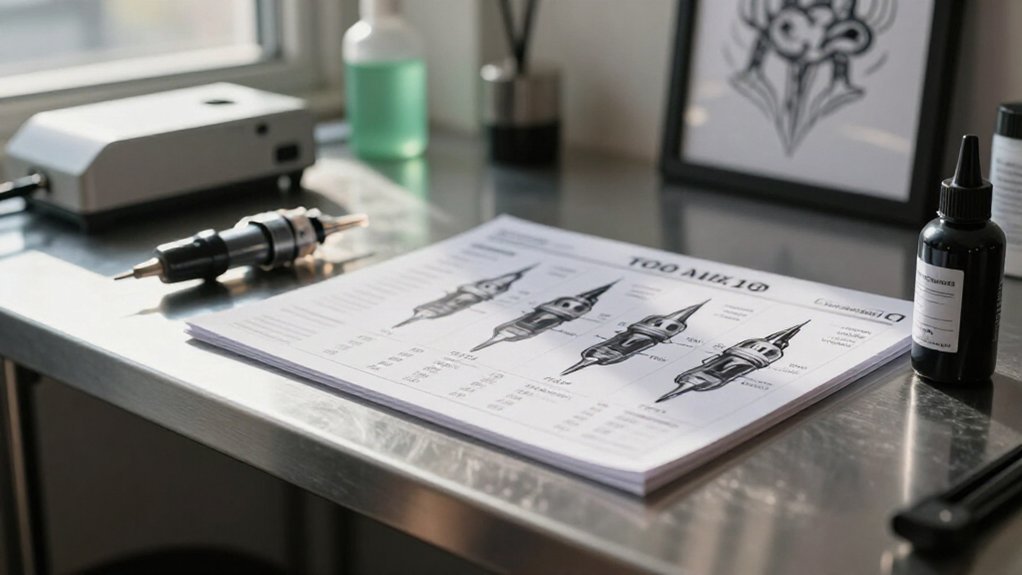
You open a fresh box of needles, and the label reads “1205RL,” which happens to match the code your mentor mentioned yesterday.
That coincidence saves you from grabbing the wrong tool, but you still need to know what those numbers actually mean.
A tattoo needle size chart translates these codes into predictable results, and you’ll need that translation before your next session starts.
How Tattoo Needle Sizes Control Line, Shade, and Color Results
Although needle sizing looks complex at first glance, you’ll find it breaks down into four measurable traits that directly shape your results: gauge, count, configuration, and taper.
1. Needle Gauge (Diameter)
Your needle gauge determines precision versus saturation. You’ll choose #8 bugpins (~0.25mm) for ultra-fine detail, #10 (~0.30mm) for versatile work, or #12 (~0.35mm) for bold, steady ink flow.
2. Needle Count
Higher needle count means broader marks and heavier pigment delivery. You’ll see 3 sharps create delicate lines, while 15 needles pack color efficiently.
3. Common Needle Configurations
You’ll match round liner for crisp outlines, round shader for smooth gradients, and magnum needle for dense fills.
4. Needle Taper
Short tapers (~1.5mm) release more ink for solid packing; longer tapers offer controlled transitions.
Mastering these Tattoo Needles Sizes through the Tattoo Needle Code lets you dial in exact line weight, saturation, and healing outcomes.
Recommended Products

Package: 50pcs mixed tattoo cartridge needles, includes 10pcs each of 1203RL, 1205RL, 1207RL, 1209RL, 1211RL.

Mast Pro purple tattoo cartridges needles have been providing with high density clear plastic body.

Poseidon cartridge adopt a one-time joint design hygienic standard The material is stainless steel and easy to color,and has better ink flow
Reading the 4-Part Code: From Box to Selection Decision
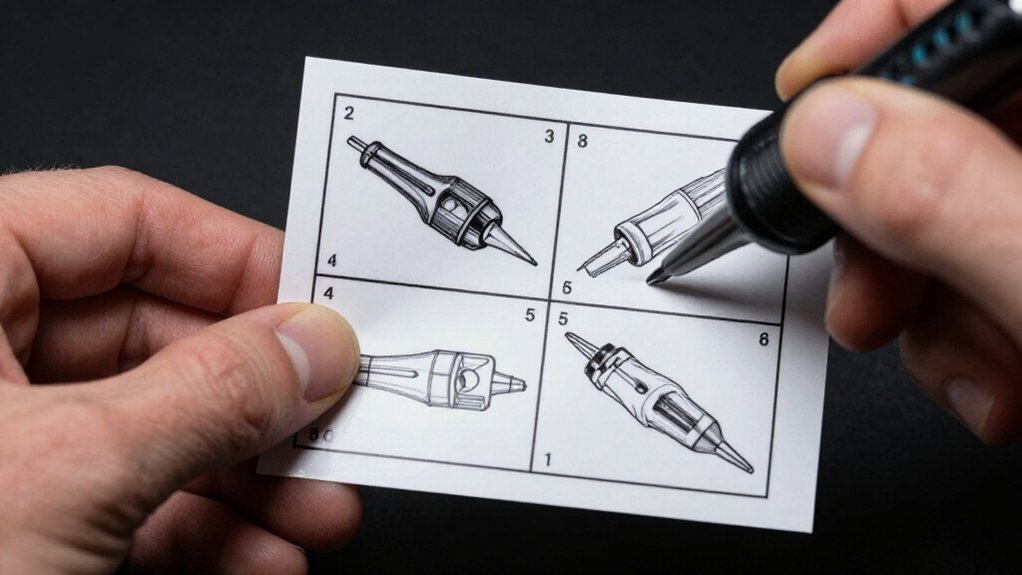
Once you understand what each number and letter represents, you’ll read needle codes like second nature. When you pick up a Tattoo Needle Box, tattoo needle sizes explained through the 4-part code tell you everything you need.
The first numbers show Diameter: 12 means 0.35mm. The next digits reveal needle count, like 07 for seven points. Then, configuration letters identify the grouping: RL means Round Liner for crisp lines, RS means Round shader for soft fills. Finally, the suffix indicates taper length. LT means Long taper at 2.0mm.
In cartridge tattoo needles, you’ll find this system standardized, so you grab the right tool without guesswork. If there’s no taper listed, it usually means standard taper, but you should double-check before starting.
Diameter codes like 08, 10, or 12 determine needle thickness and ink flow control. Count numbers from 01 to 25+ change line weight and saturation density. Long taper versus standard taper affects how deeply ink deposits into skin layers.
Recommended Products
Mast Pro purple tattoo cartridges needles have been providing with high density clear plastic body

Complete Packaging: 50pcs mixed size tattoo cartridge needles set, includes 5pcs each of 1205RL 1207RL 1209RL 1205RS 1207RS 1209RS 1207RM 1207M1 1215M1 1215RM. The unique design of the needle can store more ink, and the sharp needle thread better completes tattoo activities, suitable for both professional tattoo artists and beginners.
Mast Pro purple tattoo cartridges needles have been providing with high density clear plastic body.
Needle Sizes on the Chart: Thick (#12) vs. Thin (#8) for Different Jobs

You’ll want to understand when thicker #12 needles give you the results you need, and when thinner #8 needles become the better choice for your specific work. Standard #12 (0.35 mm) handles bolder lines and aggressive color packing because it deposits more ink with each pass. Bugpin #8 (0.25 mm) lets you achieve finer detail, softer gradients, and smoother tonal control with less skin trauma.
You’ll notice that switching between these gauges changes your technique requirements, your saturation planning, and your expected number of passes. Matching needle thickness to your job becomes a practical skill you’ll develop through deliberate practice.
Recommended Products

Package: 50pcs mixed size tattoo cartridge needles set, includes 5pcs each of 1005RL, 1007RL, 1009RL, 1205RS, 1207RS, 1209RS, 1015M1, 1021M1, 1015RM, 1021RM; Those tattoo needles can be used for lining and shading, which can assist you to complete the entire tattoo work

Mast Pro purple tattoo cartridges needles have been providing with high density clear plastic body.

Cartridge Needles Sizes: 20 pcs tattoo cartridge needles include 3RL 5RL 5RM 7RM, each size has 5pcs. Those tattoo needles can be used for lining and shading, which can assist you with the entire tattoo work
Thick Needles (#12) Uses
When you’re pushing heavy pigment or laying down bold, saturated lines, #12 (0.35mm) needles become your go-to tool. On the needle size chart, these thick needles deliver increased ink flow for faster saturation, making them essential for demanding tasks. You’ll see the difference immediately in color packing, where 12 gauge shines.
Pair 12 needles with magnum configurations like 9 or 15/23 mag for efficient pigment delivery across large areas. Use round liners in 12 when you want heavier, more visible strokes with maximum color saturation. Apply thick needles for shading work, as the larger diameter deposits more ink per pass.
The gauge directly changes your results: 12 means more ink, more saturation, and bolder outcomes than thinner alternatives.
Thin Needles (#8) Uses
- Black and grey shading: You layer tones gradually for subtle changes
- Detailed portraits: You render fine features with less skin trauma
- Round shaders: You soften edges where taper lengths run long to extra-long
Chart Tip: Pair thin needles with longer tapers for gentler ink falloff. Reserve thick #12 needles for bold lines and heavy saturation.
Needle Count From the Chart: How Many Points for Lines vs. Fills
Look at your needle code, and the first two digits reveal exactly how many points you’re working with, a number that governs everything from hairline precision to bold coverage. Your needle count dictates how much skin you cover per pass, so you’ll balance it against your configuration and tattoo size.
Needle count governs precision and coverage—balance it against configuration and tattoo size for every pass.
For lines vs fills, you need different strategies. Liners for outlines demand tighter groupings with fewer points, while colors packing and shading require larger spreads.
Use 3-5 points for fine detail work with cartridge needles. Select 7-9 points for standard liners for outlines and medium fills. Choose 15-23 points on magnum configurations for maximum coverage efficiency.
Match your diameter needles to your needle grouping, and you’ll control every mark with confidence.
Recommended Products
Mast Pro purple tattoo cartridges needles have been providing with high density clear plastic body.

Dragonhawk Tattoo Needles: High-quality tattoo needles, manufactured under the trusted Dragonhawk brand, are perfect for all-purpose work. With a polished, long taper design, these needles ensure reliable performance and excellent control.

Poseidon cartridge adopt a one-time joint design hygienic standard The material is stainless steel and easy to color,and has better ink flow
Configuration Codes Decoded: RL, RS, Magnum, and Flat Applications
You’ve got your needle count sorted, so now you’ll match it to the right configuration code.
1. Round Liner (RL) vs. Round Shader (RS)
RL needles cluster in tight circles for crisp outlines and detail work. RS needles spread slightly wider, delivering soft shading and smoother gradients. You’ll pick RL for lines, RS for tone.
2. Magnum and Curved Magnum
Standard Magnum needles pack two rows for dense, efficient fills. Curved Magnum arcs the tips, reducing skin trauma while you blend realism and black-and-grey transitions.
3. Flat Needles
Flat configurations line needles straight for geometric shapes and even coverage.
4. Needle Groupings in Cartridges
Cartridges label these configurations clearly. Needle sizes explained alongside codes help you match diameter to task, whether you’re saturating color or etching fine lines.
Recommended Products
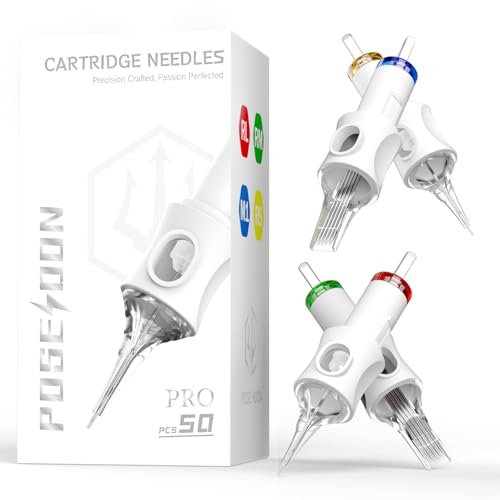
【Complete Variety Pack】50 sterile tattoo needles (5 sizes × 10 each) including 1003RL,1005RL,1007RL,1009RL,1011RL. The spiral nozzle design holds 30% more ink than standard needles, while laser-sharpened tips ensure crisp lines and smooth shading - perfect for both studio professionals and home practice.

【High-Quality Premium Materials】 Crafted with 316L stainless steel bugpin needles for exceptional sharpness and durability. High-grade plastic shell with resilient silicone provides smooth operation during extended sessions. Each disposable cartridge ensures hygienic, quality results for tattoo artists.
Complete Packaging: 50pcs mixed size tattoo cartridge needles set, includes 10pcs each of 1003RL 1005RL 1007RL 1009RL 1011RL. The unique design of the needle can store more ink, and the sharp needle thread better completes tattoo activities, suitable for both professional tattoo artists and beginners.
Taper on the Chart: Short Flow vs. Long Control for Saturation
Since you’ve matched your needle count and configuration, you’ll now dial in how much ink hits the skin with each pass by reading the taper column on your chart. Taper describes the length of the needle’s pointed tip, and it directly controls ink delivery.
A short taper (~1.5mm, marked “ST”) releases more ink per puncture. You’ll use this for solid color packing and fast saturation. A Long taper (~2.0mm, “LT”) gives you controlled shading and color with less saturation per pass.
For even finer control, you’ll find double long taper (~2.5mm) and extra-long taper (~3.5mm) options. These further reduce ink flow for smoother gradients.
Your chart lets you combine Needle Sizes Explained: Diameter, configuration, and taper to tune your results precisely.
- Short taper deposits maximum ink quickly for bold, saturated fields
- Long taper balances control and flow for shading work
- Double long and extra-long taper minimize saturation per pass for subtle, gradual blends
Recommended Products

💎STIGMA Aquamarine Knight EN02B Series Disposable tattoo needle cartridges with Membrane Sterilized package, newly designed by tattoo artist for tattoo lovers.
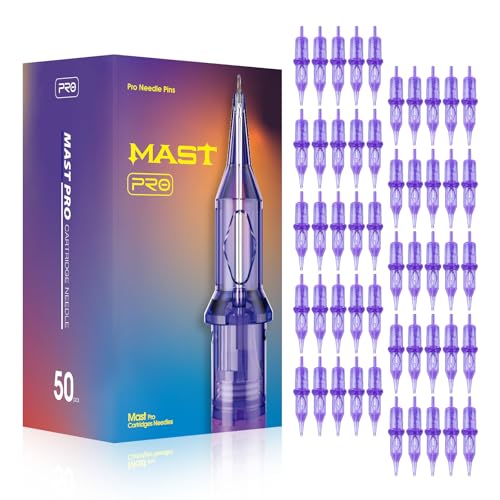
Mast Pro purple tattoo cartridges needles have been providing with high density clear plastic body.
Mast Pro purple tattoo cartridges needles have been providing with high density clear plastic body.
Your Complete Needle-to-Task Reference Framework
When you’re staring at a wall of needle options, a proper tattoo needle size chart cuts through the noise by mapping four key variables: gauge, count, configuration, and taper, directly to the task at hand. This needle-to-task guide turns confusion into confident selection.
1. Match Your Needle Gauge to Control and Flow
Your needle gauge determines thickness and ink delivery. You’ll grab #12 (0.35mm) for bold lines and fast packing, switch to #10 (0.30mm) for controlled work, and reach for #8 (0.25mm) or bugpins when subtle black and grey gradients demand precision.
2. Scale Your Needle Count to Coverage Needs
More points mean more skin contact and pigment deposit. A 3RL creates delicate marks, while 15RL or 23M covers serious ground for fills.
3. Select Configurations by Application
Round liners handle crisp outlines and dot work. Round shaders smooth tonal transitions. Magnums, whether in cartridge systems or traditional bar needles, pack and fill efficiently, with stacked versions tightening coverage further.
4. Adjust Taper Length for Release Behavior
Short tapers (~1.5mm) deliver steady, immediate ink for packing and linework. Longer tapers, 2.0mm through 8.0mm, grant finer, more controlled saturation across needle configurations.
Recommended Products
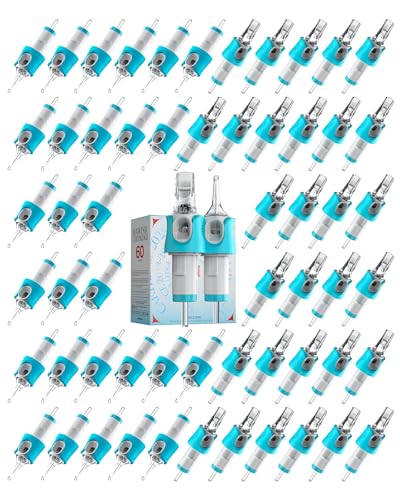

50 pcs Mix Assorted Transparent Tattoo Needle Cartridges - Includes are a mix of #12 Standard RS needles.

Dragonhawk Tattoo Needles: High-quality tattoo needles, manufactured under the trusted Dragonhawk brand, are perfect for all-purpose work. With a polished, long taper design, these needles ensure reliable performance and excellent control.






