
You’re staring at your first tattoo design, but you haven’t committed to a spot yet. The pain chart changes everything you thought you knew. That delicate rib placement you love? It might test you more than expected. But there’s a reason seasoned collectors keep coming back.
Key Takeaways
- Outer arm, shoulder, and thigh cause mild discomfort due to muscle and fat padding.
- Calves, biceps, and forearms produce medium pain from thinner tissue layers.
- Chest, stomach, and inner arm demand serious grit due to sensitive skin and nerve clusters.
- Ribs, feet, hands, elbows, knees, and groin create the sharpest, most extreme sting.
- First-timers should choose padded areas like outer upper arm, calf, or thigh.
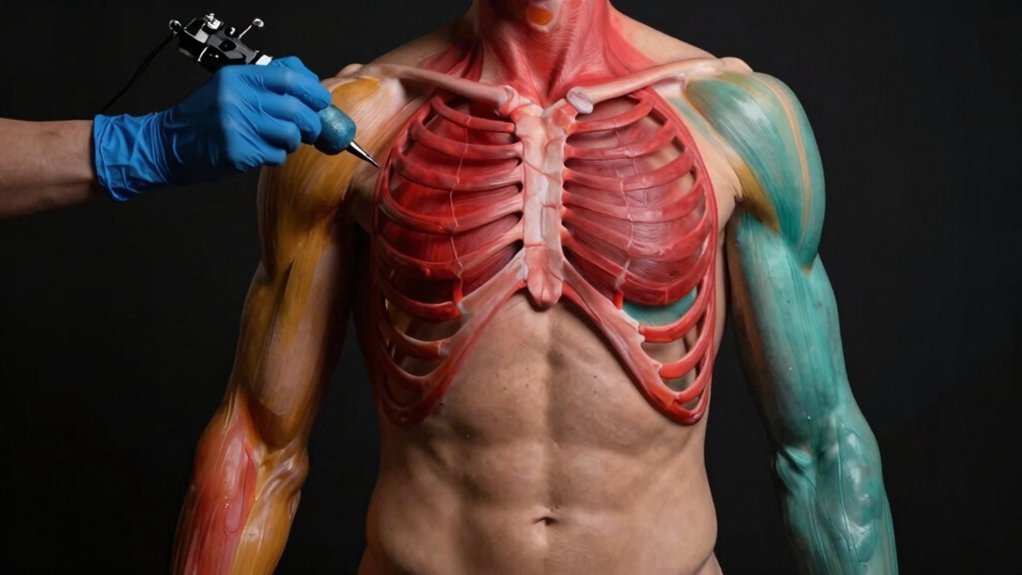
Tattoo Pain Chart: Every Body Part Ranked
Wondering where your next tattoo will hurt the most? You’re about to find out. Every body part brings its own pain level, and you’ll feel the difference immediately.
Start with the outer arm, shoulder, and thigh. You’ll experience mild discomfort here since these spots carry plenty of muscle and fat padding. You’ll manage these areas without much trouble.
Move inward, and you’re facing medium pain. Your calves, biceps, and forearms test your endurance more directly. You’ll feel the needle’s vibration through thinner tissue layers.
Your chest, stomach, and inner arm demand serious grit. You’re confronting sensitive skin and nerve clusters now. You’ll grip the chair tighter.
Finally, you’re hitting the extremes. Your ribs, feet, hands, elbows, knees, and groin deliver the sharpest sting. You’ll remember these sessions vividly. Choose wisely, breathe steadily, and trust your artist’s pace.
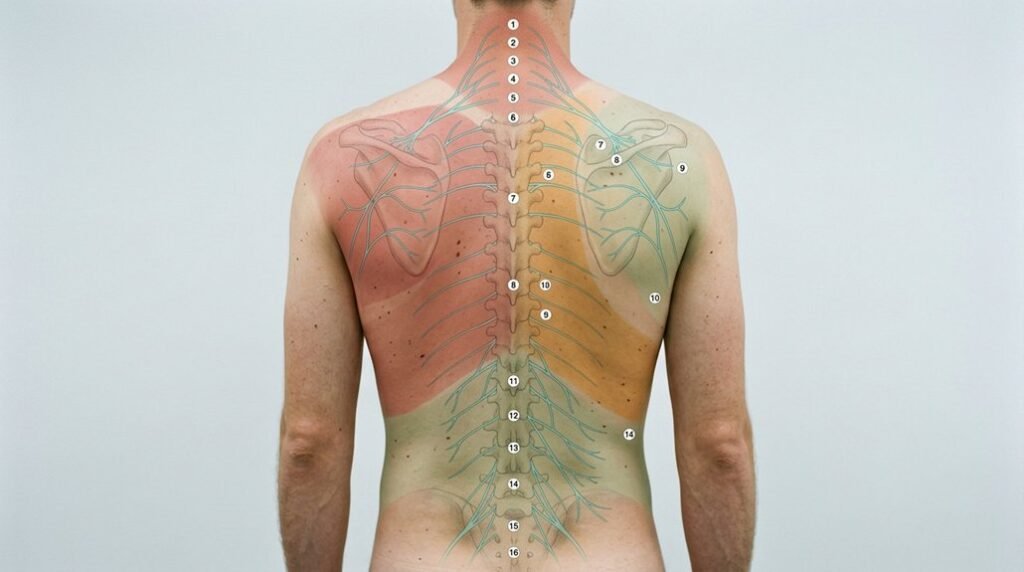
Why Ribs, Feet, and Joints Hurt Most
Why do ribs, feet, and joints make you squirm when other areas barely register?
You’re hitting spots where skin stretches thin across bone, skipping the cushioning fat and muscle that pad fleshier zones. Your ribs cradle organs beneath a fragile layer of tissue, so every needle vibration rattles directly against bone. You feel it reverberate through your torso.
Your feet present another challenge. You’re packing dozens of small bones, tendons, and nerve endings into tight spaces with almost no padding beneath the surface. The artist drags needles across these concentrated nerve clusters, and you register every strike.
Joints compound the problem further. You’re dealing with constant movement, thin skin, and bone proximity at elbows, knees, and armpits. Your body can’t ignore needles attacking these sensitive hinge points where nerves gather to coordinate motion.
Prep Strategies for High-Pain Placements
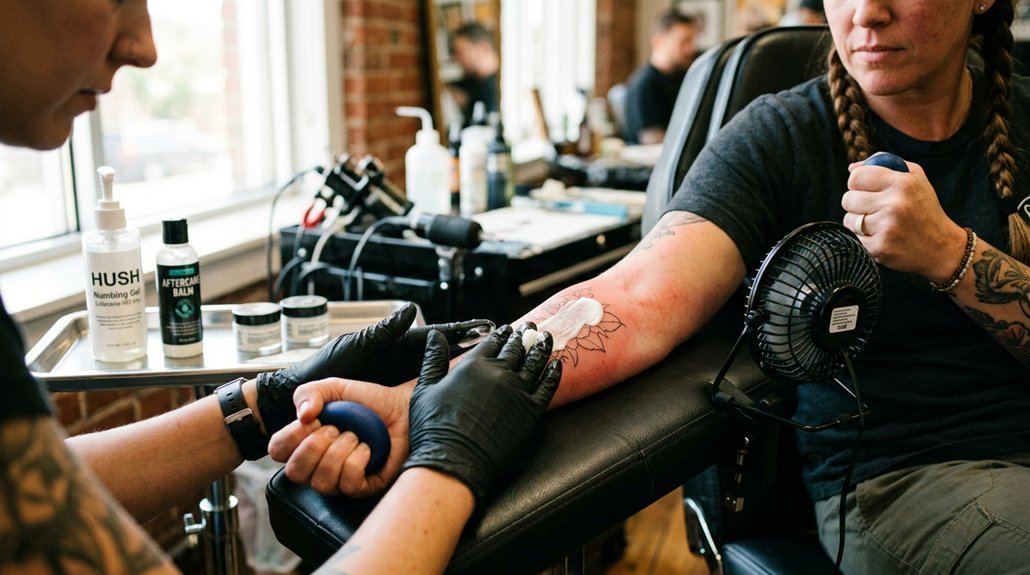
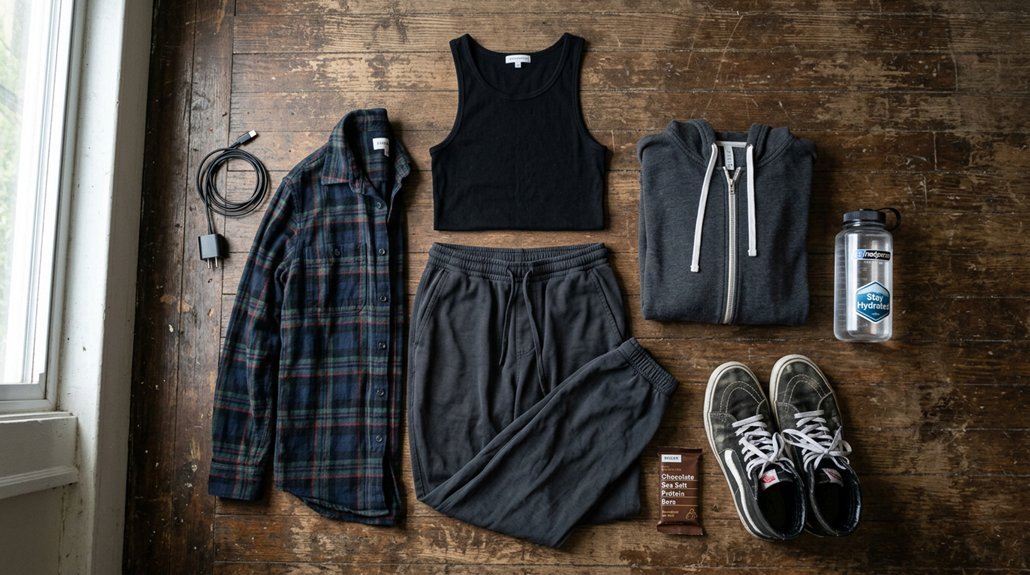
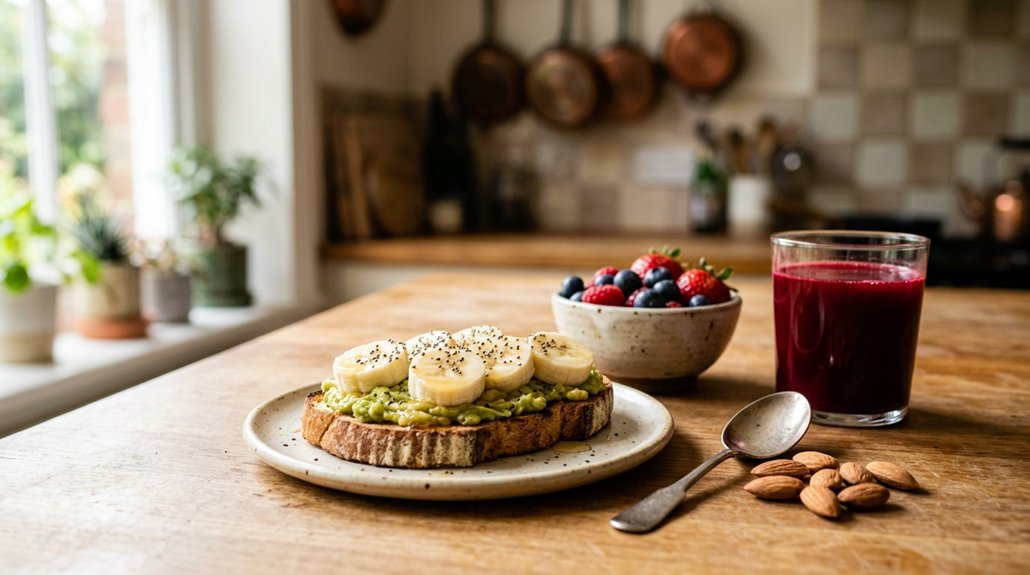
How do you brace yourself before the needle hits those brutal spots? You hydrate heavily for 48 hours and skip alcohol and caffeine entirely. You eat a solid meal two hours prior and bring high-protein snacks.
You moisturize the area for weeks beforehand so your skin accepts ink smoothly. You schedule your session when your pain tolerance peaks—mid-morning, not during menstruation or illness.
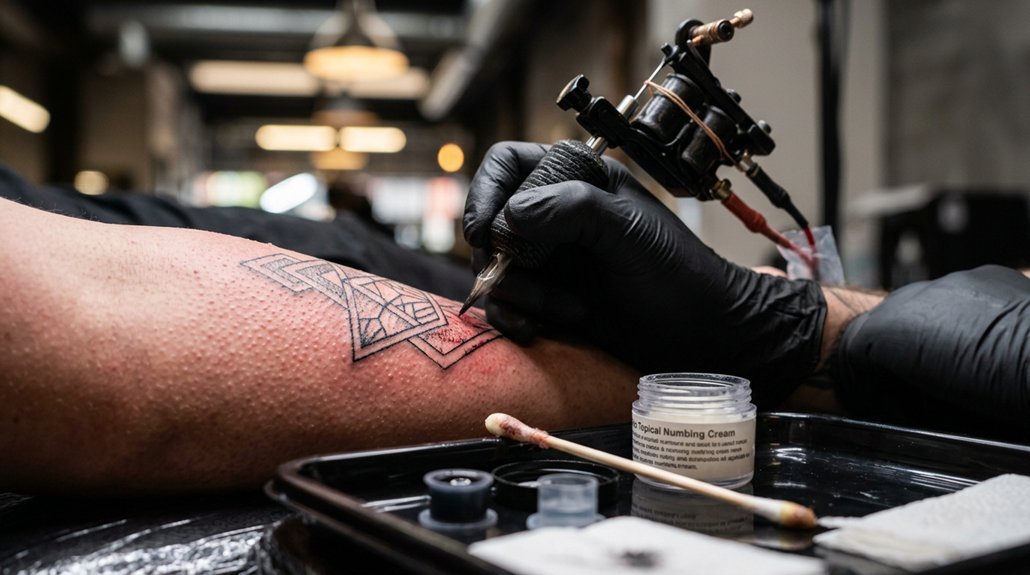
You practice breathing techniques: four counts in, hold, out, hold. You wear comfortable clothing that grants full access. You apply numbing cream 90 minutes before if your artist approves.
You bring headphones and a playlist you won’t skip. You position yourself to minimize twitching—ribs demand side-lying, hands need flat tables.
You accept that you’ll flinch. You commit anyway.
Low-Pain Alternatives for Sensitive Spots
What if you could wear your art without surrendering hours to the needle’s bite? You can shift placement and dodge the worst sting. Instead of ribs, you choose outer bicep. You swap sternum for upper arm. You trade ankle for calf. You reimagine finger tats as wrist pieces. Skin thickness and nerve density vary wildly, and you’ve got options.
You also control size and detail level. Small, simple linework reduces session time dramatically. You pick bold designs over stippled shading, cutting needle passes in half.
Temporary alternatives exist too. You test drive jagua or henna before committing. You explore transfer tattoos that last weeks. You aren’t trapped into suffering for your aesthetic—smart placement, scaled-down concepts, and trial runs let you express yourself without gritting through avoidable pain.
Reading Your Body: Normal Ache vs. Warning Signs
Where exactly does discomfort end and danger begin?
You’ll feel steady burning, stinging, and dull throbbing—that’s normal. Your skin’s getting punctured thousands of times per minute. Sharp zinging near bones or joints? Also expected. But you must catch what isn’t right. Watch for spreading redness, radiating heat, or pus after leaving the shop. Those aren’t standard reactions; they’re infection warnings. If you notice numbness, tingling that won’t quit, or sharp shooting pains traveling elsewhere, speak up immediately. The artist needs to know. Your body sends clear signals—you’re responsible for reading them. Distinguishing “this hurts” from “something’s wrong” protects your health and your tattoo. Trust your instincts. When in doubt, call your artist or a doctor.
Your First Tattoo? Pain-Proof Placement Guide
Understanding your body’s signals matters, but choosing where to sit for your first piece matters just as much. You’ll want to target spots with more muscle and fat padding. The outer upper arm, calf, and thigh offer natural cushioning that dulls the needle’s impact. These areas keep you comfortable while letting you watch the process unfold.
Avoid bony zones like ribs, ankles, and collarbones for your debut. You’ll tense up, and that tension amplifies every sensation. Stay away from inner arms and knees too—the skin’s thinner there, and nerves cluster closer to the surface.
Pick a placement you can reach easily for aftercare. You’ll thank yourself when applying ointment to a spot you can actually see and touch without twisting into awkward positions.
Conclusion
You’ve got the knowledge—now trust yourself. Start with cushioned spots like your outer arm or thigh if you’re nervous, and work toward bolder placements as you build confidence. Prep smart, read your body’s signals, and remember: the sting fades, but the art stays. Choose a placement that respects your limits and celebrates your story. Your tattoo journey is yours to shape, one mindful decision at a time.