

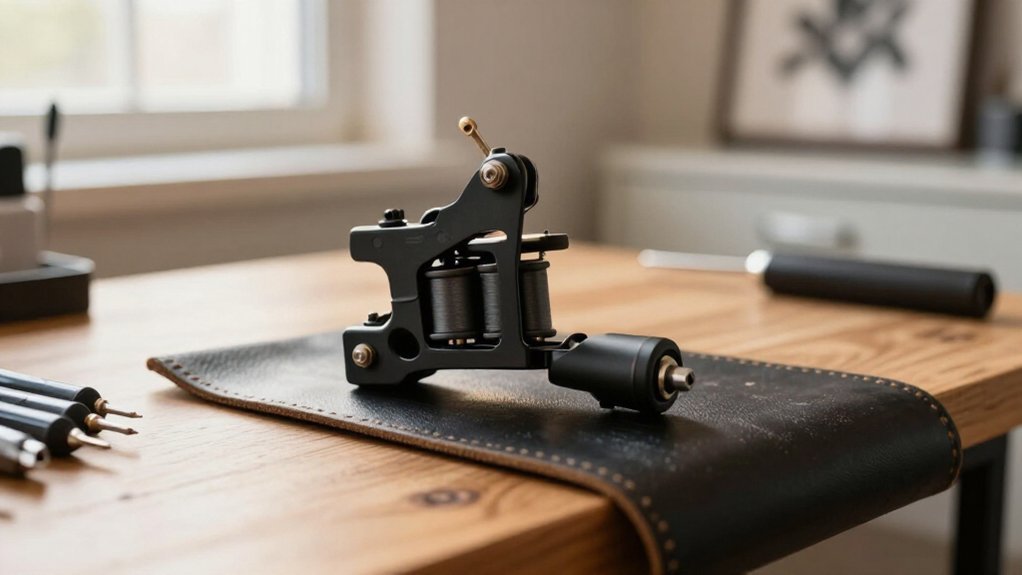
A bassist doesn’t crank the amp to eleven before checking the room acoustics, and you shouldn’t guess your machine’s voltage without reading the skin first.
You’re standing at your station, machine in hand, wondering why your lines wobble or your shading looks patchy: the answer lives in those decimal points between 6.5 and 9.5 volts.
Most artists limp along at settings that fight their technique, never realizing the dial holds more power than the needle.
You’ll need to match your hardware to your hand, your style to the canvas, and your patience to a method that reveals itself one adjustment at a time.
How Machine Type Changes Your Tattoo Voltage
Understanding voltage starts with recognizing your machine’s fundamental design. Your tattoo machine determines how much power you need, because machines have different power requirements based on their engineering.
Recommended Products

★ Rotary machine with strong and stable power, suitable for both liner and shader.

Solong rotary tattoo pen is CNC-Machined by aircraft Aluminium alloy and then anodized finish.The motor is 10w made in Taiwan,low noise,strong and stable to work, no hot for long time working

Wireless Tattoo Gun Pen: Mast Fold2 pro length 140mm/5.5in, weight 233g, standard 32mm grip for great comfortable control, battery work up to 7 hours.
1. Rotary vs. Coil Fundamentals
Rotary machines typically run at lower voltages, usually 6–8V. They use a motor-driven cam system, so they need less electrical force to create smooth needle movement. You’ll notice they operate more quietly with minimal vibration.
Coil machines demand higher voltages, commonly 8–10V. Their electromagnetic coils require more energy to generate sufficient magnetic force for proper performance. Spring tension and armature weight directly affect your power supply settings.
Recommended Products

8 Wraps Precision Coils – Precision-wound with high-quality copper wire, delivering stable and consistent power for clean, crisp lines in detailed lining work.


Stable 120-140 Hz Liner Frequency: Operates at 120-140 Hz (7000-8000 hits/min), works with 5.5-7.5V common voltage—fast stable frequency for better line pattern control
2. Why Tuning and Hardware Resistance Matters
Your tuning and hardware resistance significantly impact voltage needs. Coil machines with stiff springs or heavy armatures need more voltage to maintain consistent speed. Rotary designs, with fewer moving parts, achieve reliable results at lower voltages.
Always listen to your machine. Strained sounds indicate incorrect voltage for your specific type.
Recommended Products

Dragonhawk tattoo power supply provide quick and accurate activation/voltage adjustments

Introduction: The Dragonhawk Airfoil Tattoo Power Supply is an essential tool for professional tattoo artists. Designed with efficiency and convenience in mind, this power supply boasts a maximum output voltage of 16V and a 2A current, ensuring optimal performance for your tattoo machine.
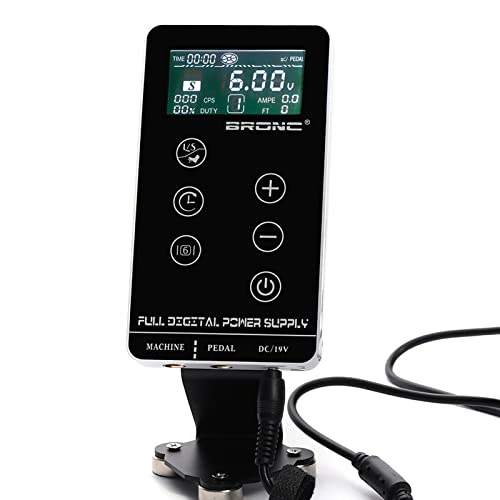
[important] There is a screen film on the screen to protect the screen so you can peel the screen protector off from the screen then you will find there is no scratch on the screen.
Voltage for Lining, Shading, and Color Packing
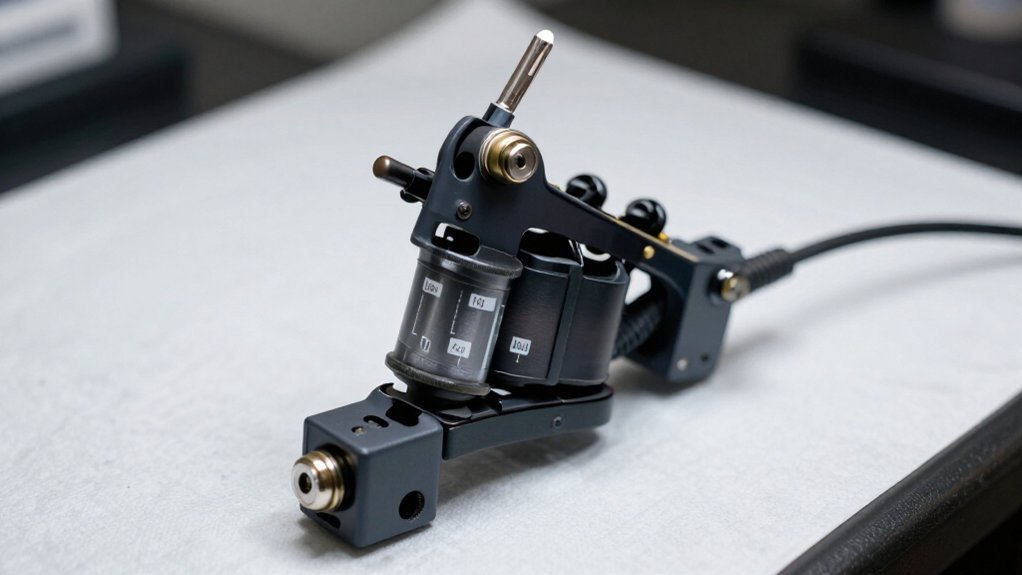
Once you’ve matched voltage to your machine type, you’ll need to adjust for the specific work you’re doing. Your tattoo voltage settings depend heavily on whether you’re lining, shading, or color packing.
Voltage matched to your machine? Next, dial it in for lining, shading, or color packing—each technique demands its own sweet spot.
Lining
Set rotary machines at 7.5–9V, or coil machines at 6.5–8V. This voltage range creates quick, crisp needle movement for bold single-pass lines with minimal skin trauma.
Shading
Run 6–8V, targeting around 8V for smooth realism. Slower needle movement packs tones gently, reducing skin trauma while building gradients.
Color Packing
Use 7–9V to balance saturation and control. Too low under-packs pigment; too high risks ink blowout and heavier skin trauma.
Adjust based on hand speed and skin response: increase voltage for larger liners, decrease if you notice early redness, swelling, or extra scabbing.
Recommended Products

【Complete Wireless Tattoo Kit for Beginners】Designed for beginners, tattoo apprentices, and art students, this all-in-one tattoo kit includes a wireless tattoo pen, 1600mAh battery, 10 tattoo needles, 30ml black ink, and practice skin — everything you need to start tattooing safely and easily at home or in a studio.
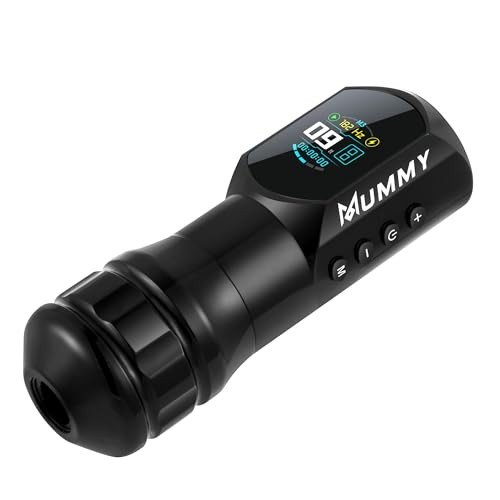
TRUE WIRELESS FREEDOM: Cordless rotary tattoo pen design helps reduce cable limits and allows 360° movement control, making it suitable for lining, lettering, shading, and color packing work.
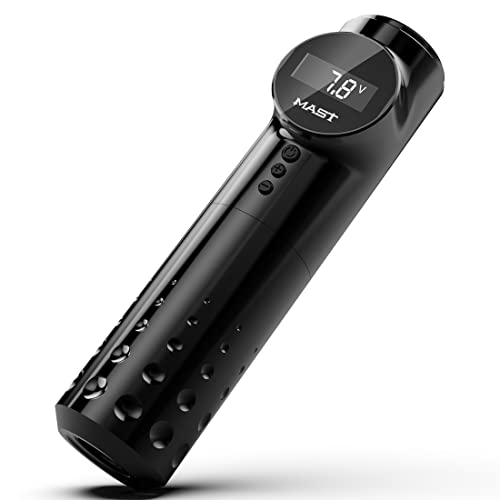
Information: Mast Archer wireless rotary tattoo pen machine has visible LCD voltage screen, easily adjustable voltage. Frame made of standard aluminium alloy and CNC carved. Weight: 186g, length: 132mm, diameter: 32mm. Assembly by hand, one piece body and seamless, effortless to cover and protect.
Find Your Machine’s Minimum Starting Voltage
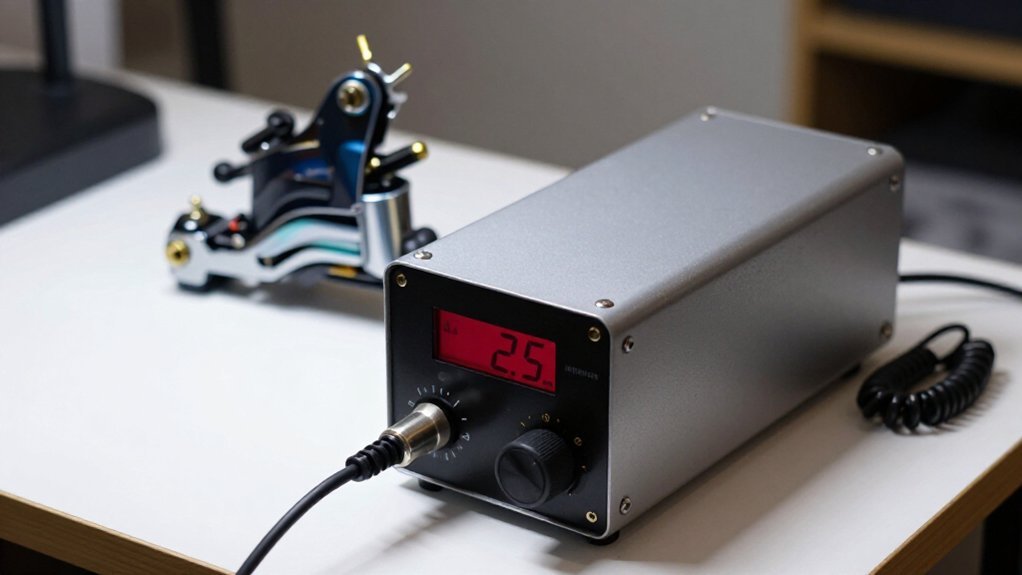
If your working voltage sits higher (many artists prefer around 8V), treat the minimum as your floor, then adjust upward as needed.
Recommended Products
Elevate Your Shading Game: Xtreme Shading Solution takes your shading technique to the next level, delivering impeccable results for tattoo artists of all levels.

BUILT-IN BATTERY GRIP: Coreless motor delivers consistent torque at 3–140Hz with no speed drop-off when entering skin. Integrated design allows cordless operation without external cords for a balanced tattooing experience.

MADE IN THE USA SINCE 1990 — For over 30 years Dynamic Color has produced professional tattoo supplies in the United States, an established American brand artists built their work on long before most imported labels existed.
Match Your Hand Speed to Your Voltage
Because your hand movement controls how the needle enters skin, you’ll need to find a voltage that keeps that motion steady rather than rushed.
Find your sweet spot by starting around 8V, then adjust until your needle movement feels controllable at that power. If voltage settings outpace your hand speed, you’ll see extra trauma; slow down or lower the output.
Once you have control, adjust up to ~10V for lining, maintaining precision without trauma through consistent pace.
Your hand speed makes voltage work, not the other way around. Bigger liners may need slightly higher settings, but crisp results matter more than speed. Watch your outcomes: clean linework means your pairing is right, while early redness signals you need to lower voltage or slow your motion for intricate work.
Recommended Products

Smart Digital Control for Precision Tattooing, No Guesswork, Just Results – Features a clear smart screen display showing real-time voltage, frequency, battery level, and runtime. 7 adjustable stroke lengths (2.4–4.2mm) and 3 memory modes (M1–M3) for flawless lining, shading, or coloring—ideal for consistent, professional results

1800mAh Large-Capacity OLED Color Screen Rechargeable Battery - Built-in 1800mAh rechargeable battery with 4-12V adjustable voltage(±0.1V precision). Runs 5~7hrs at 8V/6500RPM and fully charges in 2~3hrs; auto screen-off after 5min idle for power saving. Comes with M1-M3 gears, memory, timer and P1-P5 stippling modes; HD OLED screen & 3-key design for easy parameter check, great for beginner gradient tattoo.

Wireless Tattoo Gun Pen: Mast Fold2 pro length 140mm/5.5in, weight 233g, standard 32mm grip for great comfortable control, battery work up to 7 hours.
Use Lower Voltage for Realism and Smooth Shading
When you’re working toward realism and smooth shading, you’ll want to dial your voltage down to around 8V, especially with a ~3mm stroke.
Why Lower Voltage Works
Your tattoo machine produces slower, more controlled needle movement at lower voltage. This measured pace lets you layer tones gradually instead of hammering pigment into the skin aggressively.
Key Benefits for Realism
- Smooth gradients: Reduced power prevents chattery, heavy lines during shading
- Better healing: Less early redness and scabbing signals you’re near the sweet spot
- Even saturation: Pair your slower machines with consistent hand speed for trauma-free results
Adjusting Your Approach
If your shading looks too harsh, reduce voltage immediately. Watch how the skin responds during tattooing, calibrating toward that controlled 8V range where realism thrives and recovery stays uncomplicated.
Recommended Products

【Metal material】The aluminum alloy frame makes the structure of the entire tattoo machine more stable and firm, improving the machine's service life and accuracy.

Dragonhawk Traditional Pro Complete Tattoo Kit: Features two cast iron tattoo machines with full set to make tattooing quick and easy. The lining & shading machines help make it easy to get right tattoo style. You can play and adjust any parts with Dragonhawk pro coils machines. The tattoo machines has a powerful, long-lasting coils. The needles are also stainless steel to provide outstanding cutting performance.

Dual Purpose Design: Functions effectively as both a liner and shader tattoo machine.
Read Your Skin: Signs Your Voltage Is Wrong
You can learn volumes from how your skin reacts, the ink behaves, and your machine sounds, so you’ll need to spot three critical warning signs before they damage your work.
Watch how pigment settles, how tissue heals, and whether your motor strains, since each signal tells you exactly what adjustment to make. Master these cues, and you’ll stop guessing and start dialing in voltage with real confidence.
Recommended Products

Enjoy efficient, peak-level tattooing with the Mast Halo Tattoo Power Supply

POWER SUPPLY FOR TATTOO MACHINES: This power supply unit comes complete with 1 power cord, 1 pedal and 2 clip cords. The LCD display reads out the voltage as the machine runs and has a programmable preset function. This power supply box works with rotary tattoo machines, tattoo guns, and other types of machines. This unit comes with all the parts you need to get down to tattooing.

Enjoy efficient, peak-level tattooing with the Mast Halo2 Tattoo Power Supply
Ink Saturation Clues
Your machine’s voltage leaves visible signatures in the skin, and recognizing them early prevents wasted passes and unnecessary trauma. Watch for these ink saturation clues during your session:
- Higher voltages push needle movement too aggressively, causing ink blowout and trauma that shows as early redness and swelling.
- Lower voltages underdeliver pigment, leaving patchy saturation that won’t build evenly no matter your hand speed.
- A machine running hot makes skin scab fast, so you’ll need to drop voltage until response calms.
For color packing, stay near 7–9V, machine dependent. If deposits look watery, nudge up slightly; if skin gets angry, pull back. Your quickest read comes from 1–2 test strokes: crisp uptake without excess trauma means you’re hitting the ideal voltage range.
Healing Response Indicators
Once you’ve spotted ink saturation clues mid-session, the real test comes days later. Your healing response indicators reveal whether you hit the voltage sweet spot or missed it entirely.
Signs Your Voltage Is Wrong
- Too high voltage triggers early redness, swelling, and scabbing too quickly. You’ll see ink blowout and extra skin trauma that prolongs recovery.
- Too low voltage creates weak inconsistent hits, forcing you to rework areas repeatedly. This causes patchy lines and accumulated irritation.
Finding Your Balance
When you’ve found your voltage sweet spot, redness stays manageable without immediate heavy scabbing. For lining at 7.5–9V, lower your setting if you spot rapid swelling or harsh scabs. For shading around 8V, expect calm, gradual healing rather than extra trauma.
Machine Sound Signals
Consistently, the sound of your machine tells you more than your eyes can catch in the moment. Tattoo machine sound signals reveal voltage problems before skin damage occurs.
Listen for these warning signs:
- A strained, erratic, or overly loud hum means voltage too high or voltage too low for your setup.
- Bogging, sluggish needle movement signals underdelivery ink patchy saturation from insufficient power.
- Shaky, unmanageable operation with inconsistent hits demands immediate adjustment.
You want a steady controlled rhythm. When voltage too high forces the needle, expect redness swelling and eventual ink blowout. When voltage too low starves the needle, you’ll fight weak saturation and stalled progress.
Trust skin feedback: back off if trauma appears early, hold steady when healing stays clean.
Fix Voltage Mistakes Before They Ruin Healing
You’ll spot high voltage trauma when redness and swelling show up too early, and you’ll recognize low voltage issues through inconsistent lines or poor ink deposit that forces you to overwork the skin.
Timing your adjustments matters, because fixing voltage mid-session prevents compounded trauma that extends healing time and compromises final results. Watch your machine’s behavior closely, listening for smooth humming versus strained vibration, so you can adjust before the damage becomes permanent.
Recommended Products

TRUE WIRELESS FREEDOM: Cordless rotary tattoo pen design helps reduce cable limits and allows 360° movement control, making it suitable for lining, lettering, shading, and color packing work.

Information: Mast Archer wireless rotary tattoo pen machine has visible LCD voltage screen, easily adjustable voltage. Frame made of standard aluminium alloy and CNC carved. Weight: 186g, length: 132mm, diameter: 32mm. Assembly by hand, one piece body and seamless, effortless to cover and protect.

Complete Tattoo Kit: Wormhole wireless tattoo machine delivers smooth 6500 RPM performance—ideal for mastering linework, shading, and basic designs; With 7 adjustable stroke lengths, 4 adjustable speed settings and 3 working modes, it evolves with your skill level; The tattoo kit includes dual power units for seamless, uninterrupted operation, from first practice to professional results
Spotting High Voltage Trauma
Because your machine runs fast doesn’t mean it’s running right. High voltage settings deliver higher power and faster needle movement, but incorrect voltage settings cause excessive trauma.
You’re running too hot when you spot these warning signs:
- Early redness and swelling that appear within seconds, or skin that looks “overworked” immediately.
- A strained, erratic machine sound indicating inconsistent delivery and potential force issues.
- Extra scabbing and delayed healing, especially when shading targets like about 6–8V show more trauma than expected.
Higher voltage increases hit frequency, which leads to ink blowout and longer healing times regardless of skin type. You’ll want slower needle movement for saturation without damage.
Stay near 8–10V only if lines remain crisp without trauma. Otherwise, drop your voltage and let results guide you.
Recognizing Low Voltage Issues
Low voltage brings its own set of problems, and they’re just as damaging to your work. You’ll notice inconsistent hits and under-delivery of ink when the needle movement lacks power.
1. Listen and Feel
Your machine sound and feel reveals trouble immediately. Low voltage makes the motor strain instead of humming smoothly. The machine bogs down when you hold pace.
2. Spot the Visual Signs
Lining issues appear first: crisp lines won’t hold, creating skips and ghosting. You’ll circle back repeatedly, causing trauma. When shading unevenly, weak pigment forces slower work, building redness.
3. Find Your Sweet Spot
Start low in range; nudge up until ink lays clean in 1 to 2 strokes. You’re underwork if lines skip. Back down if swelling hits early, you’ve overshot.
Healing-Safe Adjustment Timing
The difference between a clean heal and a ruined piece often comes down to how quickly you respond to what the skin tells you.
1. Watch for Early Warning Signs
Notice redness and swelling, or scabbing too early? Drop the voltage immediately. Running too high increases skin trauma and destroys healing potential.
2. Start Low, Adjust with Purpose
Begin at the lower end of your task range. Adjust upward only when clean ink delivery demands it in 1–2 strokes. Don’t raise voltage to fix slow needle speed; that just means overworking the skin.
3. Find Your Lining Sweet Spot
Wait for crisp, controlled linework without trauma. If skin gets chewed up, you’re too fast or too high. For realism, use lower settings around 8V with 3mm stroke, slow your hand, and maintain precise control based on client skin type.






