

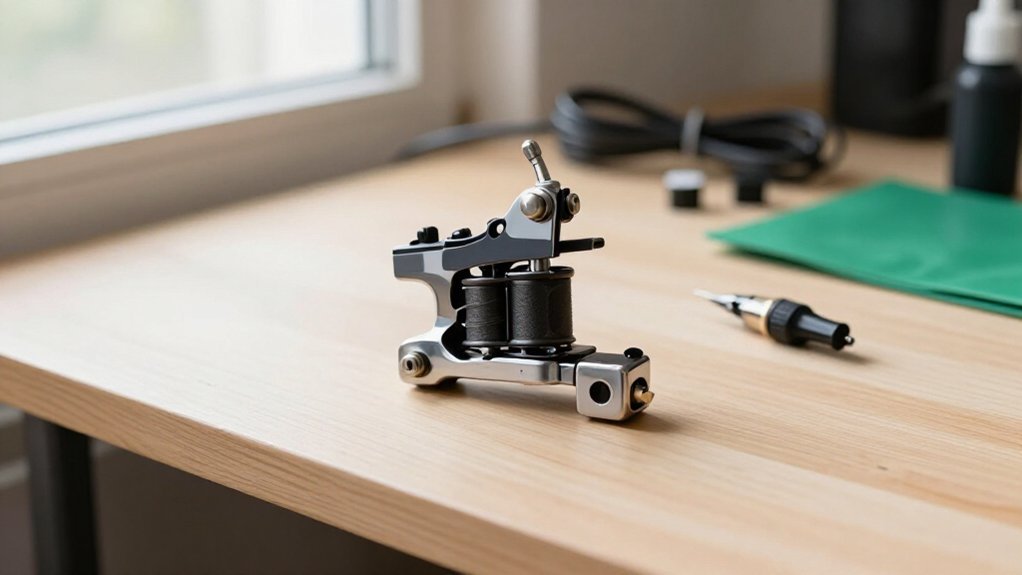
Your needle stutters against skin like a car sputtering on fumes, and your line work pays the price.
You need answers fast, but you also need the right sequence: power first, then mechanics, then tuning.
This guide walks you through each checkpoint without guesswork.
Tattoo Machine Quick Checks: Power, Cords, and Connections
Why does your tattoo machine stutter when you need it most? Intermittent power delivery is often the culprit, and you’ll find it faster than you think.
When your tattoo machine stutters mid-session, unstable power is usually hiding in plain sight—and the fix is closer than you think.
1. Check your power supply first. Confirm it’s delivering the correct voltage range for your setup. Many coil builds won’t fully engage until around 10.5–11V if the tuning or contact gap is off.
2. Inspect your clip cord and connections. Look for tight fit and clean, undamaged contacts, especially at the plug/jack and any flex points on the cable. Intermittent contact makes the motor cut in and out.
3. Test binding posts while plugged in. Check for looseness or corrosion at the machine and cord terminals. Swap to a known-good power cord if you feel any wobble.
4. Locate cutout zones. Move the cord and pedal wiring gently during operation to find where voltage drops.
5. Try a known-good power supply. If cord contacts are solid, unstable power output causes jerky armature movement.
Recommended Products

Hawink CNC Exquisite spare RCA power cord,Color:Black

Enjoy efficient, peak-level tattooing with the Mast Halo Tattoo Power Supply

Introduction: The Dragonhawk Airfoil Tattoo Power Supply is an essential tool for professional tattoo artists. Designed with efficiency and convenience in mind, this power supply boasts a maximum output voltage of 16V and a 2A current, ensuring optimal performance for your tattoo machine.
Weak Needle Hit? Test These Four Mechanical Points
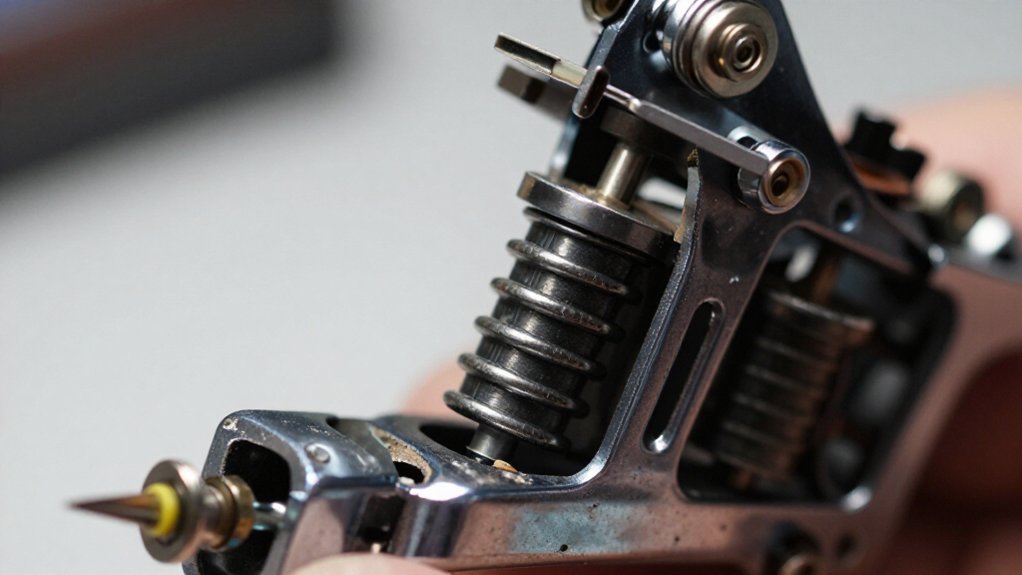
1. Grip and Cartridge Alignment
Check that your cartridge is fully locked into the grip, and verify the drive bar makes solid, centered contact with it. Partial insertion or misaligned drive-bar contact will make your needle hit feel weak or uneven. Reseat the cartridge and confirm the connection is firm and straight.
2. Air Gap Distance
Examine your tube and grip threading to ensure the cartridge body isn’t pinched or restricted. Over-tight threads can bind the cartridge, while loose threads let it shift; both conditions reduce consistent needle impact. Adjust tension until movement feels smooth but secure.
3. Spring Tension Check
Inspect and set your give using the spring setup, ensuring it isn’t too soft for the skin resistance you’re working against. Springs that are too soft struggle under load and cause weak, inconsistent hits. Adjust gradually and re-test until the rebound feels responsive and controlled.
Recommended Products

Package Included: 2 X Silicone Tattoo Clip Cord

★ Tattoo RCA Connector Clip Cord is suitable for tattoo machine and power supply that are equipped with RCA interfaces.

High intensity anti-corrosion cable sheath.
Grip and Cartridge Alignment
How do you know if your machine’s weak hit comes from the grip or cartridge? Run a quick needle-free stroke test. Power the machine without a cartridge, and watch the drive bar. If the travel binds or looks uneven, you’ve got a fit problem at the grip-cartridge interface.
1. Seat and Lock the Cartridge
Push the cartridge fully into the grip until it locks. The drive bar needs firm, centered contact with the contact screw and front housing. A loose cartridge kills your stroke power.
2. Check Cartridge-to-Needle Alignment
Verify the needle runs straight, not rubbing the grip window. Misalignment creates drag that mimics weak voltage.
3. Thread to the Right Tightness
Don’t overtighten the needle head. Too tight restricts movement; too loose causes shifting. Both weaken your hit.
4. Secure Every Interface
Confirm the grip threads tight to the clamp, with no wobble. Any play between cartridge, grip, and tube turns into inconsistent penetration.
Air Gap Distance
A weak needle hit often traces back to your air gap, the space between the armature and coil when the machine’s at rest. You measure this air gap distance from the top of the coil to the bottom of the front spring, aiming for roughly 1.4 mm as your baseline.
If your machine only catches at higher voltage, around 10.8–11V instead of 8V, your gap’s likely too large. The armature can’t pull in fully at lower power, so you lose punch.
Here’s how you fix it:
- Check your gaps match: Your point gap and air gap distance should align, not fight each other.
- Adjust gradually: Tweak the front spring tension and shrink the gap in tiny steps, not millimeter jumps.
- Test unplugged first: Move the armature by hand, check for binding, then re-measure to confirm you’re near 1.4 mm.
Spring Tension Check
1. Test the Rear Spring
Since your machine only catches at high voltage, suspect too much rear spring tension. Loosen the rear spring saddle screw in small increments if the back spring feels really hard.
2. Verify Air Gap
Check that your air gap hits ~1.4mm between coil top and spring bottom. Keep point gap in the same range.
3. Check Armature Bar Alignment
Confirm the armature bar isn’t over-tensioned with excessive overhang past the rear coil. This reduces forward travel.
Retest with the same needle and grip after each tweak. You should see full, smooth activation at tuned voltage, not just a twitch.
Match Your Machine Speed to Your Hand Speed
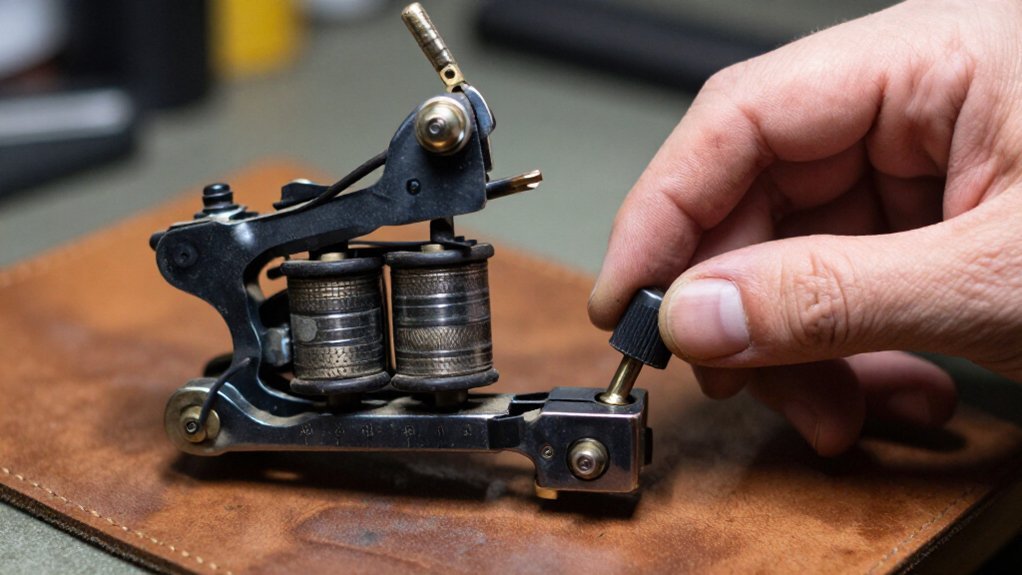
At its core, smooth tattooing depends on synchronizing your machine’s cycle rate with how fast you naturally move your hand. You’re chasing a rhythm where neither element fights the other.
Check your machine speed against these benchmarks:
- If you’re slowing your hand to keep up, dial the voltage down. The machine’s running too fast.
- If the machine bogs under steady pressure, it’s too slow, so raise voltage for consistent power.
- Watch for speed drops once you’re working normally. Stop and stabilize before continuing.
Match stroke length to your task: shorter strokes need calmer pacing, longer strokes demand stronger setups. Larger needle groupings add resistance, so you’ll adjust voltage or stabilize hand speed accordingly.
Fine-tune gradually, and let the machine settle before judging performance.
Recommended Products

Made from medical stainless steel and CNC aluminum inner core with dual stainless steel click balls,※This stainless steel tattoo cartridge grip is only fit for rotary tattoo gun and coil machine, not for pen type tattoo machine.

[Premium Food-grade Silicone] Crafted from high-quality food-grade silicone, these tattoo machine grip covers feature an inner diameter of 32mm, outer diameter of 54mm, and height of 42mm. Weight is 48.5g
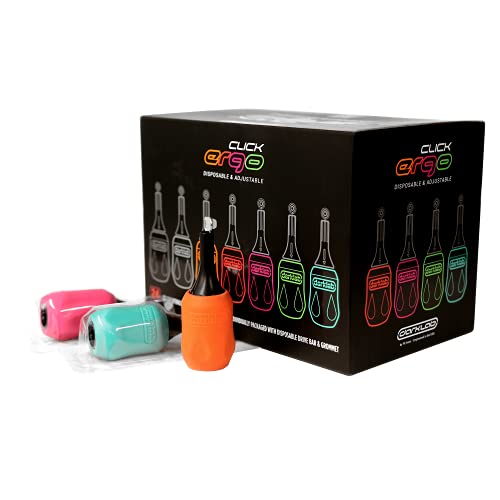
STATE-OF-THE-ART TATTOO GRIP – FK Irons Click Ergo is a state-of-the-art cartridge grip for tattoo machines with a 32mm diameter at the widest point for optimal comfort and to accommodate all hand sizes
Fix Patchy Ink Flow and Saturation
Patchy saturation signals that ink isn’t reaching skin consistently, and you’ll need to trace the failure point methodically rather than compensating with more passes.
1. Inspect Your Cartridge
Replace the cartridge if you suspect dried pigment or restricted needle movement. Partial clogs disrupt ink flow, a frequent source of common tattoo machine problems.
2. Tune Needle Hang and Depth
Too much hang destabilizes pigment delivery. Adjust hang for stable control, and set depth so the tip deposits ink without forcing extra passes.
3. Match Speed to Work
Liners need faster rhythm; saturation demands slower, heavier strokes with 3–4 passes. Confirm your needle grouping handles the load, since undersized setups slow the machine and under-deliver pigment.
4. Avoid Voltage Fixes
Do not chase patchiness with higher voltage. If the machine struggles, stop and troubleshoot ink flow delivery instead.
Recommended Products

★ Rotary machine with strong and stable power, suitable for both liner and shader.


★ Driven by a built-in motor, performs well in both liner and shader with silent and low vibrating
Rattling, Buzzing, or Grinding Sounds
When you hear rattling, buzzing, or grinding from your machine, you’re listening to mechanical distress. You’ll need to act quickly before vibration damages components or ruins your line work.
First, unplug your machine. Confirm the grip, tube, and cartridge are fully seated so the armature doesn’t vibrate against the frame. Check for loose hardware, and snug the contact screw, bracket screws, and tube screws. Looseness commonly creates buzz or metal-on-metal sound.
For coil tattoo machines, inspect the springs. Ensure the contact screw and front spring align at your tuned gaps, meeting cleanly without chattering. Replace worn rubber bands if they’re slack, since loose bands cause clanking between moving parts.
If sound persists, clean and lightly lubricate moving parts. Dry gear trains or squeaky grommets often grind. Faulty power can mask these issues, so verify your supply delivers steady voltage before assuming mechanical failure.
Recommended Products

Material: Metal with High Elastic, and Not Easily Broken

Tattoo machine spring alignment jig adjuster for front and back springs.

Dragonhawk Traditional Pro Complete Tattoo Kit: Features two cast iron tattoo machines with full set to make tattooing quick and easy. The lining & shading machines help make it easy to get right tattoo style. You can play and adjust any parts with Dragonhawk pro coils machines. The tattoo machines has a powerful, long-lasting coils. The needles are also stainless steel to provide outstanding cutting performance.
When Your Machine Sparks, Shocks, or Cuts Out
Once you’ve silenced mechanical noise, electrical symptoms demand your attention next. Sparks, shocks, and cutouts signal inconsistent power delivery that you’ll need to trace systematically.
1. Diagnose the Spark Source
Inspect your contact screw and front spring for pitting or carbon buildup. Clean both surfaces thoroughly. Check that your contact gap sits near 1.4 mm, since misalignment causes uncontrolled arcing.
2. Adjust Spring Tension
If sparking persists, loosen your back spring saddle screw slightly. Excessive tension creates irregular electrical behavior. Retest after each small adjustment.
3. Trace Intermittent Cutouts
Flex your clip-cord or RCA during operation to locate failure zones. Check binding posts for oxidation or looseness.
4. Know When to Stop
Discontinue use if sparking escalates, abnormal heating occurs, or power drops under load. Persistent arcing erodes components and worsens faults.
Recommended Products

Dragonhawk tattoo power supply provide quick and accurate activation/voltage adjustments
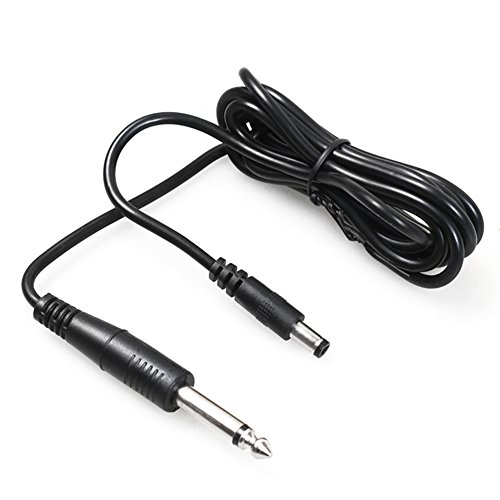
Universal DC Compatibility: Fits all DC-port tattoo machines, including Dragonhawk DC jack tattoo machines, seamlessly adapting to various voltage needs for consistent performance

POWER SUPPLY FOR TATTOO MACHINES: This power supply unit comes complete with 1 power cord, 1 pedal and 2 clip cords. The LCD display reads out the voltage as the machine runs and has a programmable preset function. This power supply box works with rotary tattoo machines, tattoo guns, and other types of machines. This unit comes with all the parts you need to get down to tattooing.
Machine Running Hot? Stop and Check These Settings
Heat building in your machine demands immediate attention, because excessive temperature signals that something in your setup is forcing the components to work harder than they’re designed to handle.
Stop immediately, and verify these three settings on your power supply and coil machines:
- Check your voltage: Confirm it falls within the manufacturer’s recommended range, because higher voltage increases armature speed and overworks the coils.
- Inspect spring tension and contact gaps: Too-tight rear or front spring tension, or an excessive air gap, forces higher current draw and creates heat buildup.
- Confirm your tuning targets: Aim for roughly 1.4mm air gap between the coil top and spring bottom, with point gap matched, so the armature isn’t fighting to strike.
Let the machine cool fully, then resume only after correcting the suspected cause.
Recommended Products
![BIGWASP [Premium Quality] Silicone Soft Tattoo RCA Connector Clip Cords for Tattoo Machines (79 Inches)](https://m.media-amazon.com/images/I/31mm+5Wt2VL._SL500_.jpg)
High intensity anti-corossion cable sheath.
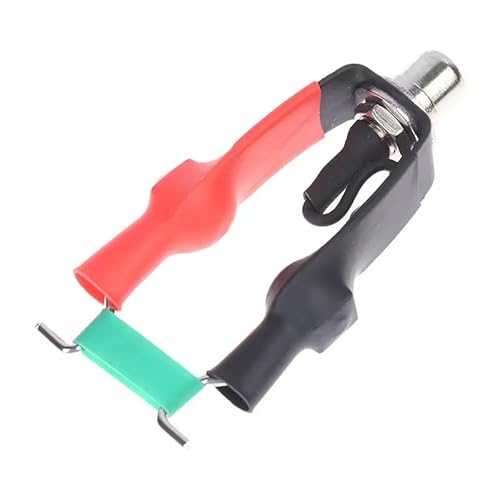
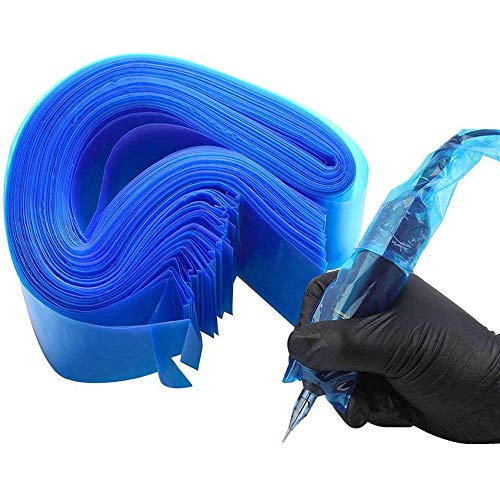
GREAT MATERIAL: Made by high-grade plastic material, safe to use
Intermittent Power Loss: Find the Pattern
Intermittent power loss can feel frustrating, but it’s almost always traceable to a loose or damaged connection somewhere in your circuit. You’ll need to methodically isolate where the break occurs.
Test the Cable First
Gently move the clip cord or RCA lead at the plug, around the flex near connectors, and where it enters the machine while it’s running. If the machine cuts out when you twist or move the cable, you’ve found a damaged conductor or oxidized contact.
Swap and Confirm
Use a known-good RCA or clip cord with the same voltage setting to confirm whether the intermittent power loss comes from the cable side or internal components.
Check Internal Connections
If cutouts happen randomly with the cord held still, inspect binding posts and terminal connections at the coil and frame for looseness, corrosion, or failing solder joints. Keep your needle and cartridge setup consistent during testing, and stop using the machine until voltage delivery stabilizes.
Recommended Products


Upgraded Silicone Grip: INKin as one of the earliest brands focusing on tattoo finger ledge cartridges, upgraded design with high-grade TPE material, EL Diablo tattoo cartridges include 8 pcs optional grips, allowing tattoo artists to customize grip based on individual preferences, giving a comfortable, anti-slip grip reduces vibration and hand strain for long sessions.

Coil Machine Adaptor for Vice Tattoo Machines and Cartridge Grips by Precision Supplies
Maintenance Habits That Prevent Breakdowns
You will keep your machine running smoothly by building three core habits: a daily cleaning routine that removes ink and debris, a scheduled inspection of wear-prone components, and proper storage methods that protect delicate parts between sessions.
These practices prevent the friction, looseness, and power issues that cause rough operation. Start with the basics below, and you will avoid most breakdowns before they begin.
Recommended Products
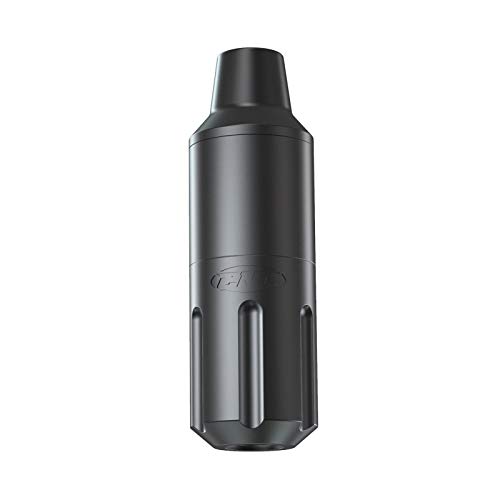
Hawink tattoo pen machine is carved by aircraft aluminium alloy enclosure. 35mm aluminium alloy sleeve.Rotary pen tattoo machine with German FAULHABER Motor,strong power, super stable,Pretty quiet - low noise, it is quite easy to master.

53g Black Shim Rotary Machine
Daily Cleaning Routine
Daily cleaning keeps your machine running smooth and prevents the small failures that turn into costly repairs. You don’t need to disassemble the machine completely, but you do need a consistent routine.
- Wipe surfaces after every session. Clean the grip, armature/power contact area, and cartridge zone so dried pigment won’t build up and interfere with movement.
- Run your cleaning cycle. Flush the cartridge holder and grip channel to stop pigment from drying inside the needle feed path.
- Lubricate moving parts lightly. Apply one drop of tattoo machine oil to coil armature pivots, slider bearings, and grommets; too much oil attracts debris.
Dry your clip cord, RCA jacks, and binding posts. Check rubber bands for wear, re-seat the tube, and replace slack bands so vibration won’t ruin your stroke.
Component Inspection Schedule
Because small problems hide until they cost you a session, you’ll inspect your machine on a schedule that matches how hard you run it.
After Every Session
- Check your clip cord and RCA plug/jacks for looseness, frayed insulation, or oxidation at the terminals.
- Test with a known-good cord if anything feels intermittent.
Weekly (or ~10 Sessions)
- Run the machine with no cartridge to confirm the armature/drive bar moves freely and evenly without binding.
- Check the cartridge grip lock and drive bar contact.
Each Session Before Tattooing
– Visually confirm needle hang and movement are consistent, with no sticking, bending, or cartridge play.
Monthly
– Inspect tuning wear points: front spring, back spring tension, contact screw/front spring contact, and target air gap (~1.4 mm).
Maintenance is key. Keep Moving Parts lightly lubricated per manufacturer guidance to prevent dry-rubbing noise and vibration.
Proper Storage Methods
Regular inspection keeps your machine healthy, but how you store it determines whether that health lasts. You need a system that protects your investment from moisture, impact, and wear.
- Clean and dry thoroughly. After every session, wipe your tattoo machines completely, especially around contact screws and spring contact points. Let everything air dry before storage, or dried ink stiffens movement.
- Pad and position carefully. Store in a rigid, foam-lined case with grip and armature areas kept dry. Avoid sharp cord bends near connectors, and prevent hard impacts that shift coil alignment or spring tension.
- Maintain during downtime. For long gaps between uses, run tattoo machines briefly without cartridges to confirm smooth armature motion before your next session begins.
Stop Here: When to Get Professional Help
Although you can’t resolve many tuning issues yourself, certain symptoms strongly indicate problems that risk machine damage or unsafe operation if you push ahead. Stop immediately if your machine running requires higher voltage than normal, such as 10.8–11V instead of your tuned 5RL/8V, because this indicates tuning, tension, or contact failure that worsens quickly under load.
Stop immediately if your machine requires higher voltage than normal—this indicates tuning, tension, or contact failure that worsens quickly under load.
Seek professional help for these warning signs:
- Persistent electrical irregularities, like uncontrolled sparking at the contact screw or front spring beyond normal minor arcing, since pitted contact points, misalignment, or failing capacitors require internal correction.
- Unusual overheating even at normal voltage, as excessive spring tension, armature drag, or electrical faults create safety hazards.
- Intermittent “cutting in and out” after you check external basics like secure cartridges, good cords, and stable power, which often reveals internal wiring or solder micro-failures.
Do not attempt internal adjustments if you cannot confirm air gap and contact gap specs, typically around 1.4mm air gap, or if you are unsure about spring or capacitor setup. Get help to avoid mis-tuning that causes further mechanical and electrical issues and ensures your equipment stays safe and functional.
Recommended Products

This tattoo kit have two Dragonhawk tattoo machines for lining & shading and friendly beginner start tattooing life, Cast iron tattoo machine 10 wrap coils. Made of superior composite material, the spring is high-elastic and anti-fatigue for long-time working, made of copper coils.
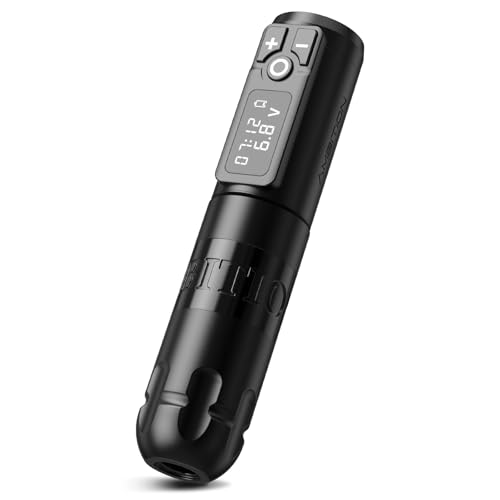
Material:Ambition soldier tattoo machine is made by aluminium alloy. Its length is 148mm, grip diameter is 32mm, and weight is 210g. Well balanced in weight, comfortable to hold.







