

You’ve committed to removing your ink. You’ve sat through the session. Now you face the real work. Proper aftercare determines how well your skin heals, how faint your tattoo becomes, and whether you avoid scars or infections.
These ten steps will guide you through each phase, from your first bandage change to your final sun protection routine.
Clean Your Skin After Tattoo Removal: First 24 Hours
During the first 24 hours after tattoo removal, your skin needs careful, gentle attention. You must follow specific aftercare instructions to protect the healing tissue and prevent complications.
1. Keep the Area Clean and Dry
You clean the area gently with mild soap only if your clinic directs you to. Pat the skin dry, never rub. For the first three days, keep the area clean and dry to support proper healing.
2. Shower Carefully
When you shower after laser tattoo removal, use lukewarm water only. Avoid scrubbing the treated site completely, skip high-pressure water, and let water run gently over the area without direct force.
3. Protect the Site
Keep the area covered with sterile dressing as directed. This barrier shields the superficial burn wound from irritants and bacteria during early recovery.
Recommended Products
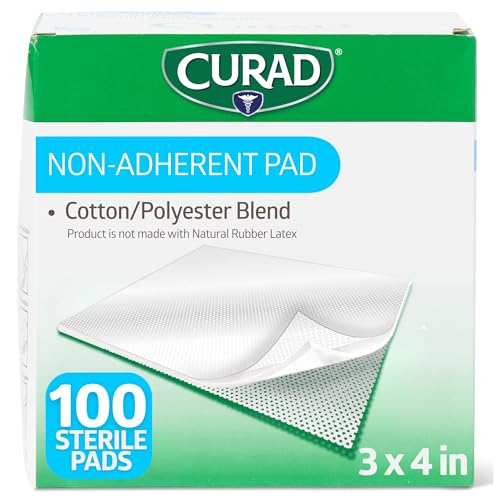
This sterile, absorbent rayon/polyester pad will not interfere with granulating tissue by sticking to the wound

PAIN-: Experience the comfort and ease of our non stick pads for wounds, designed by MED PRIDE for pain- removal and switching. Ideal for individuals dealing with wounds, these wound pads minimize discomfort during dressing changes, promoting faster healing and recovery.
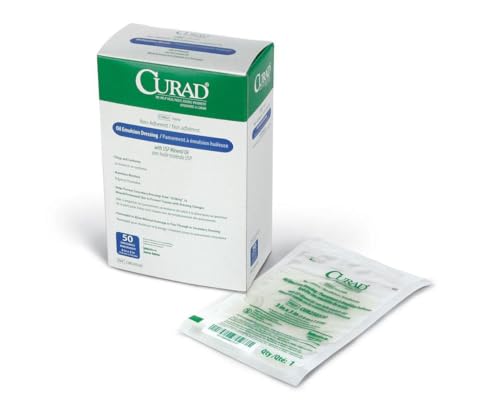
Sterile dressing made of knitted, high porosity cellulose acetate is impregnated with U.S.P. white petrolatum in an emulsion blend that permits the flow of exudates without adhering to granulating tissue
Apply Antibiotic Ointment: Which Products and How Often
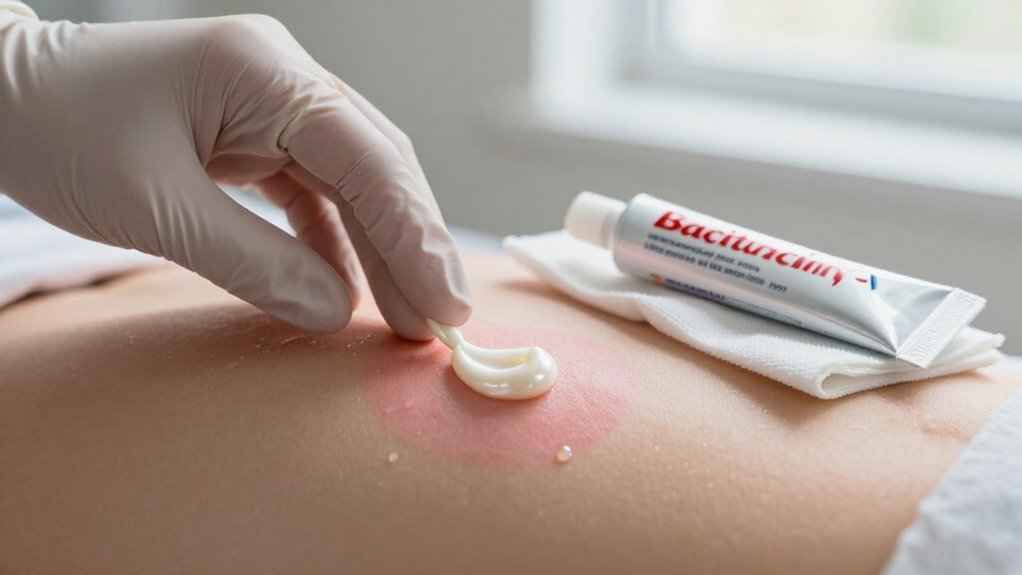
After cleaning your treated skin, you’ll need to apply a thin layer of antibiotic ointment to protect the healing area, which your clinic has likely specified (common choices include bacitracin or a petroleum-based alternative). You should do this three times daily for the first 72 hours, keeping the area covered with a sterile dressing between applications.
If blisters form and break naturally, continue the ointment for at least another full day to shield any open spots from infection.
Recommended Products

HEALING ACTION: We use specially formulated Bacitracin Zinc 500 to promote fast effective healing for minor cuts, scrapes, and burns. This easy topical ointment promotes clean healthy repair for skin damage.
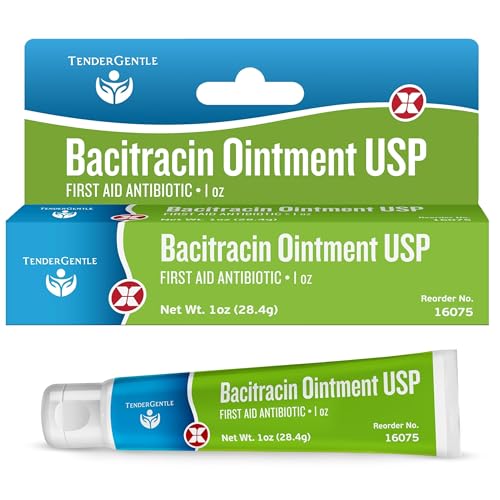
Tender Gentle's Bacitracin Ointment USP is a first-aid antibiotic for minor scrapes, cuts, and burns.

Neosporin Original Ointment: A no-sting antibiotic ointment for minor cuts, scrapes, and burns that provides long-lasting, 24-hour protection by helping prevent infections and minimize the appearance of scars in minor wounds
Recommended Ointment Types
For the first three days following your tattoo removal, you’ll apply a thin layer of antibiotic healing ointment to the treated area. This step protects open skin and supports your Laser Tattoo Removal Aftercare routine. Cover the area with a sterile bandage/dressing after each application.
If blisters form and rupture on their own, continue the antibiotic ointment for at least 24 hours after they pop. Never pick or pop blisters yourself.
Once your skin heals past day three, switch only to what your clinic recommends. Most providers suggest Vaseline/Aquaphor or similar soothing moisturizers. Avoid changing products without guidance.
Skip extra antibiotic ointments like Neosporin unless your specialist specifically approves them, since these can cause irritation or increase blistering risk.
Follow these proper aftercare tips for safer recovery.
Application Frequency Guidelines
You’ll apply a thin coating of antibiotic healing ointment three times daily for the first three days after your session. Use only the product your clinic recommends, applying it after you’ve gently cleaned the area and patted it dry.
Application Frequency Guidelines
- First 72 hours: Apply antibiotic healing ointment morning, midday, and evening
- Keep the treated area covered with sterile gauze during this period
- After 72 hours, remove the bandage, but continue following your aftercare tips
Special Considerations
- If blisters break naturally, continue applications for another 24 hours
- Always wait several hours after your laser tattoo removal session before first application
- Skip other products unless approved, as alternatives can irritate your skin
- Avoid alcohol on the treated skin until it’s fully healed
Follow these steps precisely for proper healing.
Bandage the Area: Covering Schedule for First 72 Hours
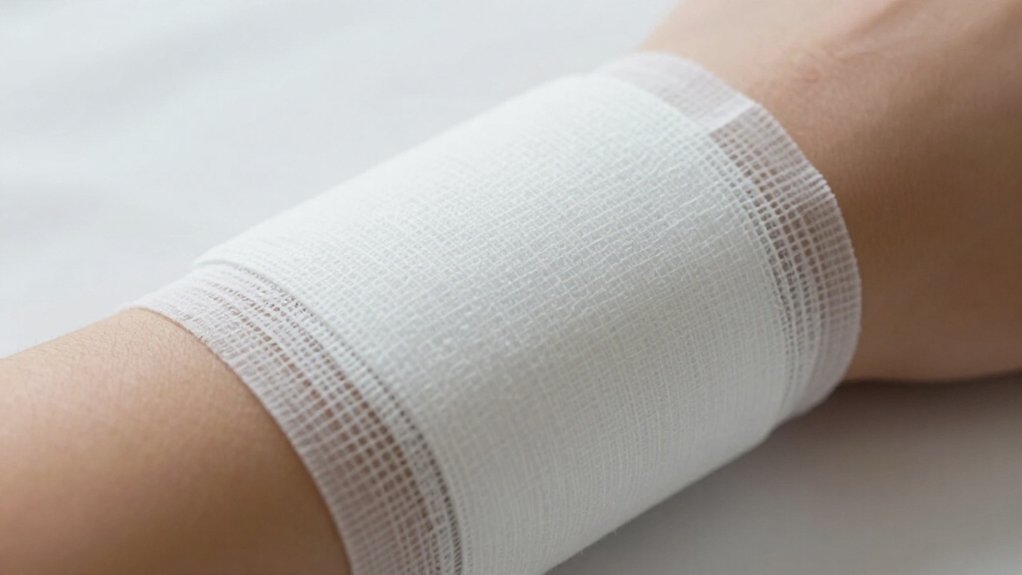
Because the treated skin is vulnerable immediately after your session, you’ll need to keep it covered with a sterile dressing for the first 72 hours. This bandage protects your treatment area while your immune system begins the healing process.
Your 72-Hour Aftercare Routine:
- Apply a thin layer of antibiotic healing ointment three times daily.
- Place a fresh bandage over the ointment each time.
- Keep the treated area clean and dry between applications.
You may notice blisters, crusts, or scabs forming within 8 to 72 hours. Leave the bandage in place during this active skin reaction. Do not pick or pop any blisters or scabs, since disturbing the wound increases infection and scarring risk.
After 72 hours, remove the bandage permanently. Continue keeping the skin clean and dry, following your clinic’s specific instructions for gentle cleansing and re-moisturizing.
Recommended Products

ONE ESSENTIAL SOLUTION: Aquaphor is one essential solution for many skin care needs; use on dry, cracked skin, as a lip moisturizer, facial moisturizer, hydrating mask, minor wound care and much more

Multi-Purpose Use: Effective for dry, cracked skin, minor cuts, burns, chapped lips, and more.

High-Quality Skin Protection: Made from Petroleum Jelly, CURAD's skin protectant provides effective protection against minor cuts, scrapes, and burns, ensuring optimal skin health
Shower Safely: Water Temperature and Pressure Rules
Once you’ve removed your bandage after 72 hours, you’ll need to adjust how you bathe. You can shower safely about two hours after your session, or as your clinic directs, but you must control water temperature and pressure carefully.
Follow These Steps:
Keep water lukewarm, never hot, to protect your healing skin. Avoid high-pressure water; let water flow gently over the area. Use mild soap, unscented, to keep the area clean. Pat dry; do not rub or scrub.
Critical Restrictions:
You must avoid submerging the area completely. No baths, hot tubs, or swimming pools until all blisters and scabs heal. Proper aftercare means keeping the site dry and protected. Skip makeup and creams near the site for 48 hours unless your office advises otherwise.
Recommended Products
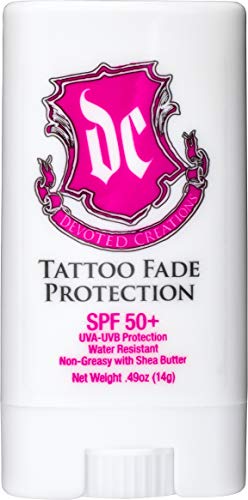
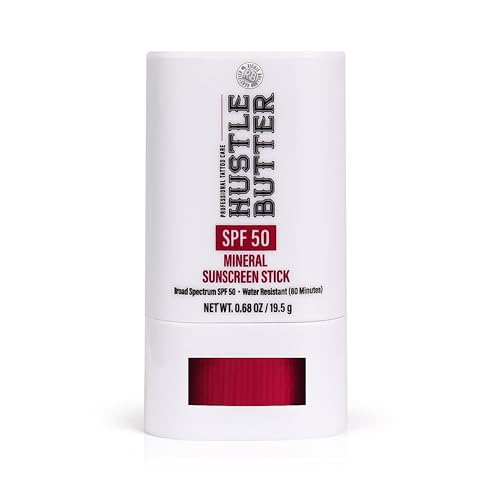
Tattoo Sun Protection, SPF 50: Our tattoo sunscreen stick provides broad-spectrum UVA/UVB coverage, preventing sun damage and fading, keeping tattoo ink vibrant and sharp.

TRAVEL READY - Meets TSA Carry-On regulations due to its small package size. This sunscreen stick easily fits in your pocket for on the go use.
Don’t Pop Blisters or Pick Scabs: Infection and Scarring Risks
Although blisters and scabs are a normal part of healing, you must *avoid* the urge to touch them. After your Laser Removal session, blisters often form within 8–72 hours. Let them rupture naturally, which usually happens within 1–2 weeks. Don’t squeeze them, as this *increases* your risk of infection.
Scabs protect the wound while new skin develops beneath. Picking disrupts this process and increases scarring. If a blister breaks or scabs loosen, keep the area clean and cover it with a sterile dressing per your clinic’s instructions. Never touch the wound with unwashed hands.
Watch for warning signs of infection: honey-colored crusting, oozing, spreading redness, or unusual pain. Contact your clinic immediately if these appear. Protecting your skin now ensures proper healing and preserves your results.
Recommended Products

COMFORTABLE: Experience a new level of comfort with our wound pad, designed specifically for painless removal and switching. These non-stick pads for wounds are a blessing for those with sensitive skin or painful wounds, making dressing changes less distressing and more comfortable.

CONVENIENCE: Experience the ultimate convenience with our 2x2 gauze pads, individually packed for easy access and guaranteed sterility. Each gaze pad is designed to maintain the cleanliness of your wound care supplies, reducing infection risk and promoting faster healing.
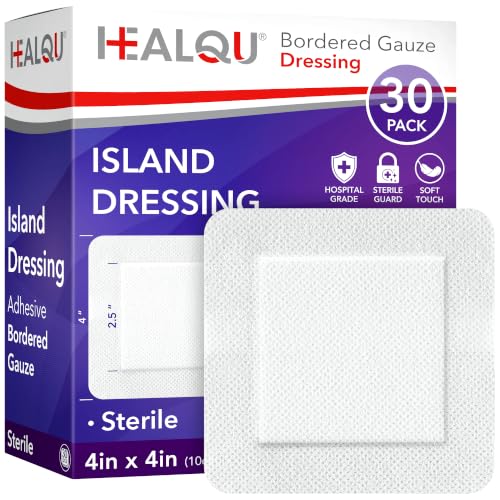
QUICK & EASY TO USE! Sticky around the edges but not in the middle, Healqu Bordered Gauze Island Dressings protect fresh cuts and scrapes without sticking to the wound, for good protection while healing. Simply peel & stick, and get on with the rest of your day!
Soothe Itching and Discomfort Without Damaging Skin
Itching and discomfort are common after your laser session, since the treatment dehydrates the skin. Tattoo removal treatments trigger this response, but you can manage it safely.
Itching and discomfort are common after your laser session, since the treatment dehydrates the skin.
Soothe Itching and Discomfort
- Apply cool compresses to soothe discomfort and reduce irritation without damaging fragile tissue.
- Avoid scratching the treated area, even when itch intensity increases, since this disrupts healing time.
- Use hydrocortisone cream sparingly if your clinic approves it, calming inflammation around scabs or blisters.
- Stay hydrated by drinking water and applying thin layers of Aquaphor or petroleum jelly after the initial bandaged period.
Do not pick at scabs or blisters, as this prolongs recovery. Take acetaminophen for pain, but skip aspirin to prevent bruising.
Recommended Products
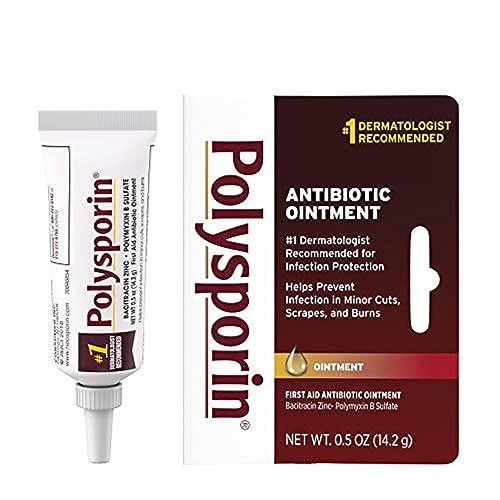
0.5-ounce tube of Polysporin First Aid Antibiotic Skin Ointment for effective wound care of minor cuts, scrapes and burns

.5 ounces of Neosporin Original First Aid Triple Antibiotic Ointment, by the #1 doctor recommended brand, has an effective germ killing formula and provides no-sting, long-lasting infection protection and wound care treatment for minor wounds

The Bacitracin Zinc Ointment USP from FifthPulse is a first aid antibiotic ointment that helps to soothe and heal minor wounds and burns.
Avoid Sun Exposure Completely for Two Weeks
Sun exposure poses one of the greatest risks to healing skin after laser tattoo removal, since UV rays penetrate fragile tissue and trigger inflammation that delays recovery. You must avoid sun exposure completely for two weeks post treatment to protect your vulnerable skin after laser tattoo.
Cover Up Outdoors
If you must go outside, keep your skin from the sun with clothing. Apply broad-spectrum sunscreen, SPF 25 or higher, once your provider clears it.
Skip All Tanning
Do not tan or use tanning beds during this period. Any tanning damages skin after laser tattoo removal the same way direct sun does.
Protect Your Results
Sun protection helps laser-targeted fragments heal properly. If you burn, postpone your next session until darker skin tones return to normal. You will achieve best results by staying vigilant.
Recommended Products


MULTI-PURPOSE HEALING OINTMENT: Designed to help soothe dry, cracked skin, minor cuts, scrapes, and burns for fast relief.

ONE ESSENTIAL SOLUTION: Aquaphor Baby Healing Ointment is clinically proven to restore smooth, healthy skin, a perfect multi-purpose solution for your baby's many skin care needs, a perfect addition to your diaper bag
Hold Off on Swimming, Baths, and Gym Workouts Until Healed
Once you’ve protected your skin from the sun, you’ll need to adjust your daily routines around water and exercise. Following treatment, your skin remains vulnerable to bacteria and irritation. You must avoid swimming pools, hot tubs, and baths until you’re completely healed.
Skip physical activity for at least 24–48 hours. Sweating and friction irritate raw skin. When you shower, use lukewarm water and gentle soap. Don’t scrub, soak, or blast the area with high-pressure spray.
Swimming or soaking too early increases infection risk. It also prolongs healing and affects how well the tattoo lightens. Wait several days before light exercise. Stay out of water for 4–8 weeks, until all blisters and scabs disappear.
Key Restrictions:
- Avoid swimming pools and hot tubs completely until skin closes fully
- Skip baths and soaking during the entire treatment process
- Pause physical activity for 24–48 hours minimum post-session
- Wait until completely healed, typically 4–8 weeks, before resuming water activities
Recommended Products

Tattoo-Safe Mineral Formula: Our tattoo sunscreen lotion uses non-nano zinc oxide, a physical barrier that sits on the skin to block UVA/UVB rays without penetrating or irritating tattoos. This helps prevent fading, discoloration, or damage to tattoo ink caused by sun exposure.

Broad Spectrum Protection: SPF 33 mineral sunscreen with non-nano zinc oxide sits on top of the skin to create a shield against sun exposue at the source - defending tattoos from sun exposure and fading, and keeping your ink brighter and more vibrant over time.
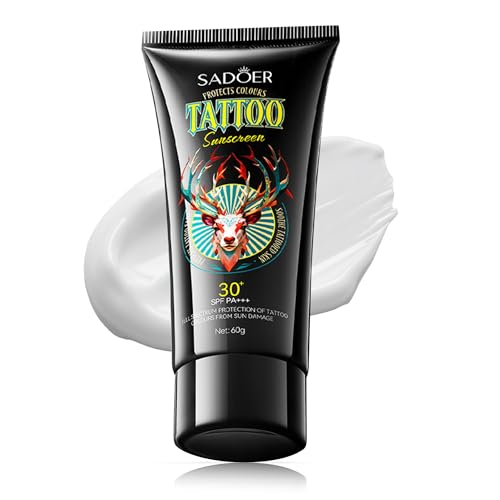
ULTIMATE SUN PROTECTION FOR TATTOOS & SKIN: Our advanced SPF 30+ formula delivers broad-spectrum UVA/UVB protection while locking in tattoo vibrancy. Suitable for all skin types – inked or uninked – its compact size fits your pocket easily, making it perfect for daily on-the-go protection.
Tattoo Removal Healing Timeline: What to Expect Week by Week
You’ll notice dramatic changes during your first week after treatment. Your skin shows immediate whitening, then redness, swelling, and possible blistering within hours.
Recommended Products
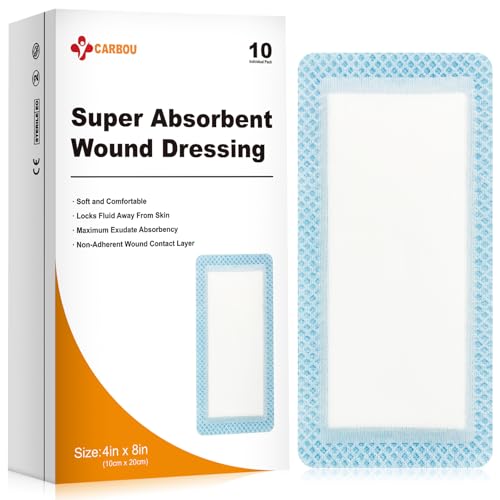
Highly Absorbent and Safe: Super absorbent dressing is an absorbent dressing with multi-layer composite structure, which is soft and comfortable, non-adherent, hydrophilic and highly absorbent. It can effectively absorb exudate and convert it into gel, reduce maceration and maintain a moist environment.

Impregnated with White Petrolatum Solution: The CURAD Sterile Non-Adherent Oil Emulsion Gauze Dressing is saturated with a white petrolatum solution, which maintains a moist layer on the wound, facilitating the healing process

Effective Dressing: The Bordered Gauze 4x4 (inch) consists of a 200 gsm 2”x2” non-adherent pad in the center, which ensures increased absorption, breathability, and cushioning of the wound
Week One Changes
- Apply antibiotic ointment thinly, three times daily, using sterile dressings for protection.
- Keep the area clean, dry, and covered; shower gently without soaking.
- Expect blisters, scabs, and itch; never pick or pop them.
- Skip baths, pools, hot tubs, and direct sunlight entirely.
This care requires patience, but proper attention minimizes scarring and infection risks.
Month One Milestones
Enter month one with clear expectations for how your treated skin will change. Your month one milestones guide you from immediate post-laser treatment reactions through complete surface healing.
Week 1: You notice whitening right after your session, then tenderness, redness, and possible swelling. Blisters or crusts appear within 8–72 hours and begin resolving before week’s end.
Week 2: Healing continues as scabs form. You must not pick or pop anything, keeping the area clean and dry while nature takes its course.
Week 3: Surface irritation fades if you’re healing normally. You focus on gentle cleansing and strict sun avoidance, since ongoing sensitivity delays fading.
Week 4: Most external healing completes around 4 weeks, though deeper fading progresses gradually.
Throughout this period, you take care by following aftercare instructions, staying hydrated, and protecting healthy skin from sun damage. This prevents skin damage and delivers the best possible results. Record your progress, note any questions about the process, and maintain these habits for excellent outcomes.
Infection Warning Signs: When to Call Your Doctor or 911
Because your skin is healing from laser treatment, you need to watch closely for signs that something has gone wrong. Laser tattoo removal treatments create damaged skin that requires your blood cells to repair tissue, but infection warning signs can develop quickly. You must distinguish normal side effects from serious complications.
Laser tattoo removal creates damaged skin that requires careful monitoring to distinguish normal healing from serious complications.
Watch for these critical signs:
- Honey-colored crusting with oozing fluid indicates bacterial infection, not normal healing.
- Spread redness that expands beyond the treated area signals spreading infection.
- Worsening pain after initial recovery suggests deeper tissue involvement.
- Uncontrolled bleeding or extreme reactions require emergency care immediately.
Contact your doctor for severe swelling, spreading warmth, or infected blisters. Do not pop blisters, as this increases infection risk. Seek 911 for bleeding that won’t slow.
Recommended Products

helps to prevent infection prevent minor cuts prevent scrapes prevent burns

HEALING ACTION: We use specially formulated Bacitracin Zinc 500 to promote fast effective healing for minor cuts, scrapes, and burns. This easy topical ointment promotes clean healthy repair for skin damage.






