

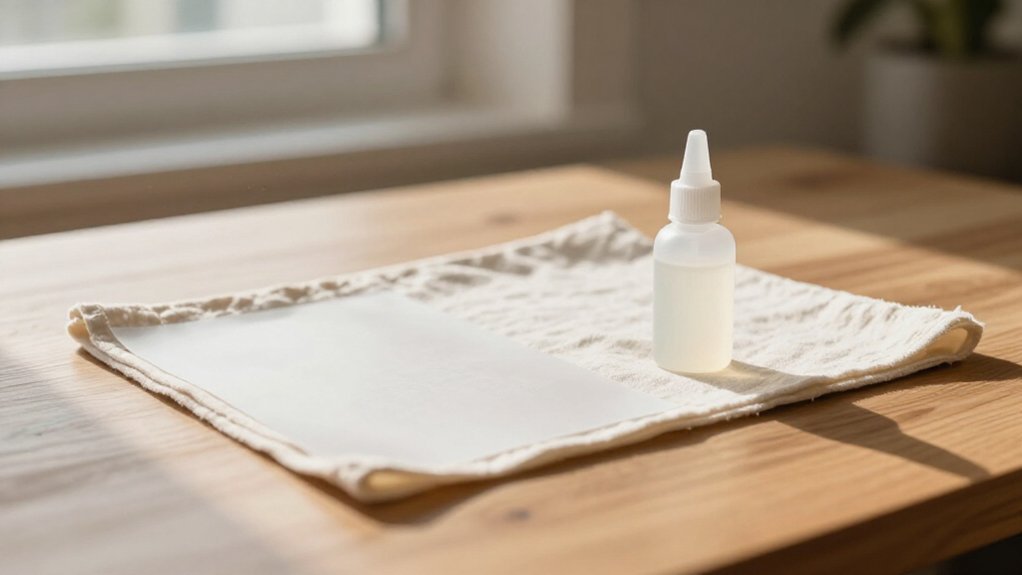
Over 45% of professional tattoo artists now create at least some stencils at home rather than relying solely on shop equipment, yet many beginners still struggle with transfers that fade mid-session or refuse to stick at all. You’ll need the right materials and a systematic approach to avoid these common failures.
This guide breaks down hand-drawn and digital methods, skin preparation, and application techniques that keep your stencil crisp until the final line.
What You Need to Make a Tattoo Stencil at Home
To make a tattoo stencil at home, you’ll need the right supplies before you begin.
Preparation is everything—gather your supplies before you even think about touching skin.
Essential Materials:
- Tattoo Stencil Paper: Choose 3-ply hectograph sheets for hand tracing, or 4-ply thermal transfer paper like Spirit Purple for machine printing
- Your Design: Bold, mirrored black-and-white line art on plain paper
- Application Supplies: Green Soap, a thin layer of vaseline, and a skin marker for final touch-ups
For Hectograph Method:
You’ll trace firmly through the hectograph stack with a pen so ink bonds to the backing sheet.
For Thermal Method:
Load thermal transfer paper carbon-side down in your thermal printer.
Critical Safety Notes:
Wear disposable gloves. Use only skin-safe stencil transfer products. Avoid regular office carbon paper, which isn’t sterilized. Never substitute household chemicals for proper stencil transfer mediums.
Recommended Products
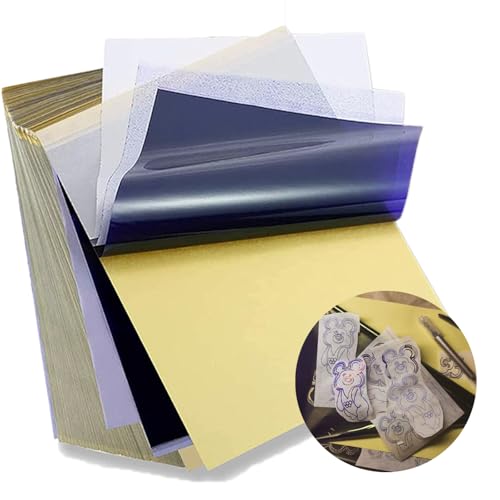
Standard size: Tattoo Transfer Paper is standard A4 paper size, each measures 8.27 in X 11.69 in. There are 4 levels in total. The thickness of the paper is very light and smooth to the touch.

Warm Tips: The tattoo transfer paper need to work with transfer medias.You will need to purchase the stencil ointment separately. Apply the design made on the master paper. Please pay attention to press the back side of the pattern to the skin for at least 3 seconds
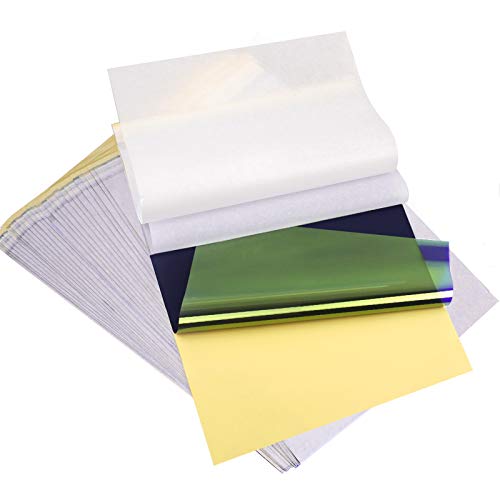
ADVANCED MATERIAL: Tattoo transfer paper is made with the high quality dyes and stencil paper. Transfer marks are very clear, clean and smooth. Tattoo transfer paper kit come with 35 sheets. Great for tattooing, trace and transfer images onto the body.<br>
Make a Hand-Drawn Tattoo Stencil by Tracing
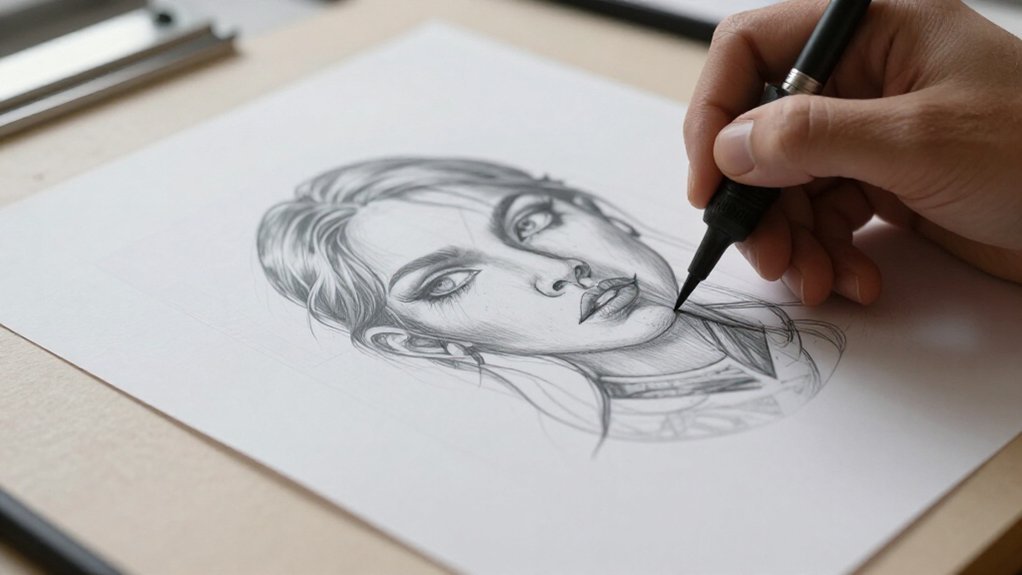
To make a hand-drawn tattoo stencil by tracing, you’ll need a few specific materials and a steady technique. Start with your printed or drawn design, hectograph transfer paper, and a firm writing tool. The process involves careful layering, controlled pressure, and clean handling to produce a usable stencil.
Recommended Products

Phomemo Tattoo Transfer Paper kit - Paper size: 8.27 in x 11.69 in (210 x 297 mm), Quantity: 1 Box, 100 Sheets in the box, Color: Blue. Phomemo Tattoo Transfer Paper is ideal for tattoo enthusiasts, artists and professional tattoo artists, offering reliability and consistency in tattoo stencil creation

Precision Transfer Performance - It’s professional-grade tattoo stencil paper delivers vibrant, high-definition transfers even for intricate designs. The carbon layer ensures sharp outlines without smudging or fading, ensuring crisp lines that stay true to your original artwork.

Precision Transfers & Long Lasting: Tattoo stencil paper delivers vibrant, high-definition transfers even for intricate designs. Creates crisp, dark lines that transfer cleanly to skin (clearly on different skin tones) which are easy to follow during tattooing. The carbon layer made from high-quality dyes ensures sharp outlines without smudging or fading and maintains crisp lines visibility throughout long tattoo sessions, so you can focus on creating art instead of re-drawing lines
Materials You Need
You’ll need a few particular items to create a clean, reliable stencil by hand. Gathering the right materials ensures your stencil transfer works properly, and prevents frustrating smudges or incomplete lines when you stencil onto the skin.
- Thermal paper (e.g., tattoo stencils): Use hectograph transfer paper, which has four layers: white master sheet, brown protective “onion” layer, purple carbon layer, and yellow backing. You’ll remove only the brown layer before tracing.
- Regular white printer paper: Print or draw your design here first. If you’re hand-drawing, photocopy it so you preserve your original artwork.
- Ballpoint pen or pencil: Apply firm, even pressure when tracing so the tattoo ink transfers cleanly to the back of the white stencil sheet.
Keep these materials flat and clean until you’re ready to apply your finished stencil.
Tracing Technique Steps
Once you’ve gathered your materials, you can begin transferring your design onto thermal paper. Print or draw your design onto regular white printer paper, photocopying if you want to preserve the original.
1. Layer Your Papers Correctly
Place thermal tattoo transfer paper so the purple carbon layer sits under your design. Remove only the brown protective, or “onion,” paper before you start. This setup ensures clean transfer of your image.
2. Trace with Steady Pressure
Use a firm, even tracing technique. Hold your pencil or pen at a consistent angle, applying enough pressure that the carbon lifts onto the back of your white paper. In Tattooing 101, you’ll learn that uneven pressure creates broken stencil lines.
3. Separate and Prepare
Carefully peel the Transfer Paper away without dragging your hand across the carbon side. Cut out your stencil along the outer edges for accurate placement on skin.
Make a Digital Tattoo Stencil With Procreate
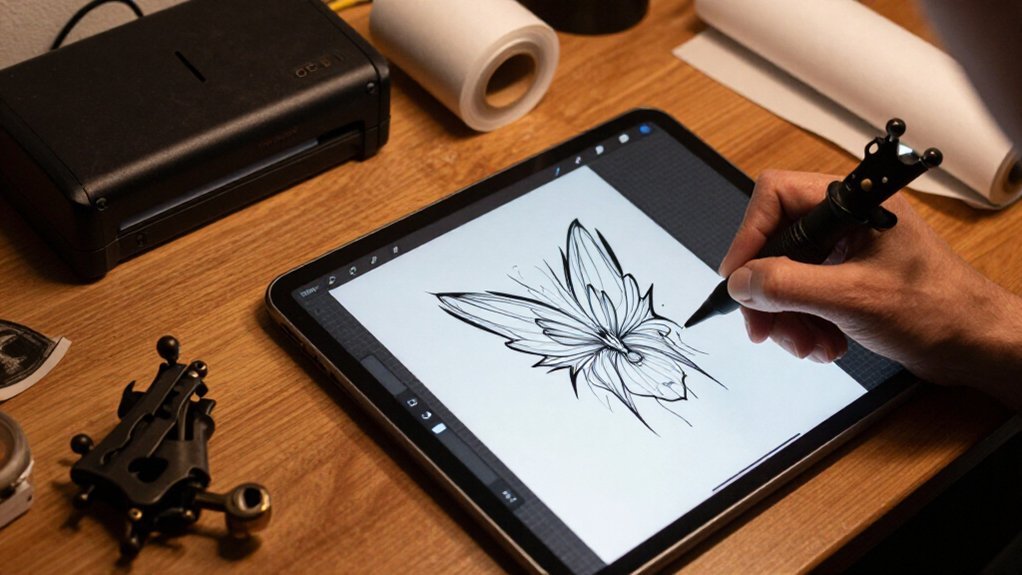
You’ll start by setting up Procreate on your iPad, importing your reference image as a new layer, and tracing it with high-contrast black lines for clean transfer visibility. Before you export, mirror the artwork horizontally so your stencil prints in the correct orientation for skin application.
Then, export the design as a JPG, send it to your printer via AirDrop or email, and print it on thermal tattoo stencil paper for crisp, reliable results.
Recommended Products
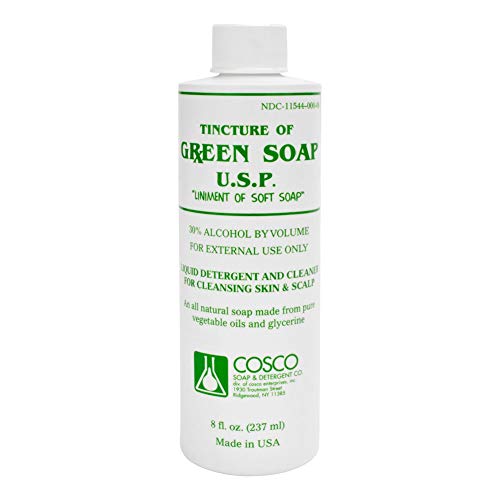
Effective detergent/cleaner for removal of dried blood and protein soils from skin and scalp
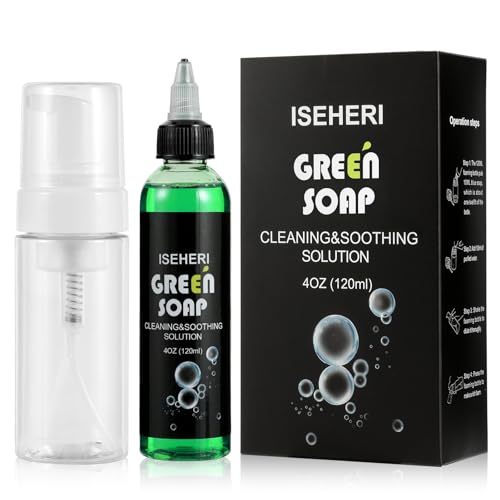
ISEHERI Green Soap Kit : You will receive a bottle of 4OZ Ultra Concentrated Care Green Soap and a 120ml empty foam bottle for easy dilution and cleaning.

PROFESSIONAL TATTOO SOAP – Trusted by tattoo artists worldwide, Cosco Green Soap is the industry standard for safely cleaning and prepping skin before, during, and after tattoo sessions.
Procreate Setup Basics
Your workflow needs three core elements:
- Layer tools to separate linework from background
- Apple Pencil precision for clean tracing at high zoom
- Color correction to convert red/pink lines back to black
This ensures thermal printers read your design correctly. Export as JPG via AirDrop or email for printing compatibility. Watch any HD video tutorials if you need visual reinforcement of these steps.
Printing Your Stencil
When your linework is clean and black, you’re ready to move from screen to paper.
1. Export Your Design
Recolor any red lines back to black, since thermal papers read crisp black best. Export your final design as a JPG.
2. Run a Test Print
Always do a test print on regular paper first. This confirms your scale and line density before you waste thermal tattoo stencil paper.
3. Load the Paper Correctly
Insert your thermal tattoo stencil paper with the carbon/ink layer facing down. Guide it straight through your thermal tattoo transfer printer to prevent crinkles, jams, or smudging.
4. Inspect and Trim
Check your printed tattoo stencils carefully. Look for dark, complete lines on any part of the design. Trim the stencil to your design, then proceed to application with stencil gel.
Prep Skin So Your Tattoo Stencil Actually Sticks
Because a stencil that slides or smears wastes time and ink, you need skin that’s clean, smooth, and oil-free before you begin. Tattoo stencils matter because they guide every line you’ll ink, so proper prep ensures the stencil stays put from start to finish.
- Clean and shave: Wash the area with diluted green soap, keeping skin slightly wet, then shave with a new razor to remove hair that breaks up transfer.
- Strip oils: Rinse, dry completely, and apply a thin layer of hand sanitizer to remove skin oils that repel stencil primer.
- Prime and wait: Apply stencil solution evenly, wait 30–60 seconds until tacky, then press your paper stencil firmly so it adheres without smudging.
When you make the stencil stick properly, you help artists avoid rework that could affect tattoo quality. Let the stencil dry in a dry place before you start inking.
Recommended Products

Clean, Flawless Transfers: Your artwork will look so clean once transferred to the skin with the Stencil Stuff gel! Gentle on the skin, Stencil Stuff transfer solution helps you achieve clear and sharp tattoo stencil transfers every time!

Safe and Healthy: Our tattoo transfer gel meets strict safety and non-toxic material standards, non-irritating to the skin and vegan-friendly. Maintains client comfort while achieving clear tattoo stencil transfers.

【Safe 】: Our tattoo transfer gel meets strict safety and non-toxic material standards, non-irritating to skin, vegan and skin-friendly, and allows clear, clean tattoo transfer.
Apply Your Tattoo Stencil Without Smudging or Misalignment
Once your skin is prepped and primed, you’re ready to transfer the stencil itself.
1. Apply Your Tacky Stencil Gel
Spread a thin, even film of tacky stencil gel across the area. Let the stencil gel sit until it turns tacky, about 30–60 seconds. Professional artists use this wait time to position their reference points.
2. Transfer and Secure
Press the stencil down firmly for 20–30 seconds. Peel back carefully at an angle. Don’t touch the lines while the paper sits on your skin, or you’ll risk smears.
3. Prevent Misalignment
Mark key edges with a sterile surgical skin marker before you commit. This stops misalignment, since you can reposition using those guides.
4. Set Without Smears
Keep the area professional dry. Use light, sterile wiping only with distilled water or heavily diluted green soap. Skip alcohol now to keep your stencil from smudging.
5. Protect Before Tattooing
Apply a thin protective barrier, like light vaseline, once everything sets. This keeps your work clean as you start making a stencil into permanent art.
Recommended Products

6 Pack of Surgical Skin Markers. Individually Sealed, Sterile.

QUALITY TATTOO MARKERS FOR SKIN: Our tattoo markers are designed for precision, offering bold, clear lines on the skin. Ideal for sketching, freehand drawing, or tattooing, they serve as reliable skin markers for tattoos, ensuring quality results every time.

Multiple uses: the 2 tip marker skin pens size are 0.5 mm and 1 mm; The thickness of the pen tip can easily draw accurate and clean lines, suitable for experienced or beginners
Protect Your Stencil While You Tattoo
Your stencil is locked in, so now you’ll keep it intact through every wipe and needle pass. You’ll protect your stencil with three proven methods that form the backbone of clean body art.
- Apply a thin barrier: Once the stencil dries completely, spread a light layer of vaseline over the design. This shields your lines from premature wiping without clogging pores.
- Wipe strategically: Use gentle pressure, moving bottom-right toward top-left for right-handed work. Clean materials prevent dragging pigment into open areas.
- Handle with care: Touch only the edges when removing transfer paper. Carbon ink on gloves re-smears easily.
Behind the curtain, these Linework Secrets separate amateur transfers from professional results. Allow the stencil its full 10–15 minute set time before starting.
For daily Tattooing tips and instant access to tools, you’ll want proper tools and resources at your station. Access equipment that supports precision, and your outlines stay crisp until completion.
Recommended Products

Spirit Tattoo Classic Thermal Transfer Paper, 8.5” X11” (100 Sheets): Established since 1946, the original and trusted choice of tattoo artists globally, offering reliability and consistency in tattoo stencil creation.

🔍 Precision Industry-Standard Transfer - Engineered 4-ply stencil paper (8.25"x11.75") with high-density dyes delivers defined lines for intricate tattoo stencils. Compatible with major thermal printers for reliable tattoo transfer paper workflows.
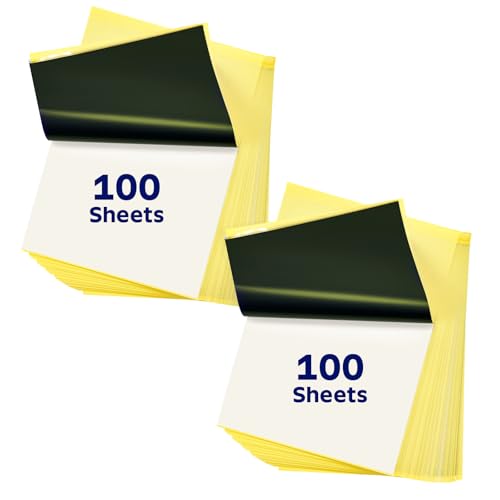
200 Sheets Premium Transfer Paper:Our package includes 200 sheets of 8.5 x 11 in, A4 size. Tattoo stencil paper standard size tattoo paper, providing ample supply for both professional tattoo artists and beginners to practice and create precise, long-lasting stencils.
Troubleshoot Bleeding, Ghosting, and Poor Transfers
Even the most careful application can go sideways, but most stencil problems trace back to fixable technique errors. When you’re learning to tattoo, these hiccups frustrate, so we’ve got your back with practical fixes.
Even careful stencil application can fail, but most problems stem from fixable technique errors—here’s how to get back on track.
1. Bleeding Lines
You get bleeding when you use the wrong medium or apply stencil gel too thick. Use a thin, even film, and don’t over-wet the skin before pressing.
2. Ghosting
You see faint ghosts when gel hasn’t set. Wait 30–60 seconds until tacky, press firmly for 20–30 seconds, and peel carefully without dragging.
3. Poor Transfer
Missing lines mean poor contact. Keep the stencil flat, maintain steady pressure, and never reposition after setting.
For artists improving these fundamental tattooing skills, our premium online Complete Guide delivers tips and tricks you Need to Know. This FREE guide teaches essential techniques for clean, professional results every time.
Recommended Products

Great Value Kit: Cridoz tattoo transfer paper kit come with 50 sheets tattoo stencil paper, great for tattooing, trace & transfer images onto the body. Warm Tips: The tattoo transfer paper need to work with transfer medias. You will need to purchase the stencil ointment separately
Spirit Tattoo Classic Thermal Transfer Paper, 8.5x11in: Established since 1946, the original and trusted choice of tattoo artists globally, offering reliability and consistency in tattoo stencil creation.

Spirit Tattoo Classic Thermal Transfer Paper, 8.5" X14" (100 Sheets): Established since 1946, the original and trusted choice of tattoo artists globally, offering reliability and consistency in tattoo stencil creation.
Choose: Hand-Drawn or Thermal for Your Setup
Whether you’re working from a kitchen table or building a professional station, you’ll need to pick a stencil method that matches your tools, budget, and workflow.
You’ll choose hand-drawn stencils when you want control: print/draw your design, then trace onto hectograph/transfer paper with firm even pressure. You become the printing mechanism, so every line depends on your steady hand.
You’ll choose thermal stencils for efficiency: load thermal tattoo transfer paper into a printer, and let heat transfer your digital art. It’s faster, and you can resize without redrawing.
Consider three factors:
- Speed: Thermal wins for volume; hand-drawn suits one-offs
- Flexibility: Thermal typically lets you tweak sizes digitally; hand-drawn means starting over
- Quality: Thermal gives crisper line fidelity; hand-drawn offers organic character
Whichever you pick, make sure your design is mirrored correctly before transferring.
Recommended Products

Includes 16.9oz of Ultra-Concentrated Green Soap and an 8oz Squeeze Bottle for easy dispensing.
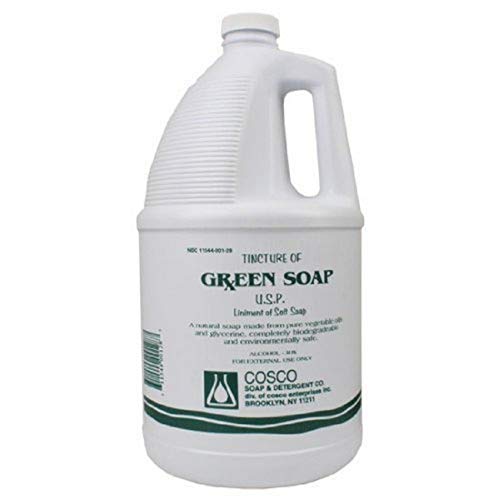
Pure concentrated green soap

★【Complete Tattoo Care Kit】 - 16.9OZ 100% ultra concentrated tattoo green soap with 7OZ foam bottle – simply add water to dilute. Perfect for pre/post-tattoo cleaning and tattoo aftercare.






