

You need custom ink shades that match your vision, but mixing without a system wastes product and risks muddy results.
Start with a foundation of black, white, and primary colors from one compatible brand. You’ll lighten tints with white drop-by-drop, create washes with professional diluent, and build secondaries using color theory.
The real challenge comes when you try to darken without losing vibrancy, fix separation issues, or predict how your mix will heal. Here’s how to do it right.
How to Mix Custom Tattoo Ink: A Quick-Start Guide
Master custom ink mixing by starting with the right foundation. You’ll use sterile, professional-grade tattoo inks and dedicated single-use mixing tools for every session.
1. Build Your Base
Start from black, white, and primaries: red, blue, yellow. Lighten with Brite White for opaque tints, or use a professional diluent for translucent washes. Adjust value drop-by-drop.
2. Apply Color Theory
Create custom colors using basic combinations: orange equals red plus yellow, purple equals red plus blue, green equals blue plus yellow. Add the secondary color slowly for control.
3. Maintain Consistency
Mix compatible inks, ideally from the same manufacturer. Label your cup with exact ratios so you can replicate the shade later.
4. Blend Thoroughly
Shake bottles before pouring for even pigment concentration. Mix tattoo ink completely in caps or small cups. Test every custom mix on synthetic skin before client application.
Recommended Products
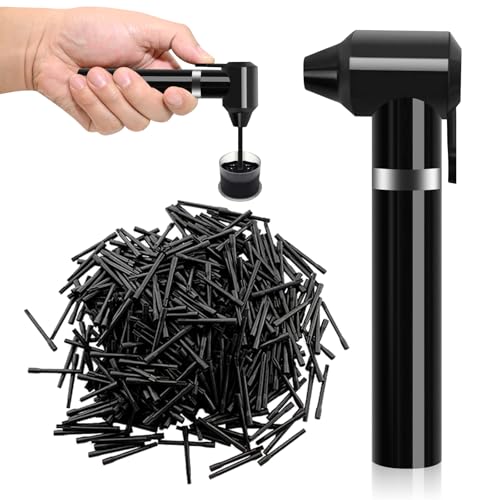
COMPLETE COMBINATION: Ink mixer kit includes 1pcs black electric ink mixer machine (1.8 x 5.1 inch) and 100pcs mixing sticks (1.3 inch). Mixing sticks All single use, clean and hygienic

💎【PRO-GRADE DURABILITY】Crafted with high-impact plastic, Yuelong tattoo ink mixer resists breaks & drops. Ultra-lightweight yet tough – ideal for busy studios & apprentices. Mix inks, pigments, microblading supplies safely!

【Premium Material】These tattoo ink mixer sticks are made of premium resin materials. They are perfect in size, easy to store and carry around. Whether you are an experienced tattoo artist or just starting out, this set of ink mixer sticks is perfect for ensuring your ink is perfectly blended
Safety Checks Before You Mix
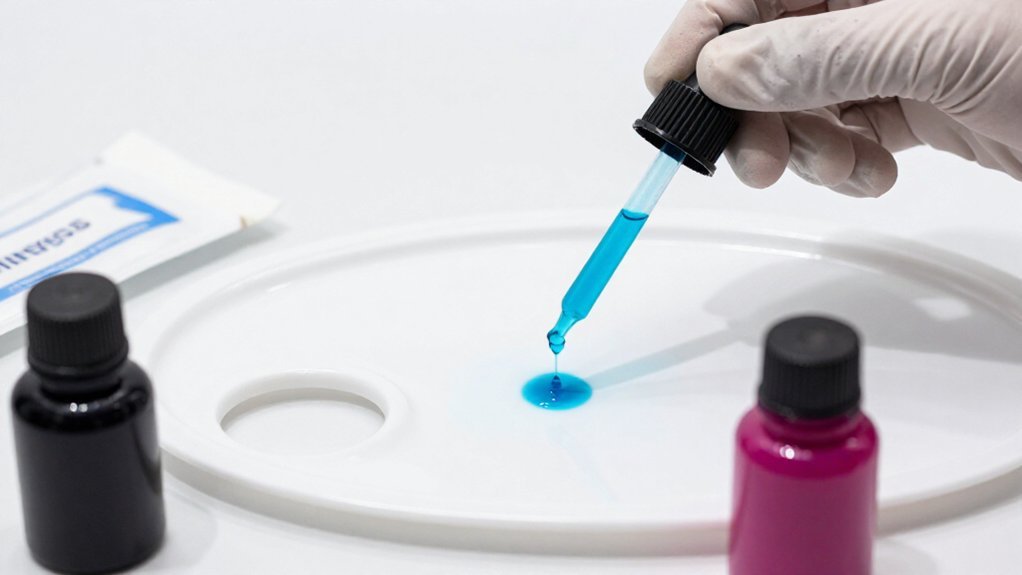
Before you open a single bottle, you’ll grab fresh, sterile mixing tools and confirm your inks share the same brand family. You never reuse needles as stirrers, and you don’t blend incompatible manufacturers, since mismatched formulas can clot or shift color unpredictably.
These two checks, sterile tools and brand compatibility, form your non-negotiable foundation for safe custom mixing.
Recommended Products

MADE IN THE USA SINCE 1990 — For over 30 years Dynamic Color has produced professional tattoo supplies in the United States, an established American brand artists built their work on long before most imported labels existed.

TATTOO SUPPLY KIT: Tattoo ink mixer machine with 100 Tattoo ink mixing sticks. Durable and long-term use. The tattoo ink mixing stick is made of high-quality materials, sticks are only one time use, clean and sanitary.

PACKAGE LIST - The Tattoo Ink Mixer Machine kit comes with 1 piece of pink pigment mixer machine and 100 pieces of mixing sticks. It is designed to be durable for long-term use. The machine features a strip bar control button on the head for easy operation with a single button.
Sterile Tools Required
Although custom shades can improve your work, you can’t compromise on sterility when you’re mixing tattoo inks. Never reuse needles or cartridges, and keep one dedicated ink mixer specifically for blending your custom tattoo ink.
Always shake original bottles thoroughly before pouring, so pigment concentration stays uniform. Mix immediately under sterile conditions, using controlled amounts in separate containers to prevent cross-contamination between shades.
Use clean, single-use needles or cartridges for application, and never touch mixing tools that have contacted skin. Keep a dedicated, sterilized battery-operated ink mixer, and never stir with used needle tips. Mix small amounts in separate containers to maintain saturation and avoid contamination. Shake bottles well before pouring, then mix under sterile conditions immediately.
Brand Compatibility Check
Because you’re working with proprietary formulations, you can’t assume all professional inks will blend smoothly. Professional tattoo artists know that mixing different brands risks clumping, separation, or unexpected color shifts that ruin your custom shade.
1. Stick with One Manufacturer
Always mix inks from the same brand, such as StarBrite with StarBrite. This prevents formulation conflicts that cause texture problems or inconsistent healing.
2. Test Before You Commit
If you must combine different brands, perform a small synthetic-skin test first. Never apply untested mixtures to clients.
3. Prepare Properly
Shake both bottles thoroughly before measuring. This ensures carrier solution and pigment concentration stay consistent, reducing shade drift.
4. Document Everything
Label your mixed cups with brand names, specific colors, and exact drop ratios. You’ll recreate the exact blend later.
These Best Practices protect your work and your clients.
How to Choose Compatible Ink Brands
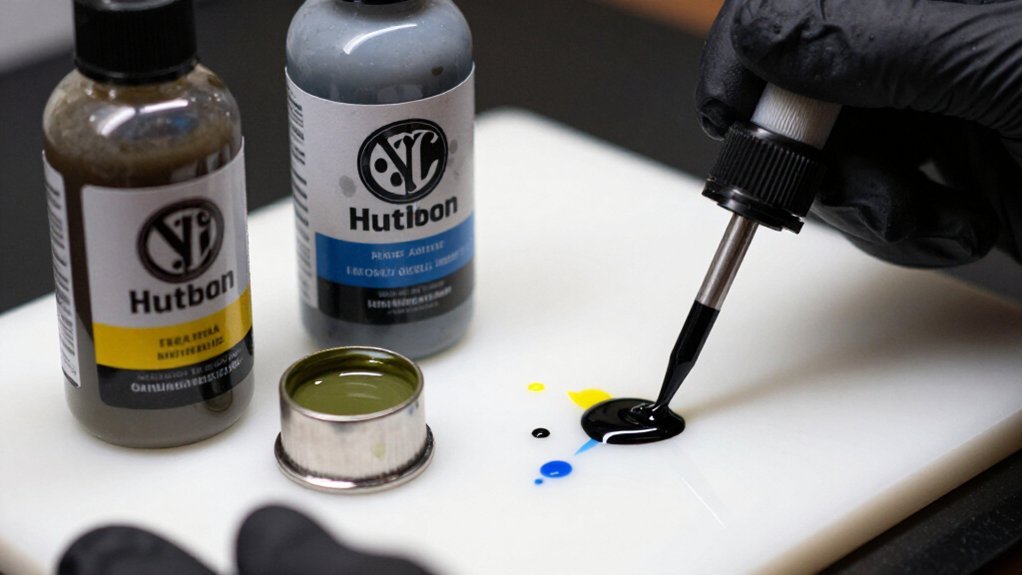
Brand consistency matters when you’re building reliable custom shades, so you’ll want to stick with one professional manufacturer’s product lines, StarBrite, Eternal, or Fusion, to keep formulation and viscosity stable during mixing. Cross-brand risks are real, since different carriers and pigment concentrations can react unpredictably and shift your color or texture without warning.
Always test compatibility first on synthetic skin before any client work, confirming your mixture performs and heals exactly as you expect.
Recommended Products

MADE IN THE USA SINCE 1990 — For over 30 years Dynamic Color has produced professional tattoo ink in the United States, an established American brand artists built their work on long before most imported labels existed.

Premium Ingredients: Tattoo Ink Mixing Solution uses Distilled Water and Hamamelis Water for safe and effective ink mixing
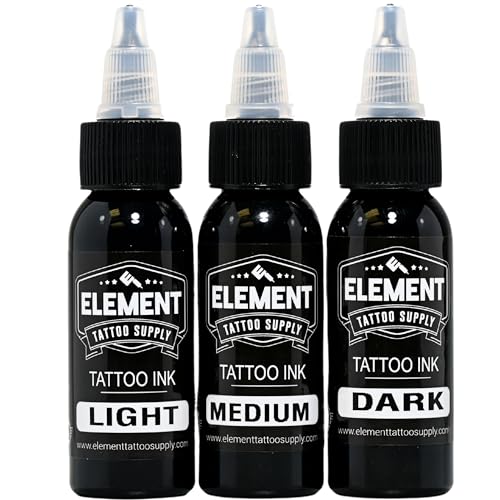
GRAY WASH TATTOO INK SET FOR SMOOTH TRANSITIONS: Achieve flawless shading and smooth transitions with this gray wash tattoo ink set. Designed to create subtle gradients, this tattoo grey wash set eliminates the need for mixing inks yourself.
Brand Consistency Matters
The chemistry between ink brands determines whether your custom shade heals true or shifts unpredictably, so you’ll want to stick with one manufacturer whenever possible. Mixing tattoo inks from the same professional manufacturer keeps pigment carrier compatibility consistent, reducing clumping or color-shift surprises.
If you must blend different brands, test the exact blend on synthetic skin first. Formulations affect transparency, opacity, and healing results.
Shake original ink bottles thoroughly before pouring to maintain uniform pigment concentration. Use trusted, mix-friendly lines like StarBrite, Eternal Ink, or Fusion Ink for predictable blending. Label every mixed cup with brand, ink names, and drop ratios for exact reproduction. Avoid mixing different brands unless you’ve verified compatibility through testing.
Cross-Brand Risks
When you’re blending inks from different manufacturers, you’re fundamentally combining chemical formulas that weren’t designed to work together, so proceed with caution. Cross-brand risks include clumping, uneven flow, and unexpected color shifts.
Why Cross-Brand Mixing Gets Complicated
Different brands use incompatible carrier solutions. When you mix inks from separate manufacturers, you may get unpredictable results. Pigment concentration and transparency vary between brands, even when colors look similar on the bottle.
Your diluted shades, like washes and tints, can behave differently than expected because binders and dilution solutions differ across product lines.
Safer Approaches
Choose brands designed to blend together, such as staying within one product family like StarBrite. Label every mixed cup with exact ratios, and store inks away from heat and sunlight to maintain stability.
Testing Compatibility First
You’ve seen why cross-brand mixing carries risks, so now you’ll learn how to test before committing ink to skin. Testing compatibility first protects your clients and your reputation. You’ll avoid costly mistakes by following a simple protocol.
Start with these essential steps:
- Mix only same-brand inks whenever possible, as different formulations can clump or separate unpredictably
- Test any cross-brand blends on synthetic skin, checking application consistency and cured appearance
- Assess both immediate results and healed outcomes, since white ink and other pigments shift with skin undertones
- Shake bottles thoroughly before pouring, record exact ratios, and label your blended ink for future reference
This methodical approach ensures reliable, repeatable results every time you create custom shades.
How to Lighten Tattoo Ink for Pastels and Tints
Creating soft, muted tones requires a controlled approach to lightening your base pigments, and you’ll find two reliable paths depending on the final effect you want.
1. Adding White for Opaque Pastels
When you need solid, pastel highlights, you’ll mix your tattoo ink with Brite White. Add one drop at a time, blend thoroughly, and stop when you reach your target opacity. White-heavy mixes heal more solid, so you’ll get that soft, chalky finish clients often request.
2. Using Dilution for Washed Tones
For translucent, airy effects, you’ll skip the white. Instead, you’ll lighten with a professional shading or dilution solution, not tap water. This preserves your ink’s flow and stability.
3. Testing and Documenting
Always test your mix on synthetic skin first. You’ll record your ratios, like “3 drops base plus 2 drops white,” so you can match the exact tint for future touch-ups.
Recommended Products

Professional-Grade Pigment – High-quality tattoo ink designed for consistent performance and vibrant results.
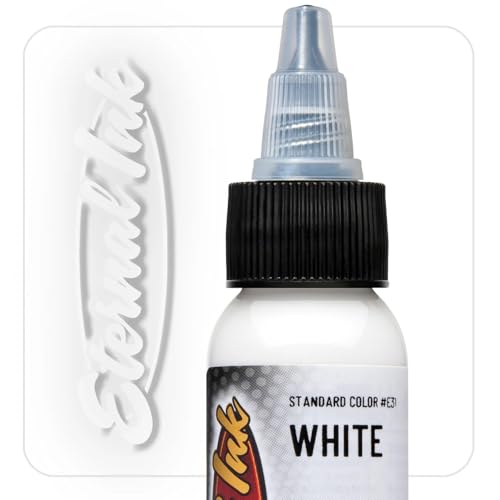
PREMIUM USA-MADE FORMULA – Eternal Ink is proudly made in the USA in a certified, state-of-the-art facility. Every batch is sterilized and tested to meet the highest industry safety and quality standards.

MADE IN THE USA SINCE 1990 — For over 30 years Dynamic Color has produced professional tattoo ink in the United States, an established American brand artists built their work on long before most imported labels existed.
How to Darken Tattoo Ink Without Muddy Results
Darkening tattoo ink requires the same precision you used for pastels, though you’ll work in reverse. You’ll add black drop by drop, mixing tattoo ink thoroughly each time to avoid overshooting into muddy territory.
If you want cleaner results, skip straight black. Instead, neutralize overly warm tones with a darker complementary color, like dark blue deepening orange-leaning mixes.
Add one drop of black at a time, blending fully before adding more. Use complementary darks, not just black, for cleaner depth. Test on synthetic skin first, since healing shifts tones. Record your drop ratios to reproduce values consistently.
Apply deeper colors first in your layering order. This prevents light pigments from staining or dulling. Stay incremental, document your process, and you’ll maintain control without muddiness.
Recommended Products

Three primary colors including red yellow and blue for solid fills and custom mixing

Tattoo ink Renowned for its smooth flow characteristics, our inks are designed to excel in any tattooing task—from intricate detailing to outlining and shading

【tattoo ink sets professional Rich Color】This set contains 14 colors of tattoo ink, each bottle of tattoo ink capacity of 30ml. Meet your use needs
How to Mix Custom Shades Using Color Theory
With color theory as your foundation, you’ll move beyond pre-mixed bottles into territory where your decisions control the outcome. Mastering this process improves your creating custom tattoo work from standard to signature.
1. Apply the Color Wheel
- Red plus yellow equals orange; red plus blue equals purple; blue plus yellow equals green.
- The dominant base color determines warmth or coolness. More red in your orange pushes it toward reddish-orange.
2. Build Tertiary Shades
– Mix a primary with its neighboring secondary. For red-orange, start with orange and bias it with extra red in tiny increments.
3. Adjust Saturation and Value
- Add small amounts of complementary hues to neutralize without shifting families.
- Raise or lower value first, lightening with white or darkening with black drop by drop.
4. Test Before Application
– Always test on synthetic skin, especially when using magnum needles for broad coverage, so undertones don’t surprise you after healing.
Recommended Products

1.GOOD MATERIAL:Disposable mixing sticks are made of high-grade plastic, it is small in size, light in weight, durable and easy to operate. The stirring rod is a disposable consumable and safer than traditional stirring rods

【Valuable Packagfe】500pcs tattoo ink mixing sticks. The tattoo stirrer rod can only be used once and is clean and convenient.

1[MULTIPURPOSE]This electric tattoo ink mixer can be used for blending tattoo Eyebrow ink,watercolor Ink,nail polishes, liquid,painting pigment, microblading supply tool and other artistic applications.
How Dilution Changes Mixed Ink Behavior
Once you’ve mastered mixing custom shades through color theory, you’re ready to control how those colors actually behave in skin. Dilution fundamentally changes how your ink performs during application and healing. You’ll use sterile diluent or shading solution to increase transparency, creating softer, more see-through layers.
This differs from mixing with white, which typically yields more opaque, solid healed results. For light colors particularly, controlled dilution prevents weak saturation and uneven healing. Small amounts matter here; over-diluting produces dull, unpredictable outcomes.
Use sterile professional diluent, never tap water, to maintain safety and consistency. Apply diluted bases for atmospheric effects like sky depth or underwater scenes. Document your exact ratios of pigment to diluent for reproducible results. Test diluted mixtures on synthetic skin first, since dilution alters how ink lays down and heals.
Always confirm your light colors heal as expected before applying to clients.
Recommended Products
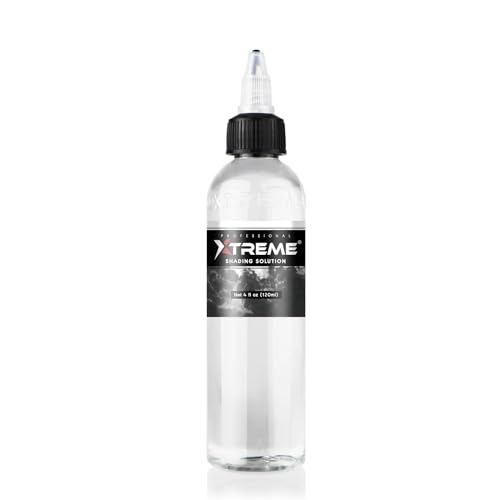
Elevate Your Shading Game: Xtreme Shading Solution takes your shading technique to the next level, delivering impeccable results for tattoo artists of all levels.
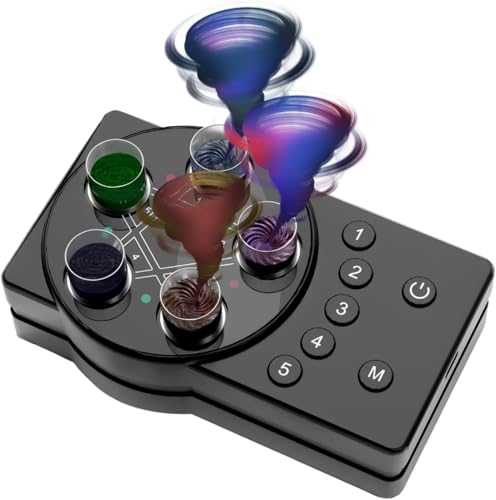
AUTOMATIC BLENDER:The blender has 5 start switches, 1.2.3.4.5, adjustable voltage, and can be easily operated with just one “M” button. Unlike traditional hand-held blenders, our product can completely free your hands and realize fully automatic blending
How to Test Your Custom Mix Before Application
Why risk a client’s skin on untested pigment? You create your custom shade in tiny, controlled drops, label the exact ratio, then begin testing on synthetic skin first. Healed tattoo color may shift with skin undertones and time, so this step safeguards your reputation.
Shake both original ink bottles and your mixed cup thoroughly for uniformity. Apply a small test patch, then note how opacity and saturation appear while fresh and after settling. Check value and tone against a reference, since adding white boosts opacity while dilution reads more translucent.
Run the test using your intended layering order to ensure the mix doesn’t stain or muddy adjacent tones. Let the test area completely heal on practice material before committing. Document what changes so you can reproduce the mix later.
Recommended Products

Gray wash tattoo ink set for smooth transitions gives you steady shading with clean shifts between tones and helps you create soft gradients without mixing inks yourself so you keep your work simple and consistent on real skin

MADE IN THE USA SINCE 1990 — For over 30 years Dynamic Color has produced professional tattoo ink in the United States, an established American brand artists built their work on long before most imported labels existed.
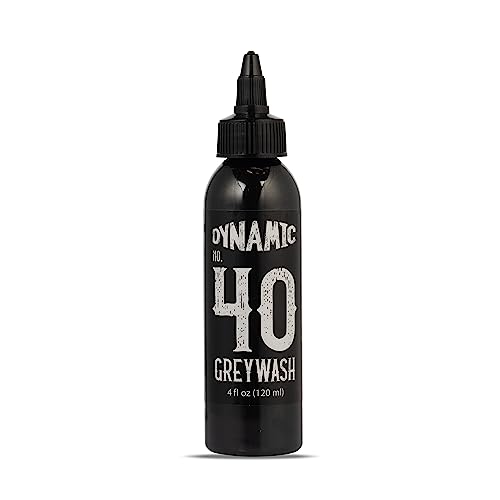
MADE IN THE USA SINCE 1990 — For over 30 years Dynamic Color has produced professional tattoo ink in the United States, an established brand artists have built black-and-grey work on long before most imported labels existed.
How to Fix Clumping, Separation, and Muddy Colors
Even the most careful mix can go wrong, and you’ll need to act fast when pigment misbehaves. Tattoo ink requires vigilance, especially with dark colors that settle quickly and hide inconsistencies until it’s too late.
Vigilance with every drop—dark pigments settle fast, hiding flaws you’ll only see when it’s too late.
Shake original bottles thoroughly, then remix with a sterile mixing stick until uniform. Prevent separation by using compatible inks from the same brand, mixed in small batches.
Fix muddy colors by adding complementary hues in tiny drops, not more of the same pigment. Test on synthetic skin first, then rebalance in micro-additions to avoid patchy healing.
If transparency causes dullness, switch to professional diluent for controlled washes, or tint back with white in small increments. You’ll catch problems early by staying observant and adjusting methodically.
Recommended Products
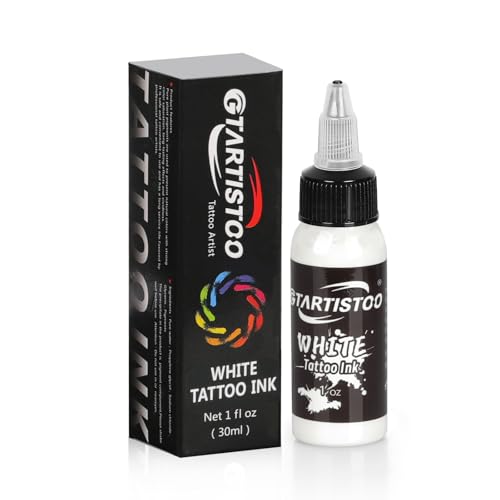
🤍Professional-Grade Tattoo Ink: This tattoo ink is designed for professional tattoo artists and studio use, suitable for highlighting, mixing, and detail work in tattoo designs.

🌟 Trusted Brand: Celebrating over 15 years as a leading tattoo ink brand known for vibrant colors and reliability.

1.100% new brand and high quality. Color stability, pure color, durable and safe,with a formula containing a high concentration of pigment, long duration, make your tattoos have a great texture.






