
You’re about to make a permanent decision, and the steps you take beforehand will shape everything from the healing process to how that ink looks decades from now. Most first-timers focus only on design and placement, but preparation runs deeper than that. Get a few key things wrong, and you’ll face unnecessary pain, poor results, or worse. Here’s what actually matters before you sit in that chair.
Key Takeaways
- Choose a meaningful, timeless design and test your commitment with temporary versions for several months.
- Research and consult with 2–3 skilled artists whose healed portfolio work matches your desired style.
- Stop alcohol, blood thinners, and tanning 24 hours ahead; moisturize daily with fragrance-free lotion.
- Eat a solid meal, hydrate well, and wear loose clothing allowing easy access to the tattoo area.
- Pack ID, payment, water, snacks, and headphones; confirm design placement before the artist begins.
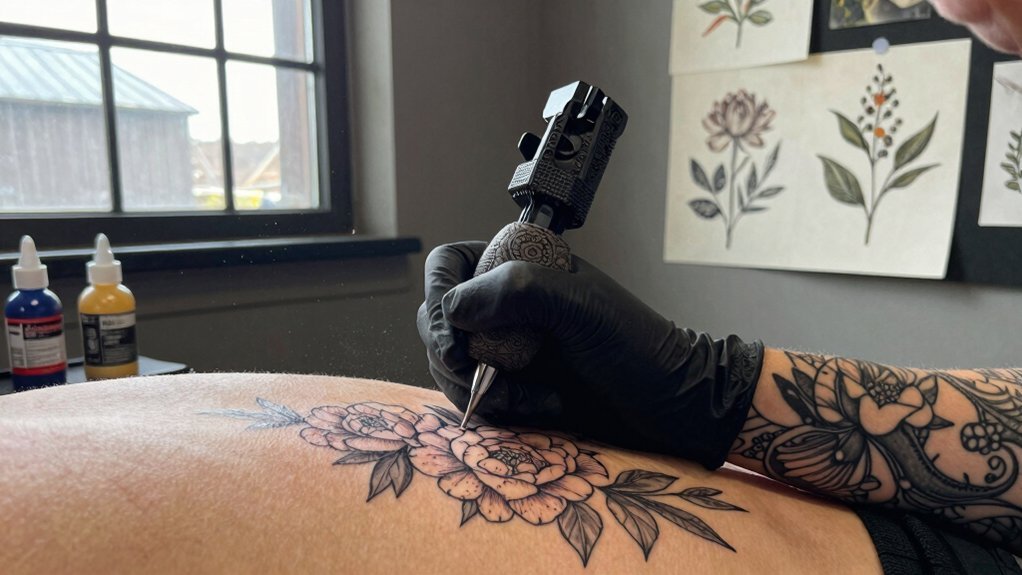
Choose a Tattoo Design That’ll Last
Why settle for a design you’ll regret in five years? You’ll want something that grows with you, not against you. Skip the trendy symbols and pop-culture references—they fade from your mind as fast as they fade from headlines. Instead, you’ll focus on imagery that carries personal weight: experiences that shaped you, values you hold close, or stories you’ll still want to tell decades from now.
Test your commitment. You might draw the design yourself or place a temporary version where you’ll see it daily. Live with it for months. Notice how it feels—does it energize you or bore you? You might find your opinion shifts, and that’s the point. Refine until it sticks. When you still love it after time passes, you’ve found your match.
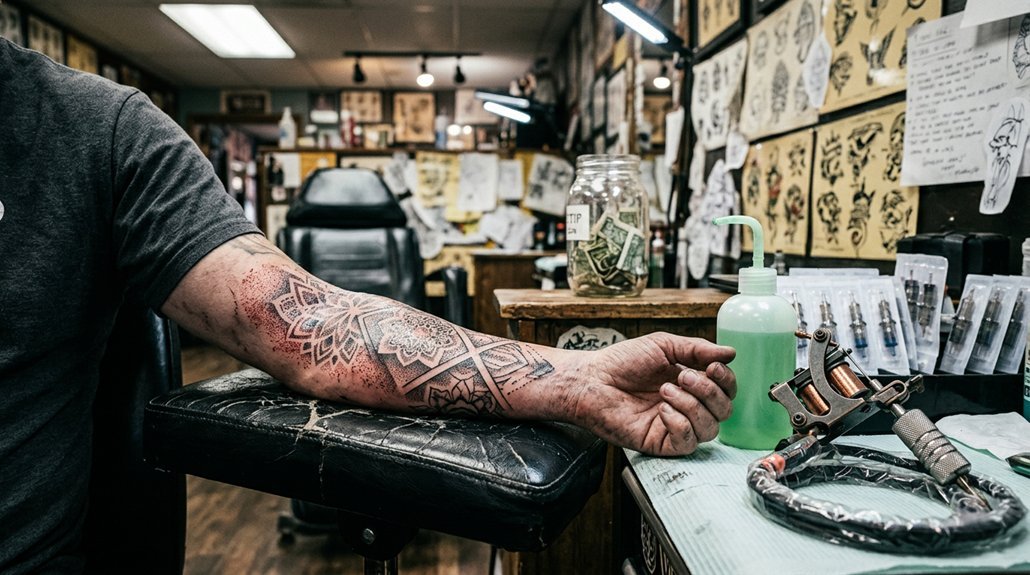
Find an Artist Who Matches Your Style
Where does great ink actually come from? It comes from the artist, not the machine. You’ll need to dig through portfolios until someone’s work makes you stop scrolling. Look for healed photos, not just fresh, swollen pieces. If you want fine-line florals, don’t settle for an artist who crushes traditional Americana. You wouldn’t ask a sushi chef to grill your steak.
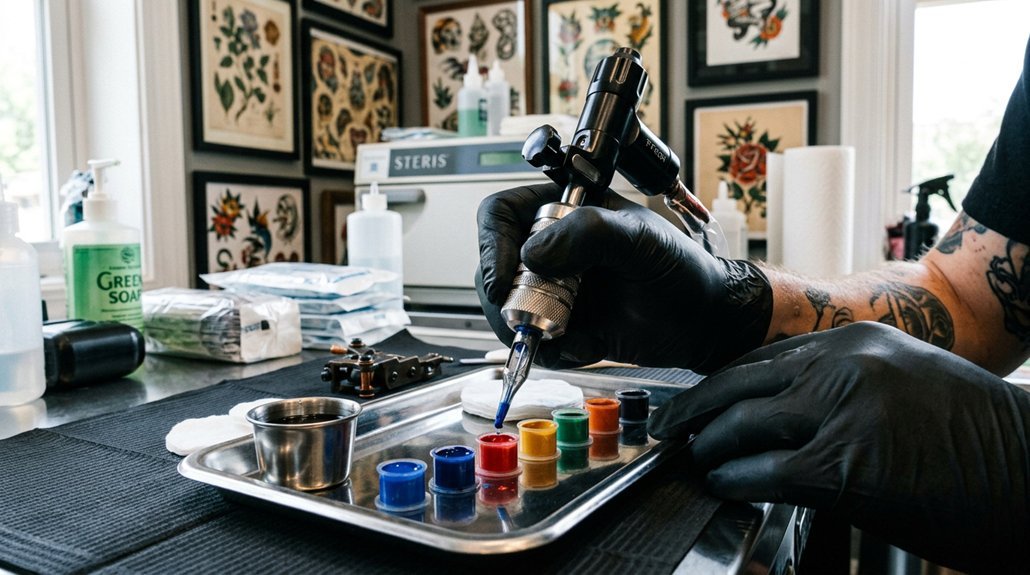
Check their Instagram, their healed tattoo forums, their studio’s reputation. Book consultations with two or three artists. Ask about their sterilization process, their stencil routine, their comfort with your specific placement. You’ll know when you’ve found the right fit—you’ll trust their vision, respect their boundaries, and feel heard. Remember: this person wields a needle. Choose wisely, because you’re not just buying art—you’re collaborating on something permanent.
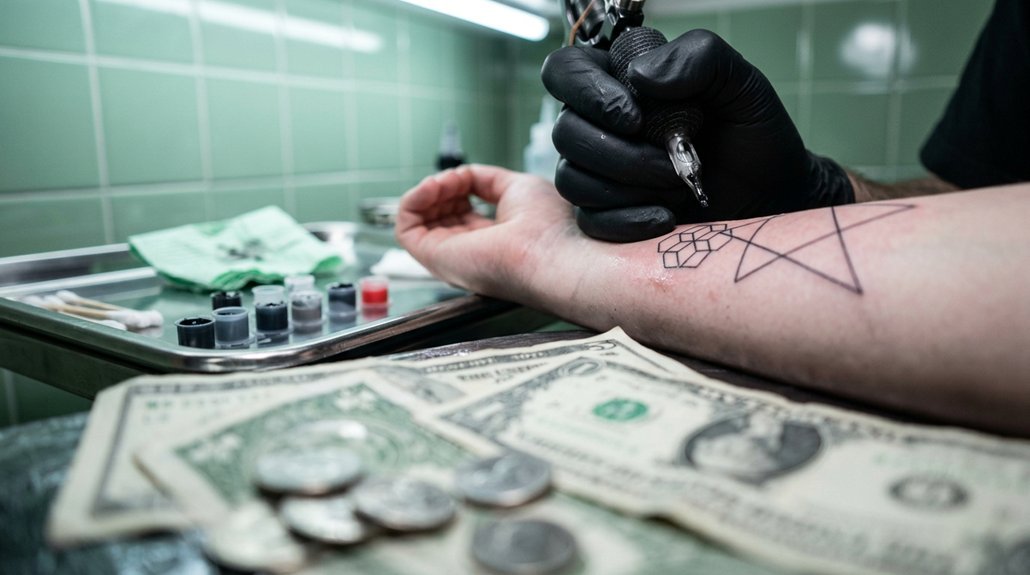
Budget for Your Tattoo (Including Tip)

How much are you actually willing to spend on something you’ll wear forever?
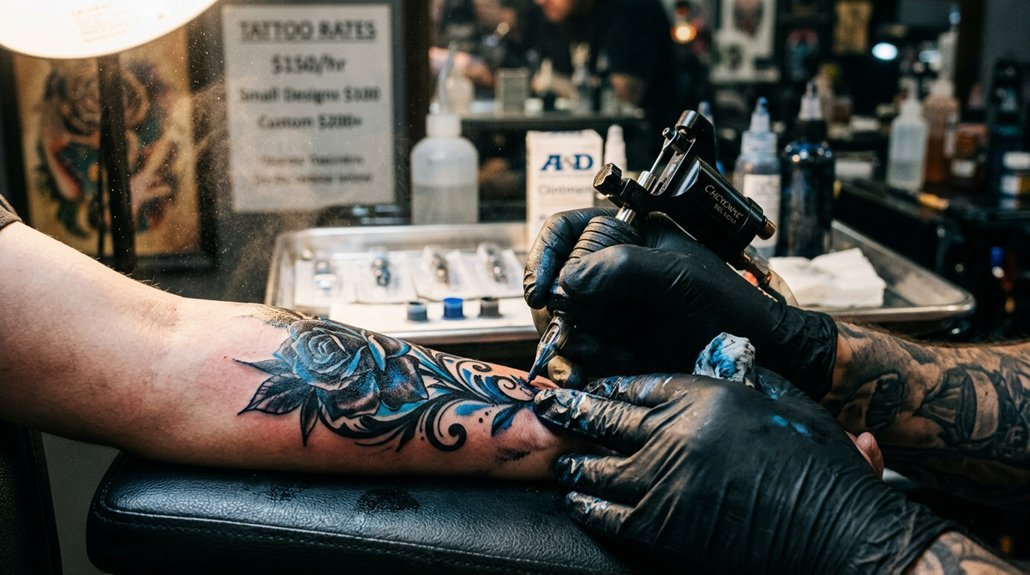
Research typical rates in your area—artists charge hourly or flat fees depending on complexity, size, and placement. Premium talent commands premium prices; don’t bargain hunt for permanent art. Book a consultation, ask for an estimate, and confirm what that that covers. Most shops require deposits, so factor that in too.
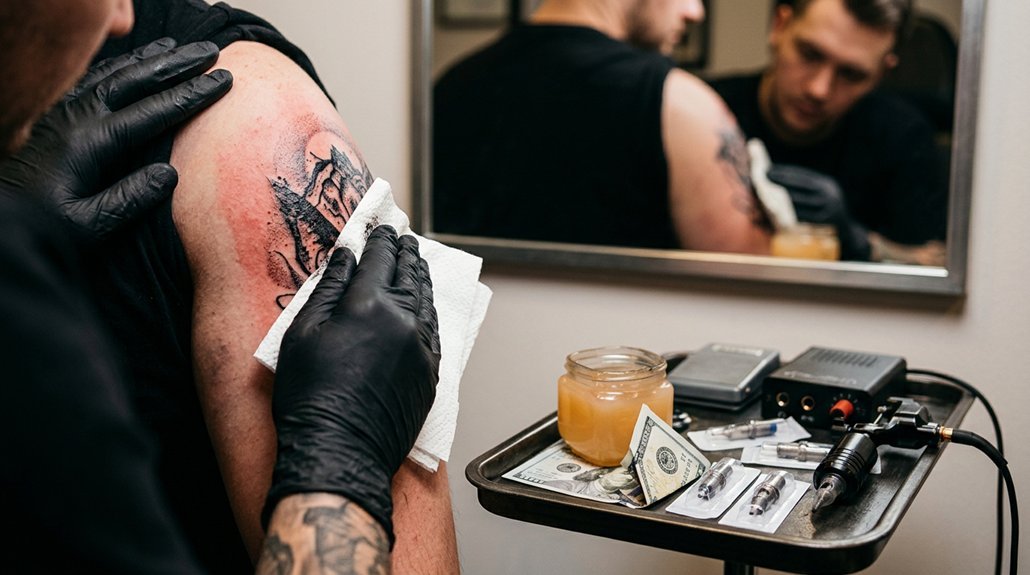
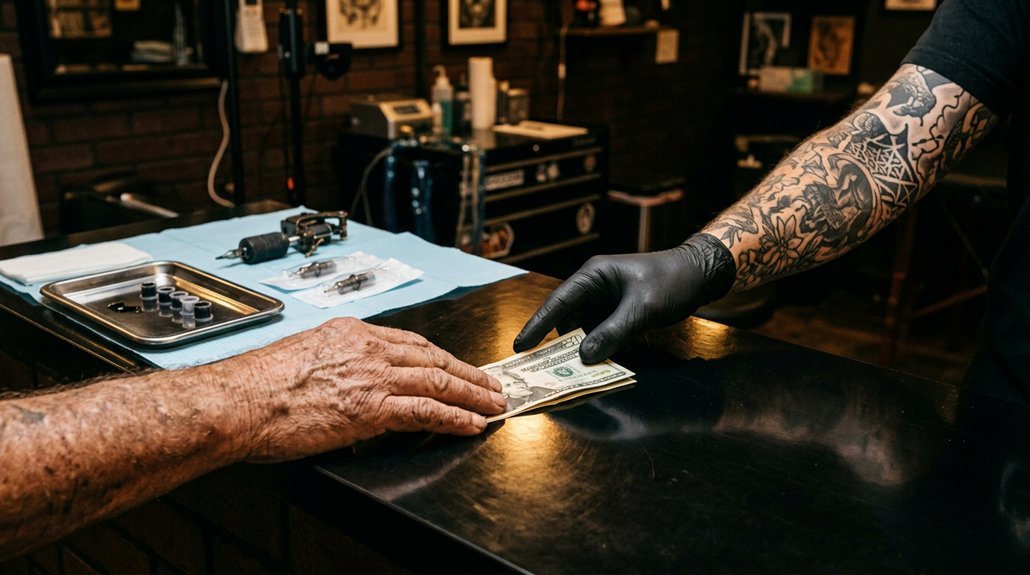
Tip your artist. Twenty percent remains standard if you’re thrilled with their work. They earn commission splits or booth rent, so gratuity matters. Bring cash—many can’t process tips on cards.
Save more than you think you’ll need. Touch-ups, aftercare supplies, and transit costs add up. Pay properly, tip well, and respect the craft. Your wallet stings once; your skin showcases their work always.
Plan Your Skin Prep One Week Out
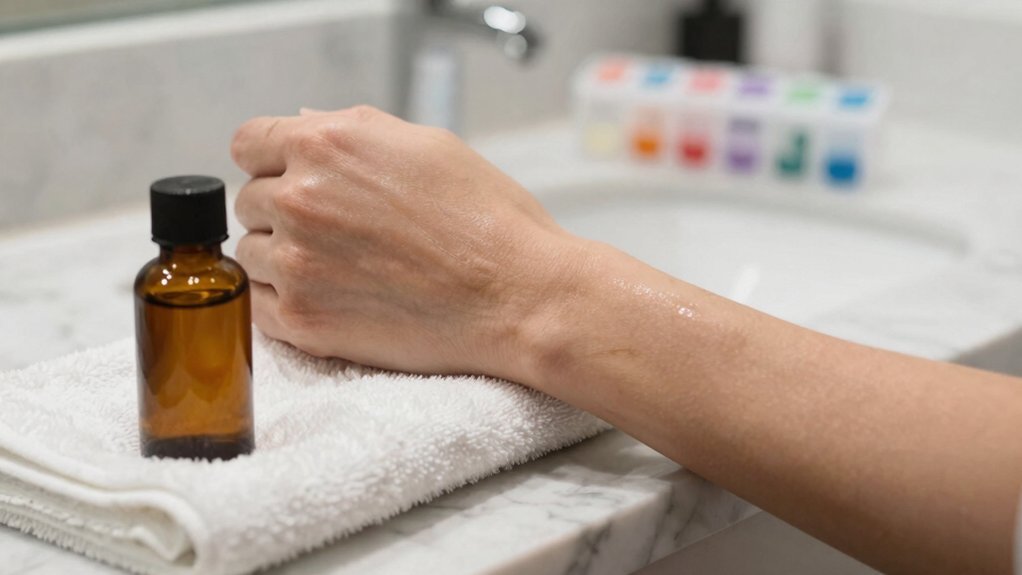
The week before your appointment, you’ll want to start treating your skin like the canvas it’s about to become. Stop tanning immediately—sunburned or peeling skin can’t hold ink properly, and your artist may reschedule you. Moisturize daily with fragrance-free lotion to build a healthy base layer, but don’t overdo it right before your session.
Avoid shaving the area yourself; your artist will handle that to prevent nicks or irritation. Skip harsh exfoliants, chemical peels, and acne treatments on the planned spot—they thin your skin and increase bleeding.
If you’re prone to dry skin, bump up your hydration routine now. Check the area for cuts, rashes, or infections; anything compromised needs time to heal. Healthy skin accepts ink better and heals faster afterward.
Eat, Hydrate, and Sleep Well the Day Before
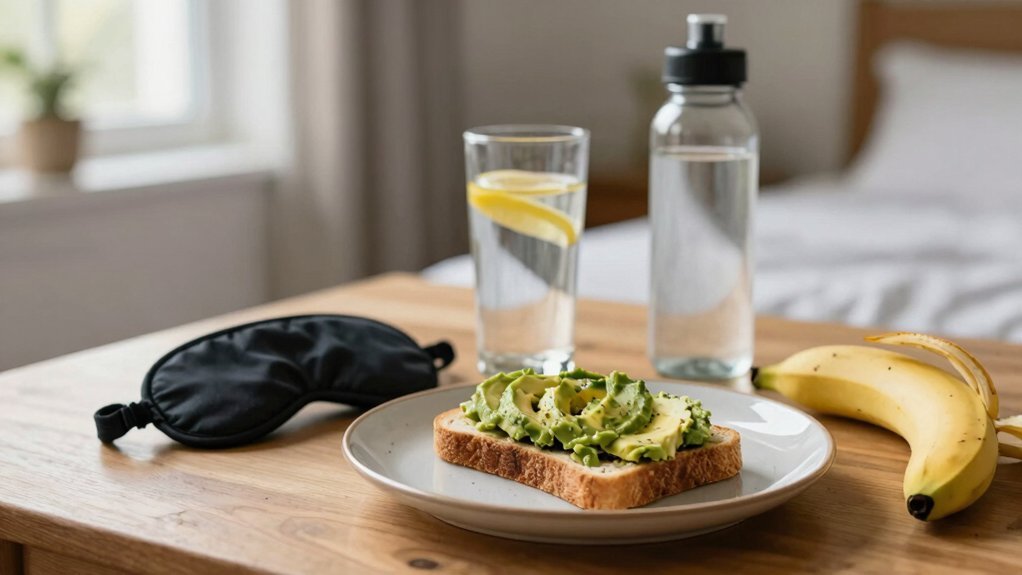
Why risk a miserable session when you can set yourself up for success? You need fuel, fluids, and rest to endure the needle. Eat a solid meal the night before and another hearty breakfast the day of. You’ll stabilize your blood sugar and keep from feeling faint. Drink water consistently throughout the previous day—aim for clear urine. Dehydration thickens your blood and stiffens your skin, making every line hurt more. Get a full night’s sleep, too. Tired nerves react sharper to pain, and you’ll twitch more when your body craves rest. Pack a water bottle and light snacks for breaks during longer sessions. Your artist works on a canvas that’s alert, comfortable, and cooperative. Treat yourself right, and you’ll sit still, heal faster, and walk away proud.
Stop Alcohol and Blood Thinners 24 Hours Ahead
Your body needs to be in the best possible condition, and that means watching what you put into it just as carefully as what you eat. Skip alcohol completely for at least 24 hours before your appointment. Alcohol thins your blood, which makes you bleed more during the tattooing process. Excess bleeding pushes ink out of your skin, ruins the artist’s stencil, and lengthens your session. You’ll also increase your risk of blurry lines and patchy color.
Avoid blood thinners like aspirin, ibuprofen, and certain supplements such as fish oil or vitamin E during this same window. These substances interfere with clotting and cause similar problems.
If you take prescription blood thinners, consult your doctor before stopping them. For over-the-counter options, switch to acetaminophen for pain relief instead. Your artist will thank you, and your tattoo will heal cleaner.
Wear Comfortable Clothes With Easy Access
What should you wear to a tattoo appointment? Choose loose, comfortable clothing that allows easy access to the area you’re getting tattooed. If you’re getting ink on your arm, wear a short-sleeved shirt or one with sleeves you can roll up past the elbow.
For leg pieces, pick shorts or pants that roll easily above the knee. Avoid tight jeans, stiff fabrics, or complicated layers that force your artist to work around your clothes.
You’ll sit for hours, so prioritize comfort over style. Dark colors hide ink stains better than light ones.
Skip your favorite outfit—ink and ointment can splatter. Bring an extra layer in case the shop runs cold, but ensure it won’t obstruct your artist’s workspace. Plan ahead so you’re not fumbling with straps, buckles, or buttons mid-session.
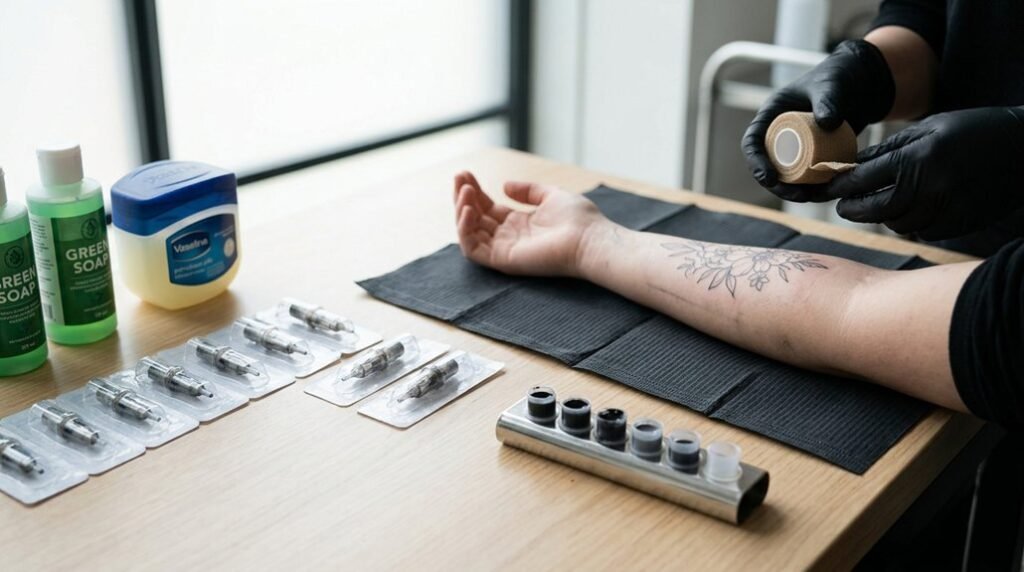
Pack Your Bag and Know What Happens at the Shop
Once you’ve settled on your outfit, you’ll need to think through what to bring and how the day will unfold. Pack a small bag with government-issued ID, your payment method, and a water bottle. Bring headphones, a charged phone, and snacks—you’ll appreciate distractions during longer sessions.
At the shop, you’ll check in and complete paperwork. Your artist will review the design, stencil it onto your skin, and confirm placement with you. They’ll prep their station, open new needles, and explain aftercare. You’ll settle into the chair and breathe through the initial sting. The sensation dulls quickly. Speak up if you need breaks. Tipping 15–20 percent shows gratitude for their craft. After bandaging, you’ll head home with fresh art and specific care instructions.
Conclusion
You’ve done the work—solid design, right artist, and smart prep. Now you’re ready to sit, breathe, and trust the process. Your skin’s hydrated, your bag’s packed, and you know what to expect. Aftercare starts the moment you leave, so follow your artist’s guidance and heal with patience. This piece is yours forever, so give it the respect it deserves from day one. Enjoy the experience.