

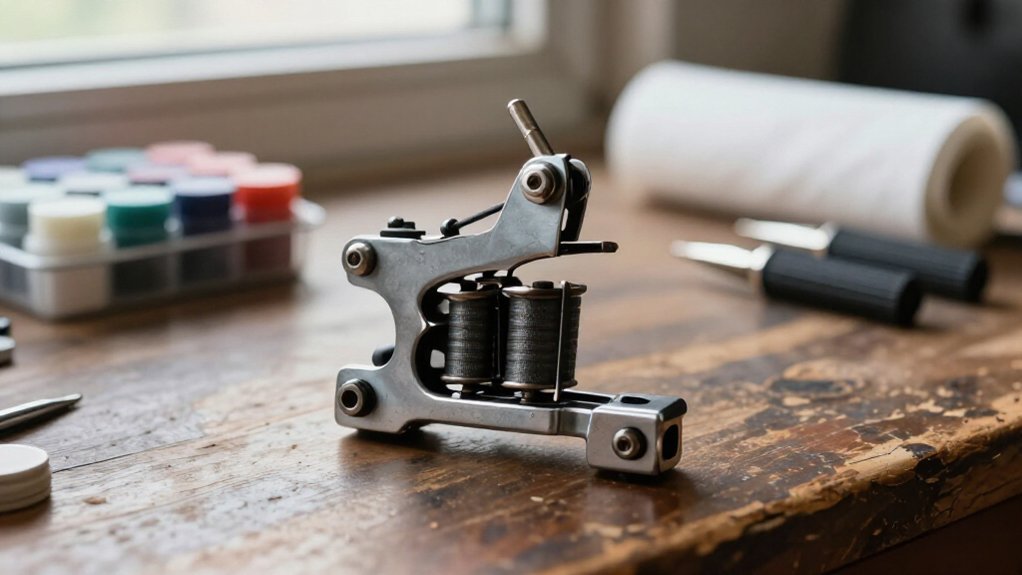
You need your coil machine humming just right before any line touches skin.
Start with clean contact faces, then kill the power and set a 1mm air gap between front spring and contact screw.
Power on low, tune the screw for speed, and adjust spring tension for hit strength.
But here’s what most miss: your needle stability and stroke length will make or break the final result.
Set the Air Gap: The 1mm Rule for Liner Tuning
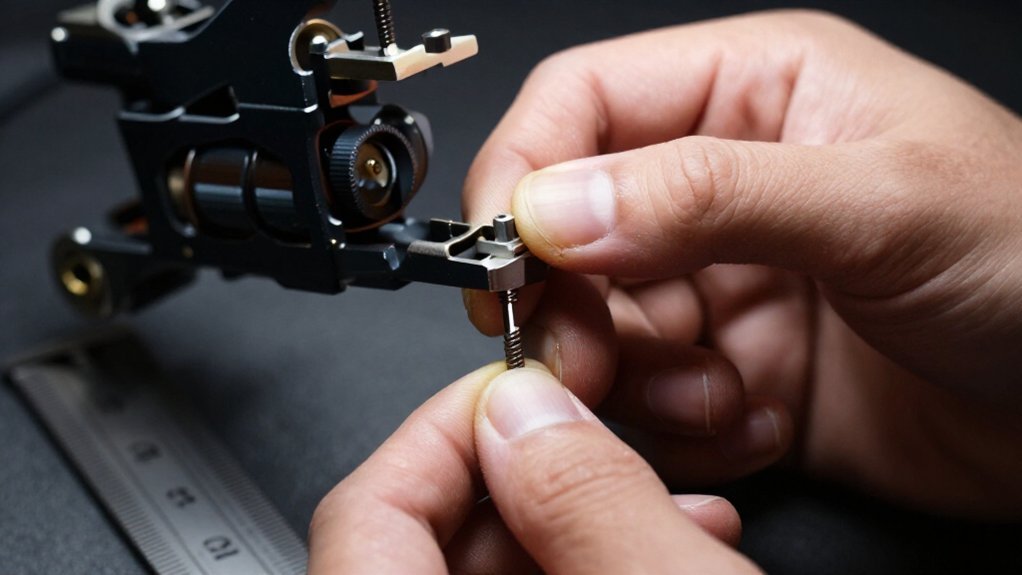
At the heart of liner tuning, you’ll find the air gap, a small but critical distance between the front spring and the contact screw.
Set the Air Gap: The 1mm Rule for Liner Tuning
With the machine OFF, you’ll set the front spring/contact screw clearance using the 1mm rule. A U.S. dime works as a convenient visual aid; you’ll position the front spring about 1mm from the contact screw tip.
Set your liner’s air gap to roughly 1mm—a U.S. dime’s thickness makes a handy visual gauge for this crucial clearance.
First, loosen the contact screw hardware. Then advance the contact screw to tighten the gap, which typically raises speed and frequency, or back it out to widen the gap, which typically lowers both. You create the air gap using the contact screw itself, establishing the resting separation at the contact point.
Keep both contact faces clean and smooth before finalizing, since dirty or pitted contacts cause sparking and inconsistent cycling even when the gap is correct.
Recommended Products
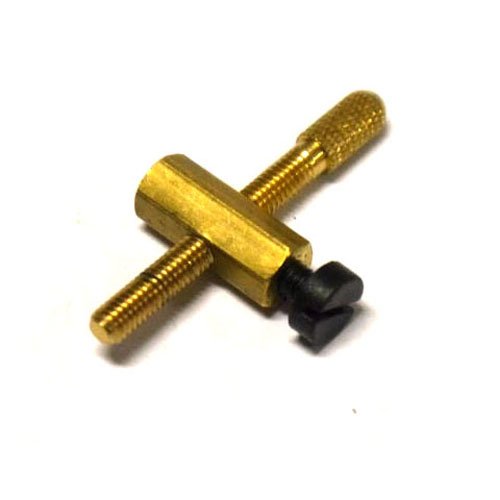
Standard for 2008~2010 1st quarter Hildbrandts
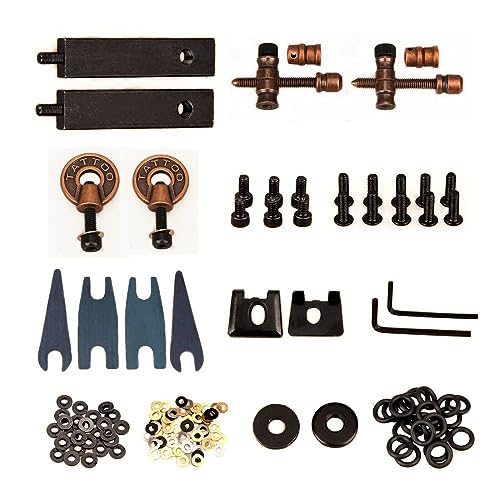
This is a complete set of tattoo machine accessories for 2 tattoo machines(without frame and coils),you only need coils and frames to build 2 tattoo machines with them.

Will fit most tattoo machine frames
Power On and Set Contact Screw for Lining Speed
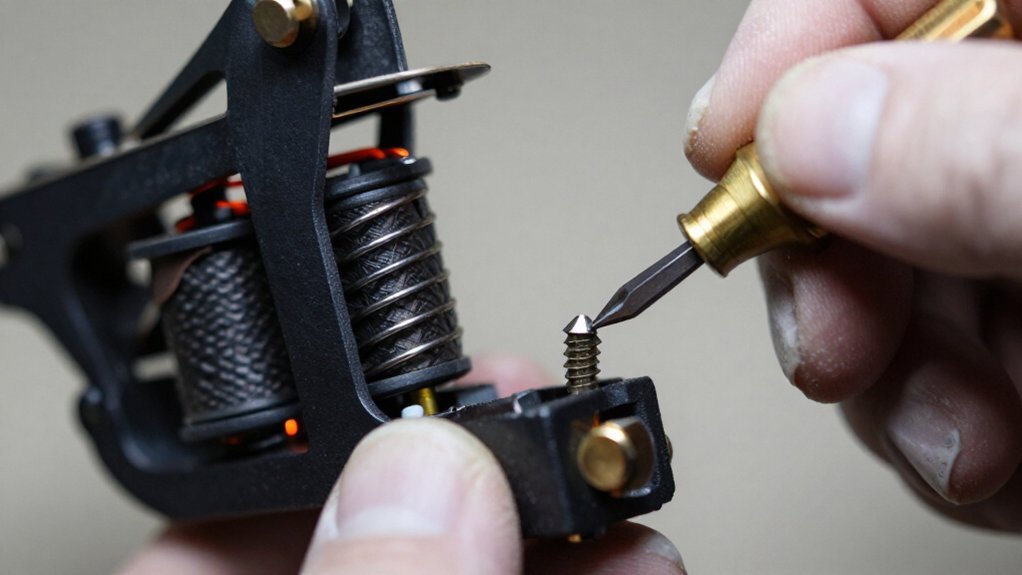
With the air gap set, you’re ready to power on and dial in your lining speed.
1. Power Up at Low Voltage
Assemble your coil tattoo machine with correctly seated coils and springs, then power on at low voltage so the armature bar cycles. This lets you safely adjust the contact screw while observing the motion.
2. Set Initial Clearance
Set the contact screw clearance, front spring to contact screw tip, to about 1 mm. A dime provides a quick visual reference for this spacing.
3. Tuning Procedure
Adjust the contact screw to control speed. Turn it in to reduce the gap and raise liner frequency; back it out to increase the gap and slow things down. Make small changes, testing between each adjustment.
4. Finalize the Setting
Aim for short, firm action. Once the needle shows steady, tight motion without excessive arcing, gently tighten the contact screw set screw to lock your setting.
Recommended Products

Tattoo machine spring alignment jig adjuster for front and back springs.

Material: Metal with High Elastic, and Not Easily Broken

Choose Voltage and Stroke Length for Clean Lines
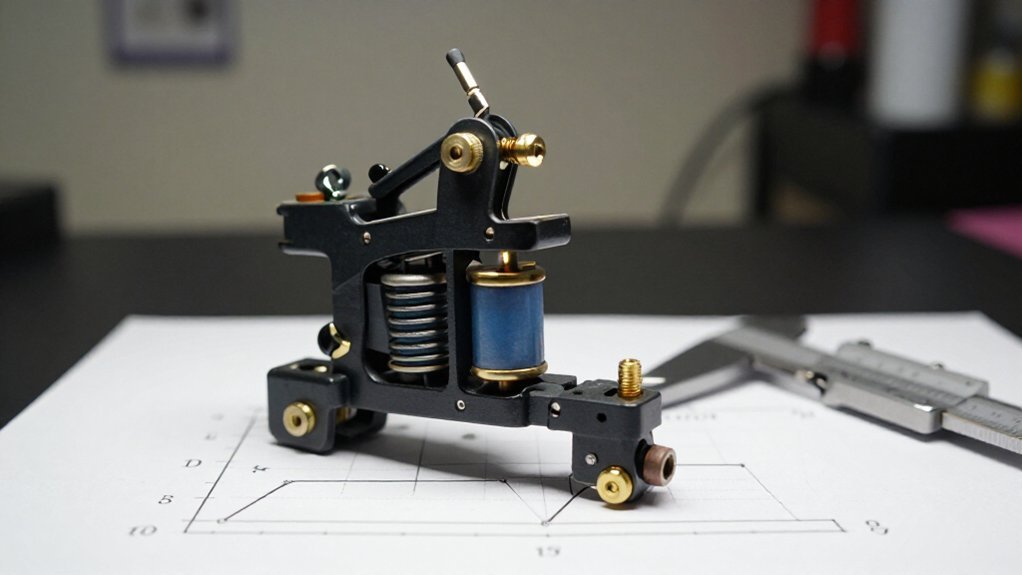
Once you’ve locked in your contact screw setting, you’re ready to adjust voltage and stroke length for crisp, consistent lines. Your coil machine performs best when you adjust the voltage methodically, starting between 5.5 and 6.0 volts for clean line work. Target approximately 130 cycles per second, with a stroke length near 3 mm, which provides the short, precise motion ideal for lining.
Your needle depth and needle bar travel depend on this calibration. Watch your power supply closely: raising voltage should increase frequency without generating excessive heat. If you notice harshness or bouncing, avoid compensating with more power. Instead, examine your stroke mechanics. The band on the needle must remain stable throughout each cycle.
Follow this sequence:
- Set voltage to 5.5V and test your coil machine’s response.
- Adjust the voltage gradually until you reach ~130 CPS.
- Verify your needle bar moves smoothly without vibration.
- Check that the band on the needle maintains consistent tension.
Change only one variable at a time, confirming you maintain that ~3 mm stroke target before proceeding.
Recommended Products

[Power Specs]: Input 100V-240V 50/60Hz; Output: 6V 2A. Output adaptor Self-Adapting Barrel jack size: 5.5mm x 2.1mm (applicable 2.5mm) positive (+) center.

General information. Input Voltage: AC 100V-240V 50/60Hz, Output: 6V DC 2A Max. Works with device that draws less than 12W, such as 2A, 450mA,500mA, 600mA, 700mA, 800mA, 1000mA, 1500mA, 2000mA, DC plug size is 5.5x2.5mm, compatible with 5.5x2.1mm. Polarity is inside positive "+", outside negative"-"

【Power Specs】: Input 100V-240V 50/60Hz; Output: 6V 2A. Output adaptor Self-Adapting Barrel jack size: 5.5mm x 2.1mm (applicable 2.5mm) positive (+) center.
Adjust Spring Tension to Control Needle Hit
You’ll control needle hit by tuning your rear spring’s tension and geometry, since this spring governs timing and duty cycle, which should sit near 50–60%, ideally around 55% for solid impact.
If your machine hits too soft or runs below that range, gently bend the rear spring upward to boost return force and contact time, but bend it downward if hits feel too hard or duty climbs too high. Always adjust in tiny increments, changing only one variable at a time, then retest, because spring geometry shifts needle motion in ways voltage adjustments can’t fix.
Recommended Products

Powerful Motor: This wireless tattoo pen machine is powered by a reliable powerful motor, runs quietly, has low energy loss, and will not get hot during use; It works smoothly and consistently at up to 7000rpm (at 8V) for effortless application with minimized vibration; The removable tattoo power supply is equipped with a robust 2,300mAh battery, it offers up to 5-6.5 hours of continuous use per charge, making it ideal for long sessions

Wireless Tattoo Gun Pen: Mast Fold2 pro length 140mm/5.5in, weight 233g, standard 32mm grip for great comfortable control, battery work up to 7 hours.

Wireless Tattoo Gun Pen: Mast Fold2 pro length 140mm/5.5in, weight 233g, standard 32mm grip for great comfortable control, battery work up to 7 hours.
Spring Tension Basics
At the heart of every coil machine’s performance sits the relationship between your front and rear springs, and you’re about to learn how bending one piece of metal changes everything. Spring tension, the interplay between your front coil and rear spring, governs how forcefully the needle strikes skin and whether you get clean penetration or unwanted bounce.
Your armature bar moves because the rear spring pulls it back after each contact. Bend that spring right, and you control everything.
Here’s what you need to grasp:
- More tension means firmer hits, shorter stroke, less duty cycle; perfect for crisp lines
- Less tension creates softer, longer travel, around 50-60% duty; better for smooth shading
- Small bends change performance, so adjust gradually
- Always recheck your contact screw air gap before touching voltage
Get this balance right, and your machine runs clean.
Tension Adjustment Steps
Now that you understand how spring tension governs your machine’s behavior, you’re ready to make precise adjustments that translate theory into reliable performance.
Seat the correct needle bar and tube, aligning the needle to the tip. Power your coil at low voltage to avoid heat during tuning.
To increase tension for a firmer, shorter needle hit, add rubber band pressure to steady the bar, then gently bend the front or rear spring toward the contact point. For softer tension and less aggressive bounce, bend the rear spring the other way. Re-check that the movement of the needle shows a single tight column without lateral shadow.
Aim for 50–60% duty, around 55%, changing springs in small increments. After each adjustment, confirm consistent impact at the needle group, checking for heavy arcing. Fine-tune with the contact screw to maintain a short, controlled stroke for line work.
Check Needle Column Stability and Line Quality
Once the machine is running, you’re ready to assess whether the needle column moves as one solid unit or shows unwanted side-to-side shadowing that betrays instability. You’re checking for needle column stability, a hallmark of well-tuned coil machines.
- Adjust the rubber band around the needle bar; less pressure reduces bounce, but too much creates drag.
- Confirm your needle is barbless and seated properly in a compatible tube-tip to prevent snagging.
- Tweak the contact screw in tiny increments only after depth and alignment are locked in.
- Set your baseline for line work: approximately 3mm stroke, Cycles Per Second (Hz) around 130, and approximately 5.5–6V, then fine-tune for clean results.
Recommended Products


This is a complete set of tattoo machine accessories for 2 tattoo machines(without frame and coils),you only need coils and frames to build 2 tattoo machines with them.

Pure Copper Construction:100% pure copper ensures top-tier conductivity (critical for stable machine power) and long-term corrosion resistance.
Fix Weak Hits, Speed Problems, and Inconsistent Lines
When your machine delivers weak hits, erratic speed, or wandering lines, you’ll adjust three interconnected systems: spring tension, contact screw gap, and armature bar alignment. Start with your contact screw gap, targeting roughly 1 mm clearance for crisp liner speed around 130 CPS. Then fine-tune your rear spring tension to dial in a 50–60% duty cycle for consistent penetration. Check your armature bar alignment last, ensuring the needle rides dead-center through the tube without binding or side-loading, since even perfect spring geometry fails when the bar pulls off-axis.
Recommended Products
25PCS FOR ONE ITEM

Pure Copper Construction:100% pure copper ensures top-tier conductivity (critical for stable machine power) and long-term corrosion resistance.
Spring Tension Adjustment
Because spring tension governs how aggressively your machine returns the armature bar after each cycle, it’s the first place to look when hits feel soft, lines look shaky, or your hand speed can’t sync with the needle. To tune a coil tattoo properly, you must use both mechanical and electrical methods, starting with the springs before touching your power supply.
Always adjust spring tension with the machine unplugged by bending the rear spring up for weak hits, down for overly strong hits. Verify the O-ring and both springs are stacked correctly before making any bends.
Aim for duty around 55% and 130 CPS for lining, 120 CPS for shading. Match spring stiffness to your needle grouping to prevent bouncing or pitting.
Contact Screw Gap
Why does your liner bog down halfway through a session, or your shader suddenly feel like it’s jackhammering instead of floating? You need to adjust the contact screw gap.
1. Set the Basic Gap
With the machine off, loosen the contact screw and set roughly 1 mm clearance between the contact screw tip and front spring. Use a dime or liner gauge for reference.
2. Fine-Tune for Performance
Weak or sluggish hits mean you should close the gap slightly. Too-aggressive hitting means you should open it. This gap controls your cycles per second and stroke behavior, so tune it before touching voltage.
3. Clean Contacts Matter
Check that the contact screw and front spring faces are clean. Pitting or film causes erratic contact and inconsistent lines even with proper gap settings.
4. Test After Each Change
Run the machine to check for smooth operation without heavy arcing, then evaluate line performance before adjusting voltage.
Armature Bar Alignment
Contact screw gaps won’t save you if the armature bar itself is out of whack. When you set up a tattoo machine, mechanical centering comes first, followed by electrical tuning.
Center the armature bar. With the machine OFF, verify it sits square to both coils. Loosen hardware, re-square, and retighten so faces don’t twist the bar.
Check return path. The rear spring must pull evenly; binding creates weak hits and line skips.
Set air gaps. Adjust the rear coil gap first, then the front gap via contact screw for consistent timing.
Align the needle bar. Verify grommet and needle bar alignment prevent tube drag, removing lateral movement that causes fuzzy lines.
Watch for heavy arcing at low voltage, then fine-tune contact screw position only after mechanical alignment is confirmed.






