

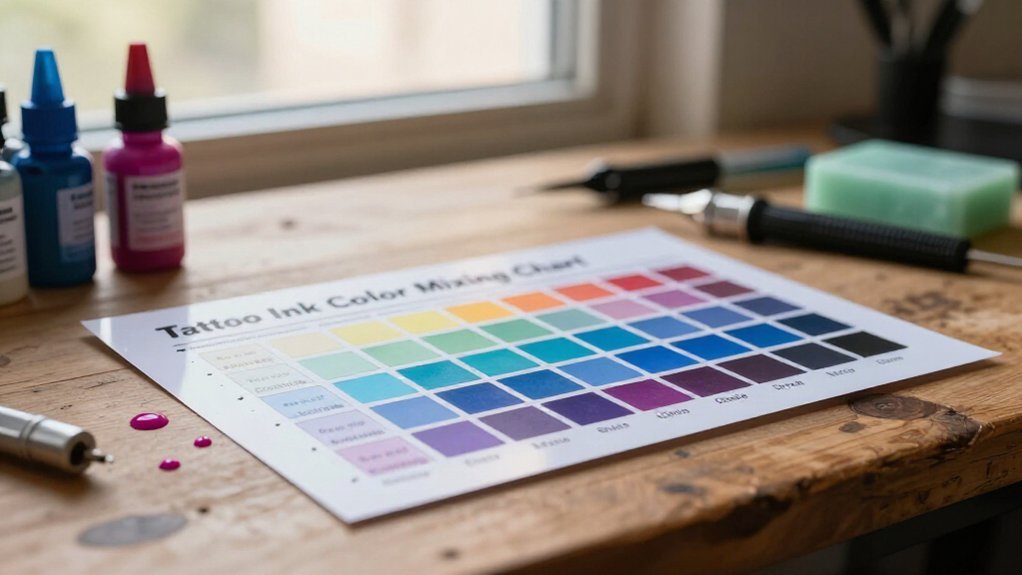
When your client requests a sage green that doesn’t exist in your bottle rack, you’ll need to build it yourself. You start with three unshakeable anchors: pure red, pure blue, and pure yellow. These primaries stay pristine, never contaminated by mixture.
From there, you measure drops like a chemist. 3 red plus 2 yellow births orange, 3 yellow plus 2 blue becomes green, 3 red plus 2 blue creates purple. You correct intensity with Brite White, one drop at a time.
The real work begins when you blend primaries with secondaries for tertiaries, then adjust value through controlled lightening or darkening. You test every batch on practice skin, you record every ratio, you watch how hues shift through healing. This is your system for consistent, repeatable custom color.
Start With Primary Tattoo Ink: Red, Blue, Yellow Foundations
Grab your bottles of red, blue, and yellow tattoo ink, because these three primaries form the bedrock of every custom color you will ever mix. You cannot create these primary colors by mixing other inks, so you’ll keep them stocked at all times. When you’re mixing tattoo ink, you’ll use these foundations to build every custom shade in your palette.
Why These Three Matter
You’ll rely on red, blue, and yellow as your starting point for all color theory. No combination of secondary or tertiary inks produces these pure hues. This makes your primary colors non-negotiable inventory for any serious artist.
Setting Up for Success
You’ll work best with small, measured amounts from one brand. You’ll record every ratio precisely, and you’ll test on practice skin first. This ensures your custom mixes stay repeatable and predictable, build after build.
Recommended Products

Three primary colors including red yellow and blue for solid fills and custom mixing
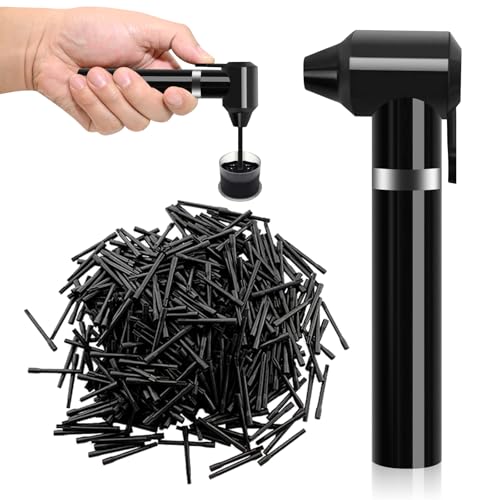
COMPLETE COMBINATION: Ink mixer kit includes 1pcs black electric ink mixer machine (1.8 x 5.1 inch) and 100pcs mixing sticks (1.3 inch). Mixing sticks All single use, clean and hygienic

MADE IN THE USA SINCE 1990 — For over 30 years Dynamic Color has produced professional tattoo supplies in the United States, an established American brand artists built their work on long before most imported labels existed.
Mix Tattoo Ink Secondaries: Orange, Green, Purple Drop Ratios
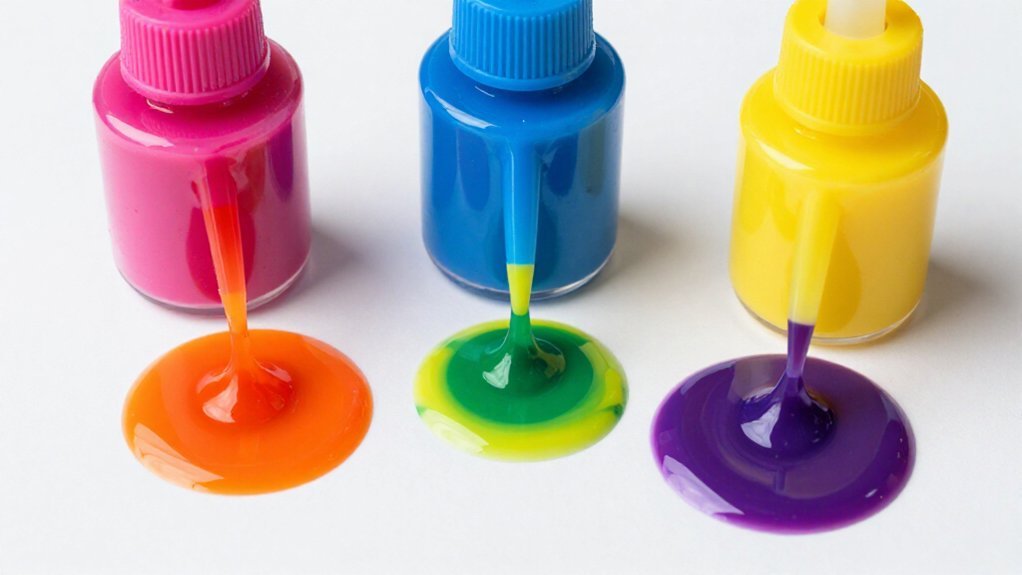
Once you’ve mastered your primary foundations, you’ll move directly into mixing secondary colors. You’ll use orange green purple ratios to create custom tattoo shades with precision.
Orange: Start with red, then add yellow drop-by-drop (3 drops red + 2 drops yellow), increasing yellow for warmth.
Green: Begin with yellow, then add blue slowly (3 drops yellow + 2 drops blue), keeping blue small to avoid muddiness.
Purple: Start with red, then add blue gradually (3 drops red + 2 drops blue), where more blue cools toward violet.
Tone control: Lighten intense secondaries with tiny Brite White increments before hue corrections.
You’ll mix tattoo ink in small, labeled cups. Test on practice skin, as healed results shift under undertones and layering.
Recommended Products

100% new brand and high quality. Favored among professional tattoo technicians.

PREMIUM USA-MADE FORMULA – Eternal Ink is proudly made in the USA in a certified, state-of-the-art facility. Every batch is sterilized and tested to meet the highest industry safety and quality standards.

MADE IN SPAIN, REACH COMPLIANT — Dynamic Color Platinum is produced in the European Union and formulated to meet REACH requirements for tattoo inks, so it fits studios that require REACH-compliant pigments.
Test Your Tattoo Ink Mixes on Practice Skin First
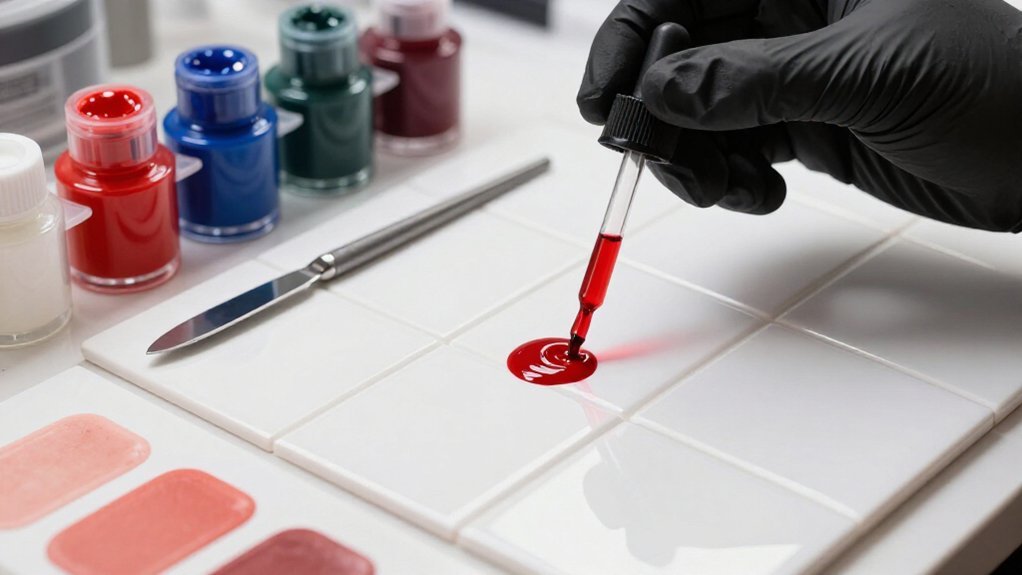
You’ll want to choose synthetic practice skin that closely mimics real dermal thickness and texture, such as silicone-based sheets or three-dimensional practice pads, so your test conditions match actual tattooing. Apply your mixed ink using identical needle grouping, voltage, and layering technique as your planned real tattoo, because surface saturation and packing density dramatically alter how colors read once settled.
After the test spot fully dries and cures, you’ll observe how the pigment heals, checking for brightness shifts, unexpected dullness, or tonal muddiness before committing to live skin.
Recommended Products

Professional-Grade Pigment – High-quality tattoo ink designed for consistent performance and vibrant results.

MADE IN THE USA SINCE 1990 — For over 30 years Dynamic Color has produced professional tattoo ink in the United States, an established American brand artists built their work on long before most imported labels existed.

MADE IN THE USA SINCE 1990 — For over 30 years Dynamic Color has produced professional tattoo ink in the United States, an established American brand artists built their work on long before most imported labels existed.
Synthetic Skin Selection
Before you commit a custom ink mix to living skin, you need a reliable stand-in that behaves enough like the real thing to matter. You should always test your formulas on synthetic/practice skin to create custom tattoo ink colors with confidence.
Select practice skin that shares these qualities with living tissue:
- Consistent thickness that accepts needle penetration without tearing or excessive resistance
- Porous surface that allows pigments to settle, darken, and shift undertone during simulated healing
- Neutral base color that won’t distort your perceived hue or value
- Sufficient size for multiple small test sections with clearly recorded ratios
Work on identical synthetic material for every comparison. Shake your original inks, mix within the same brand for compatibility, and document each batch. This baseline protects your future work from unpredictable results.
Mix Application Method
With your synthetic skin prepared and documented, you’re ready to apply your custom mixes methodically. Pour each variation into disposable cups, working in small drops to preserve your mixing ratios precisely.
1. Apply Test Patches
Dab a tiny patch of each final mix onto practice skin. You’re checking the real healed-like appearance, not the misleading cap color.
2. Match Technique to Application
Use your planned method: single-pass versus multiple passes. Saturation and layering directly change how color settles.
3. Compare Opacity Levels
For lightening, create both an opaque tint with white and a transparent wash with proper diluent. Compare both on the same area.
4. Evaluate and Record
Let samples fully dry. Check for uneven tone, clumping, or unexpected shifts. Record exact drops, dates, and results for any successful graywash or color mix so you can reproduce it later.
Healing Result Observation
Before you tattoo a client, you’ll apply your custom ink mix on synthetic practice skin. This lets you observe the healed color shift, since pigment appearance changes after the initial wet, bright look fades away.
To paint a picture of your process:
- Test under consistent lighting, because undertones alter how blends heal across different skin types
- Compare opaque and transparent wash versions, since layering transparency shifts final hue and depth
- Mix small labeled batches, noticing how slight ratio changes heal darker or lighter than expected
- Photograph test areas over time, confirming whether you’ll need more white to lift or dark tones to deepen
You’ll adjust before scaling up.
Mix Custom Tattoo Ink Colors: Tertiary Hue Formulas
Once you’ve mastered primary and secondary blends, you’re ready to explore tertiary hues, the nuanced “in-between” shades that add depth and dimension to your palette.
Master primary and secondary blends first, then unlock the rich potential of tertiary hues that bring depth to every piece.
1. Understanding Tertiary Hue Formulas
When mixing tattoo inks, you combine one primary color with a secondary color to create custom tattoo ink colors. These tertiary hue formulas produce shades like red-orange, blue-green, and yellow-green that sit between basic colors on the wheel.
2. Creating Specific Tertiary Shades
For red-orange, start with orange, then add red drop by drop until you reach a warmer tone. For blue-green, begin with green, then introduce blue slowly for a cooler result.
For yellow-green, add tiny increments of yellow to green for brightness. Use small, measured amounts in a mixing cup, blend thoroughly, and test on synthetic skin, as healing can shift how these tertiary hues appear due to skin undertones.
Recommended Products
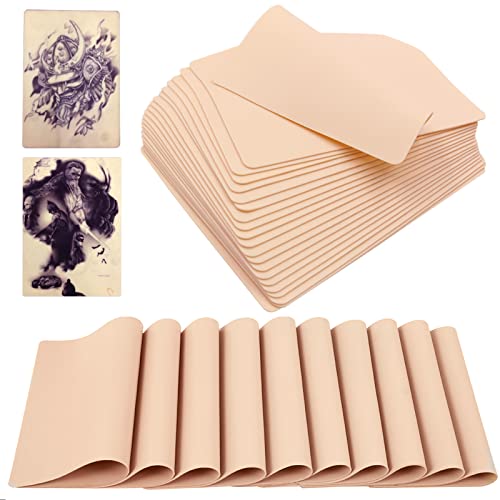
【Package And Sizes】 - 10pcs individual packaging for each 7.4x5.6"tattoo practice skin. You can use it with tattoo needles, tattoo kits, tattoo machines and other tattoo supplies, suitable for beginners and experienced artists. Both sides of each tattoo skin are blank, providing enough space for your masterpiece creation.

【PREMIUM 3MM THICKNESS】Our practice skins are crafted from 3mm thick, professional-grade silicone to deliver an authentic tattooing experience. This optimal density provides superior needle resistance, elasticity, and durability — just like real skin. Perfect for mastering stretching techniques, shading, and outlining without the pressure of working on live models.
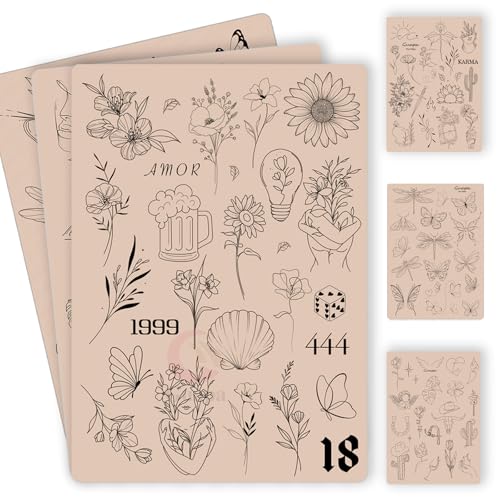
100+ Pre-Printed Designs – Features a wide variety of fine line and tiny tattoo stencils to enhance detailing skills.
Lighten Tattoo Ink Mixes: White Ink vs. Dilution Solutions
When you’re ready to soften a color’s intensity, you’ll need to decide between two distinct approaches, each yielding a different visual result. Your choice in ink mixing depends on whether you want opacity or transparency in the healed tattoo.
Add White ink drop-by-drop for opaque pastels with solid coverage. Use shading solution for transparent washes that let skin show through. Remember: White increases opacity, while dilution increases transparency.
Test every mix on practice skin first, since results vary by skin type. Avoid over-diluting, as this weakens saturation and causes uneven healing. You’ll see different healed outcomes based on your method, so plan your approach before you start.
Recommended Products

【Premium Material】These tattoo ink mixer sticks are made of premium resin materials. They are perfect in size, easy to store and carry around. Whether you are an experienced tattoo artist or just starting out, this set of ink mixer sticks is perfect for ensuring your ink is perfectly blended

1[MULTIPURPOSE]This electric tattoo ink mixer can be used for blending tattoo Eyebrow ink,watercolor Ink,nail polishes, liquid,painting pigment, microblading supply tool and other artistic applications.

Darken Tattoo Ink Mixes: Black Ink vs. Complementary Tricks
Just as you’d lighten a color with care, you’ll deepen your mixes with equal precision using two reliable methods.
1. Black Ink Method
Start with your lighter base in the ink cap. Add black ink one drop at a time, then blend fully before testing. This prevents overshooting the value. Always re-check after thorough mixing to catch uneven saturation.
2. Complementary Color Theory Trick
Instead of black alone, use color theory: add a darker complementary pigment to retain chroma. A small amount of dark blue deepens orange without that flat, muddy look. This creates nuanced, richer tones in your tattoo work.
Critical Steps for Ink Mixing
- Blend completely; incomplete mixing heals unevenly on skin
- Test every darkened mix on synthetic skin first
- Remember, undertones shift as the adjusted value settles during healing
Recommended Products

Premium Ingredients: Tattoo Ink Mixing Solution uses Distilled Water and Hamamelis Water for safe and effective ink mixing

PACKAGE LIST - The Tattoo Ink Mixer Machine kit comes with 1 piece of pink pigment mixer machine and 100 pieces of mixing sticks. It is designed to be durable for long-term use. The machine features a strip bar control button on the head for easy operation with a single button.

Cool-Toned Shading Solution--Lower Opacity Better Layering,Even, silky flow for soft blends and gradual shading,Heals smoothly with the skin for a natural, warm finish,For color inks & blends — no hue shift.
Layer Mixed Tattoo Ink: Heal Cleaner, Brighter Results
Build your tattoo in thin, controlled layers, and you’ll keep colors cleaner through healing. When you mix inks for layering, place darker tones first, then manage wiping and exposure before adding lighter ink colors. This prevents dark pigments from contaminating your lighter shades mid-session.
Apply your mixed tattoo ink in thin, controlled layers to build saturation gradually, so colors heal brighter, not muddy or over-dark. Keep your ink’s value consistent across passes by adjusting shade slowly, adding black or white drop-by-drop, and blending thoroughly before each layer.
Dilute with sterile distilled water or professional shading solution for softer transparency, avoiding large dilution jumps that weaken saturation. Test your exact layered mix on synthetic skin first, since pigment appearance shifts during healing under different skin undertones.
Recommended Products

Everest Orange Professional Tattoo Ink - Bright, vivid orange. Great for floral designs, botanical pieces, a good pop of color in any design. Many of the most popular tattoo artists around the globe turn to World Famous' bold, beautiful tattoo ink, tattoo supplies & tattoo kits to deliver a flawless work of art.

PREMIUM USA-MADE FORMULA – Eternal Ink is proudly made in the USA in a certified, state-of-the-art facility. Every batch is sterilized and tested to meet the highest industry safety and quality standards.

PREMIUM USA-MADE FORMULA – Eternal Ink is proudly made in the USA in a certified, state-of-the-art facility. Every batch is sterilized and tested to meet the highest industry safety and quality standards.
Document Your Tattoo Ink Mixing Ratios for Consistency
You need a reliable system to track every custom blend you create, so you can match healed results months or years later. Start by recording mixing formulas with exact drop counts, ink brands, and dates before you ever dip a needle.
Then label your custom inks clearly, storing notes with each container to protect your work and your clients’ long-term satisfaction.
Recommended Products

Premium Tattoo White Ink – Allegory White is a smooth, consistent blend of liquid dispersed pigment. Many of the most popular tattoo artists around the globe uses Allegory White Ink for mixing, shading, and highlighting work.

White House Professional Tattoo Ink - The perfect, all around white. Consistent texture with maximum opacity. Great for mixing or use in solid blocks of color. Every style of tattooing. Many of the most popular tattoo artists around the globe turn to World Famous' bold, beautiful tattoo ink, tattoo supplies & tattoo kits to deliver a flawless work of art.

🌟 Trusted Brand: Celebrating over 15 years as a leading tattoo ink brand known for vibrant colors and reliability.
Recording Mixing Formulas
For every custom ink you create, you’ll want a written record that captures exactly what went into the cap. You’ll record every mix by writing the exact ratios in drops, like “6 drops Red + 2 drops White + 1 drop Yellow,” plus the date and ink brand for future touch-ups.
As an Ink mixer, you’ll keep a consistent workflow, using the same base colors and adding light-to-dark in the same order with thorough blending.
- Write drop counts, dates, and brands for every formula you create
- Label mixed inks immediately with full ratios and any value changes you made
- Test recorded mixes on synthetic skin, noting healed appearance shifts
- Pre-mix 3, 5 cups for gradients, documenting each tier’s ratio for repeatable conversions
Labeling Custom Inks
With every custom mix you create, you’re building a reference system that protects your work long-term. You must label every custom ink cup with exact ratios, dates, and ink brands so you can recreate shades later.
What to Include on Your Labels
- Exact drop counts (e.g., “6 drops Red + 2 drops White + 1 drop Yellow”)
- Value adjustments you used, such as “added 1 drop black at a time” or “added white for opaque pastel”
- Dilution method: professional diluent, shading solution, or sterile distilled water
Storage and Testing Protocol
Store and re-test labeled mixtures consistently. Shake before use, and mix thoroughly so pigment concentration stays stable.
Keep your labels alongside synthetic skin test results. This documentation matches healed looks, and prevents surprises during future touch-ups.
Store Mixed Tattoo Ink: 6-Month Freshness Protocol
Mixed tattoo ink degrades faster than factory-sealed bottles, so you’ll need a system that protects your custom colors from the day you blend them. Store mixed tattoo ink properly, and you’ll preserve the integrity of your mixing work for months.
Mixed ink demands immediate protection—your custom colors start fading the moment you blend them, but proper storage preserves your work for months.
Your 6-Month Freshness Protocol
Transfer blends into airtight, dark containers immediately after mixing, keeping them away from sunlight and heat to prevent pigment breakdown.
Label each container with ink names, ratios, date mixed, and brand so you can track freshness and reproduce exact formulas.
Shake thoroughly before every use, since pigments settle and cause color shifts even with correct formulas.
Discard any mixed ink older than six months rather than risking inconsistent performance or compromised safety.
Keep handling single-use and hygienic, minimize repeated exposure, and you’ll maintain both stability and client safety.
Recommended Products

【Professional-Grade Practice Skin】Crafted with 3mm premium silicone, POSEIDON’s tattoo practice skins mimic real skin texture with flexibility and durability. The 5.9"x7.8" sheets resist tearing, hold ink like human skin, and are easy to clean—simply wipe with soap and paper during or after practice. Perfect for mastering shading, lining, and microblading techniques.
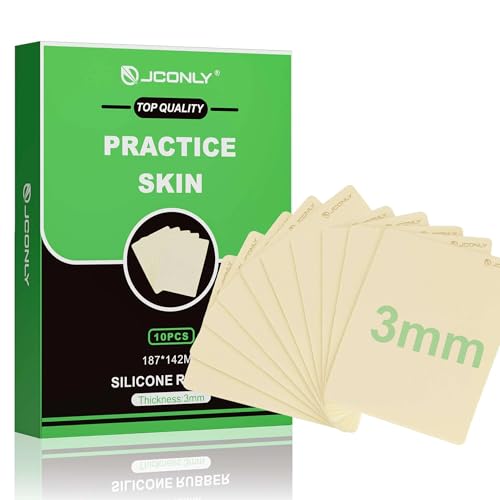
🩺 MEDICAL-GRADE REALISM - Precision 3.0mm±0.1mm - Calibrated with US studio input to match human forearm density. Holds ink without bleeding - crucial for fine line mastery.

SPIRAL-BOUND PORTFOLIO DESIGN: Unlike loose practice skins that get lost or damaged, this tattoo practice book features a sturdy spiral binding that keeps all 10 pages (7" x 5.5" each) neatly organized. Flips open and lays flat for hands-free practice, then closes like a portfolio for easy storage and portability. Perfect for tracking your progress from beginner sketches to advanced designs.
Fix Common Tattoo Ink Mixing Problems Fast
When your custom mix turns muddy, you’ll rescue it faster by adding pigment in tiny increments to a lighter base and using small touches of a complementary neutralizer instead of dumping in large corrections. You can prevent separation and clumping by sticking to one professional brand, shaking bottles thoroughly before pouring, and blending completely in the cap before application.
These two fixes, muddy color recovery and separation prevention, form your first line of defense against wasted ink and compromised tattoos.
Recommended Products

Pre-Dispersed Tattoo Ink

PIGMENT MIXER STICKS ---- The pigment mixer sticks can be used in watercolor ink, tattoo ink, nail polish, drawing paint, brow line ink. This stick works with most tattoo ink mixers and is designed for dipping and mixing tattoo paint. They can quickly and easily mix tattoo ink to prevent precipitation.

Tattoo Mixing Solution: This solution offers tattoo artists the ability to create custom color palettes while ensuring the utmost quality and safety for their clients.
Muddy Color Fixes
Although muddy colors frustrate every artist, you can fix them fast once you understand why they happen. Muddiness fixes start with identifying the cause: you’ve likely combined too many non-complementary shades or layered saturated darks over lights. For color mixing success, rebuild your hue in small “cap tests,” blending from lighter bases upward with controlled additions.
Cap test your mixes on synthetic skin before committing, recording exact ratios in a notebook. Neutralize overly warm tones, like dull orange, with a single drop of dark blue; mix thoroughly, then retest. When transparency turns flat gray, reduce saturation gradually using professional dilution solution, not tap water.
If healed results darken unexpectedly, adjust future batches with measured white drops to lift, or black to deepen, maintaining detailed records.
Separation Prevention Tips
Ink separation ruins more mixes than you’d expect, but you can stop it before it starts with a few disciplined habits.
1. Match Your Brands
Mix Tattoo inks from the same professional line only. Different brands use unique pigment carriers and binders that clash, causing clumps you cannot fix.
2. Prep Every Bottle
Shake thoroughly before mixing. Pigments settle, and uneven concentration guarantees streaky results. Hold the bottle, shake until you hear the mixer rattle freely, then pour.
3. Build Small, Test First
Start with tiny amounts in disposable caps. Stir until the blend looks completely uniform. Speckled or streaky? Start over. Never apply untested mixes to skin.
4. Dilute With Care
Use distilled water drop by drop. Over-dilution weakens saturation and heals patchy. Test washes on practice skin first.
5. Know When to Quit
Separated ink cannot be saved with random additives. Discard it, and remake with sterile tools and controlled ratios.






