

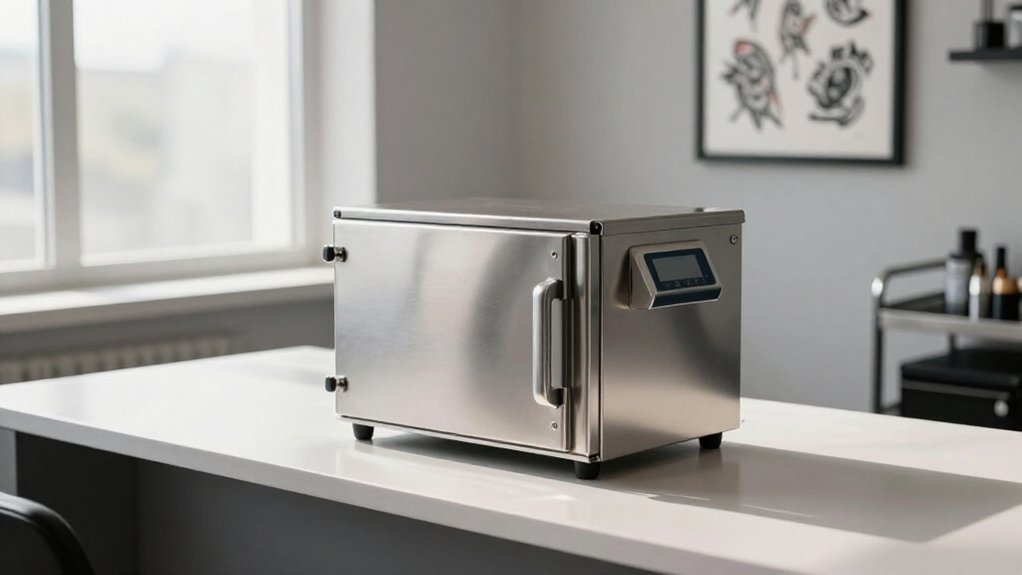
You need sterile equipment to protect your clients and your license.
Autoclave sterilization uses pressurized saturated steam, heated above 250°F, to kill microorganisms including bacterial spores that disinfectants cannot touch.
You load cleaned metal items, such as grips, tubes, and clamps, into sterilization pouches, seal them, and run a cycle that typically lasts 30 to 60 minutes depending on load size.
The result is traceable, verifiable sterility that health inspectors expect to see.
But choosing the wrong machine or skipping steps can leave you exposed during an audit, so you’ll want to understand the full workflow before you buy.
How Tattoo Shops Use Autoclaves to Pass Health Inspections
When you run a tattoo shop, passing health inspections isn’t optional, it’s survival. You use an autoclave to sterilize tattoo equipment properly, exposing reusable metal parts to saturated steam under pressure. This eliminates harmful microorganisms and spores that surface disinfection misses.
Passing health inspections isn’t optional, it’s survival. Proper autoclave sterilization eliminates microorganisms surface disinfection misses.
Your Inspection-Ready Workflow
- Clean and disassemble your tattoo tools.
- Load them into sterilization pouches; these keep items sterile after the cycle ends.
- Run the autoclave using manufacturer-set temperature, pressure, and time parameters.
You document every cycle in a sterilizer notebook: date, time, equipment, and settings. This traceability proves your process meets industry standards to local health inspectors.
You also use monitoring indicators and spore test kits to verify steam penetration and killing performance. Proper sterilization creates a sterile environment that keeps you compliant, confident, and ready for unannounced visits.
Recommended Products

Precise Temperature Control & Timer with Overheat Protection: Adjustable temperature from 0–220℃ and 0–60 minutes rotary timer for customized working cycles; auto shut-off and overheat protection once reaching max temperature, plus clear indicator light to show working status; safe and reliable for daily care of metal tools in nail salons, hairdressing studios, tattoo shops and beauty spas.

SMALL SIZE STERILIZATION POUCHES – PLEASE CHECK DIMENSIONS : Each self sealing sterilization pouch measures 2.25" x 5" (57 x 127 mm). These small sterilization bags are designed for compact instruments such as dental picks, scalers, nail tools, tattoo tips, beauty tools, and other small accessories. Please compare your instrument dimensions before purchasing to ensure proper fit.

LA MIERE sterilization pouches feature internal and external indicators that change color to provide clear sterilization verification per. Consistent color change indicates sterilization completion, giving you confidence in your process before instrument use. Each pouch delivers consistent indicator performance cycle after cycle.
What to Sterilize: Tattoo Machines, Grips, and Tubes
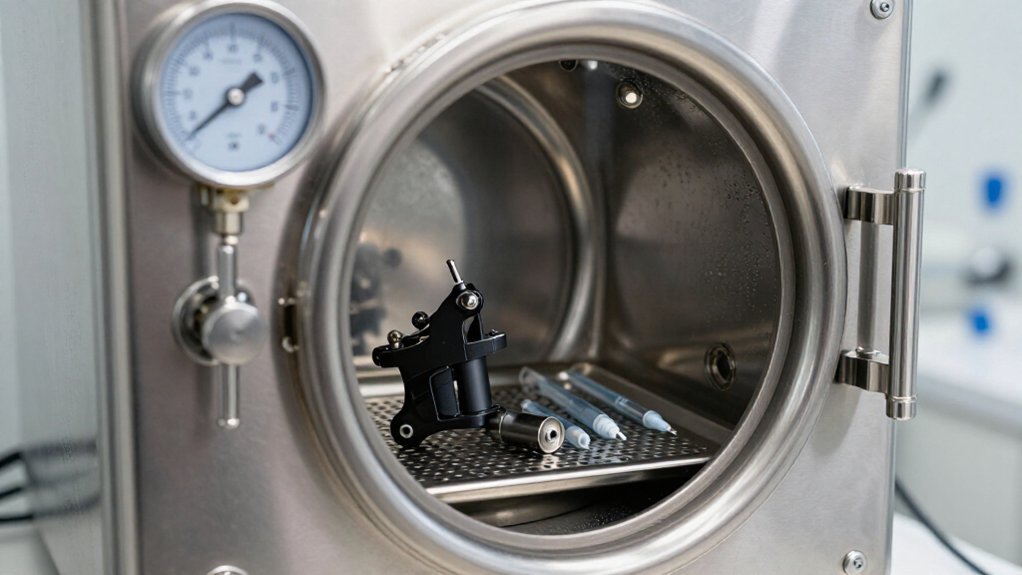
You already know how to run your autoclave and document cycles for inspectors. Now, let’s clarify exactly what tattoo and piercing equipment you’re loading.
What Goes In
- Reusable metal grips and tubes: These are your primary sterilization targets, cleaned first with ultrasonic cleaners to remove debris.
- Removable components: Disassemble your tattoo machine, then sterilize only the metal parts that withstand steam.
- Compatible piercing tools: Any piercing tool made of autoclavable metal qualifies for this sterilization process.
Never sterilize full tattoo machine housings, coils, or electric parts. Dry all pieces thoroughly post-cleaning.
Load items in sterilization pouches with space between them for steam circulation. Unload only after pressure hits zero, then record each batch for traceability.
Recommended Products
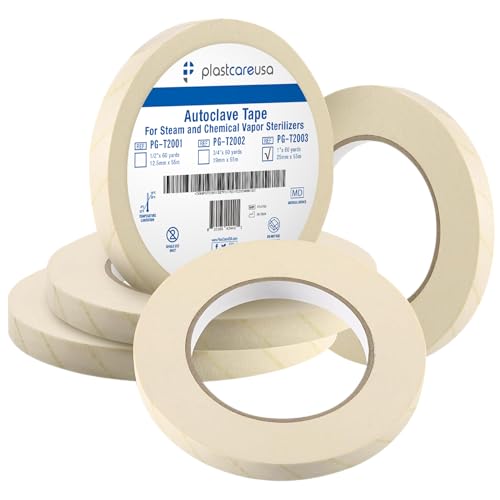
STERILIZATION INDICATOR TAPE – Chemical indicator stripes change color after exposure to steam or EO gas sterilization cycles, helping verify processing conditions have been met.
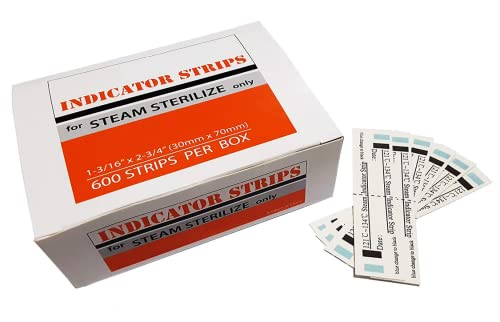
AmeriCan Goods Autoclave Sterilization Indicator Strips for Steam Sterilize, Confirms Successful Sterilization.

EFFICIENT AUTOCLAVE STERILIZER – Efficient Steam Sterilization for Daily Use with preset programs: 121°C / 30 min and 134°C / 10 min. Sterilization time starts once the chamber reaches target temperature (heating & exhaust not included) for fast and effective results
What Size Autoclave Do You Need? (Top vs. Side Loading)
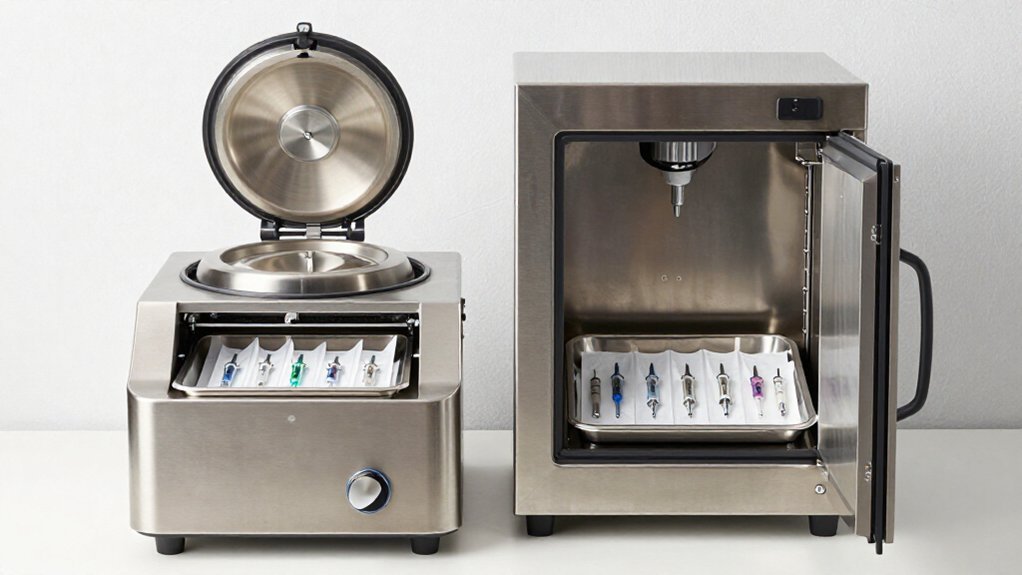
Because your daily sterilization volume and physical space dictate everything else, you’ll need to match chamber size to your actual workflow rather than guessing. When you choose sterilization equipment, weigh capacity vs. cycle frequency: small teams run smaller autoclaves more often, while busy shops need larger chambers to avoid bottlenecks.
Match chamber size to your actual workflow rather than guessing—capacity and cycle frequency must align with your daily volume and space.
Top-Loading vs. Side-Loading
You’ll select a top-loading autoclave for simpler layouts, but check pouch compatibility first. Some models won’t accept sterilization pouches, limiting how you sterilize tattoo instruments and piercing instruments.
You’ll choose a side-loading autoclave when pouches drive your workflow. These units handle pouched items directly, letting you organize loads so steam circulation reaches every surface. Never overcrowd the chamber; blocked airflow leaves items unsterile.
Recommended Products

Sanitize Your Tools - Keep dental, medical, and personal care tools clean with our pouch bags. They’re available in 7 sizes to fit your instruments and get them ready for autoclave sterilizers.

BULK SELF-STERILIZATION BAGS: PlastCare USA provides boxes of 200 pouches. These sterilizing bags keep teeth cleaning instruments and other dental tools sterilized until their next use. Keep your dental office or lab clean and sterile with these pouches.

Sanitize Your Tools - Keep dental, medical, and personal care tools clean with our pouch bags. They’re available in 7 sizes to fit your instruments and get them ready for autoclave sterilizers.
Clean, Pouch, Autoclave: The Full Sterilization Workflow
Once you’ve matched your autoclave to your space and volume, you’ll need a repeatable workflow that protects every client. Tattoo artists in any tattoo studio must treat every piece of equipment with the same rigor, because essential sterilization starts long before the steam hits.
1. Clean and Prep
Disassemble your tattoo grips, tubes, and metal parts. Wear gloves, disinfect surfaces, and wipe with alcohol to remove residue. Run items through an Ultrasonic Cleaner to shake off bioburden you can’t see.
2. Pouch with Care
Slide each item into sterilization pouches, add internal indicators, and seal them tight. You’ll make sure steam can penetrate every corner.
3. Load and Run
Place pouches loosely in the autoclave, fill with distilled water, and run your cycle. Never load coils or machine bodies. When pressure hits zero, document everything: date, time, and parameters for the items you need to sterilize.
Recommended Products

Knurled Design: The tattoo handle has a knurled design, non-slip, comfortable to hold, and convenient for hand to hold and operate. The knurled handle has a beautiful appearance, has stable performance, which is enough to meet your tattoo needs

Patented Self-Locking Tube Mechanism Engineered with an advanced ratcheting system that securely locks most standard tattoo tubes in place with an audible click. Eliminates wobble and slippage mid-session, ensuring absolute needle stability for cleaner line work and smoother shading

1 Inch Tattoo Disposable Clear Tube Grips (20 pcs)






