

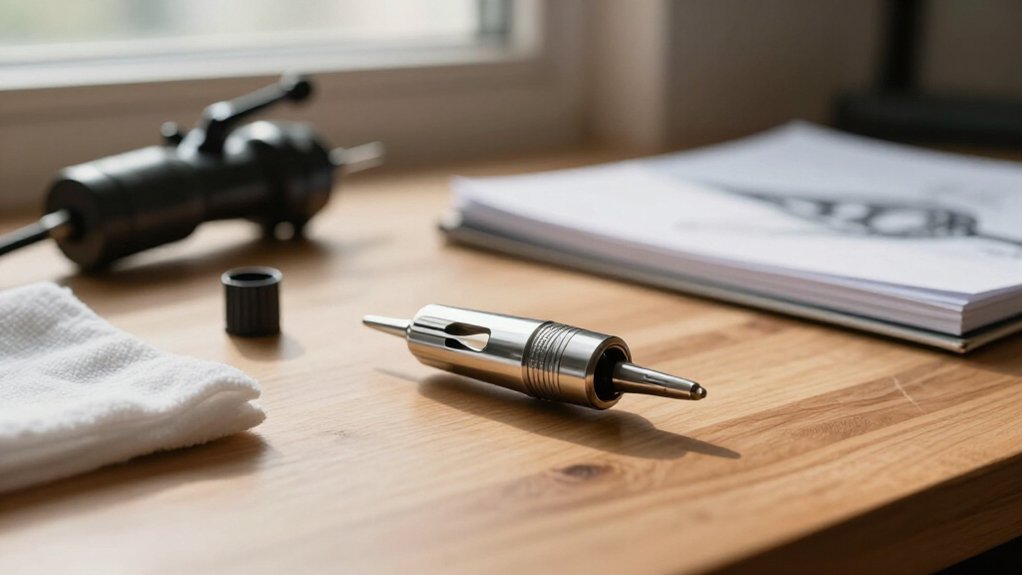
You probably don’t know that your light source decision must happen before you ever touch a needle to skin, since every shadow placement depends on it. Once you map dark-to-light cohesively, you’ll place the shadow edge just before skin contact for that crisp core you want.
Choose magnum needles for big shadow areas and dense gray saturation, then swap to stacked or curved mags when you need softer, feathered gradients.
You’re building toward something most artists miss entirely, and it starts with matching your movement to your machine setup.
Plan Your Light Source Before Picking Up the Needle
Where exactly should the shadows fall on your next piece? Decide your light source direction before you start, or your shading technique will lack cohesion. Pick top-right, bottom-left, or directly above, then map where mid-tones and shadows belong.
Use the bouncing ball concept, meaning darker values sit on the side facing away from light, lighter values toward it. This keeps flat shapes reading as three-dimensional ink in the skin.
Mark your shadow edge before Tattoo Shading Needles touch flesh, harder near the darkest core, softer toward highlights. Build a clear dark-to-light map first. Most realistic shading depends on shifting depth into gradients, not random passes.
Keep needle angle aligned with planned shadow, tighter and controlled for defined shapes, gentler as you approach highlight boundaries. You’ll know exactly how your needles move forward.
Recommended Products

Poseidon cartridge adopt a one-time joint design hygienic standard The material is stainless steel and easy to color,and has better ink flow

BIGWASP tattoo needle cartridges (Generation 3)

50 pcs Mix Assorted Transparent Tattoo Needle Cartridges - Includes are a mix of #12 Standard RM needles.
Choose Shading Needles by Area Size and Softness Needed
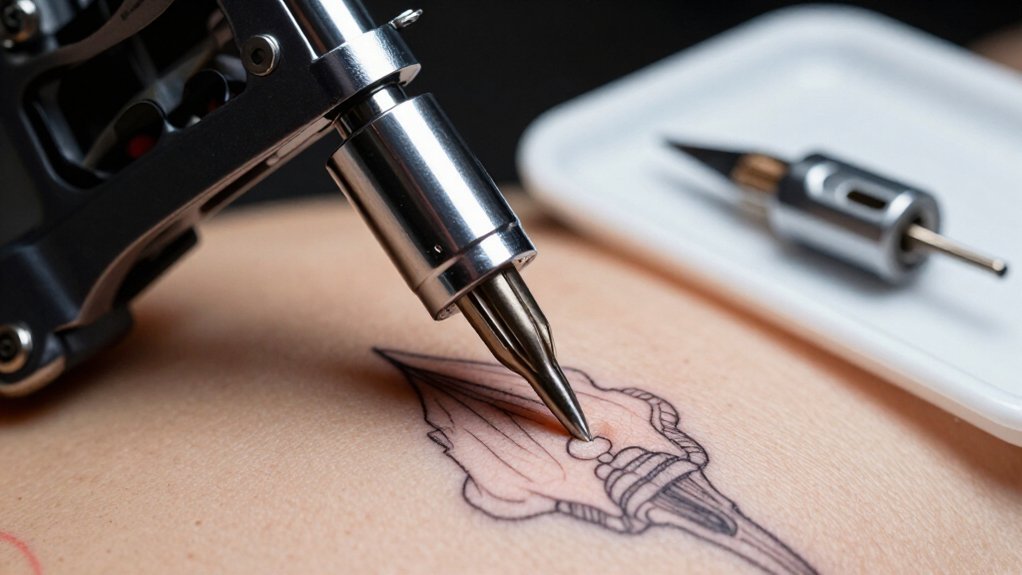
Once you’ve mapped your light source, you’ll need to match your needle choice to the job at hand. For larger shadow and black-and-gray areas, grab magnum needles. You’ll cover more skin per pass, and you’ll build smooth gradients faster. Use a stacked mag when you want density, or pick a curved mag when you need softer diffusion.
For small detailed sections, like tight corners or inside contours, switch to a round shader or a smaller mag. You’ll keep your tone controlled, and you won’t overwork delicate skin. Shader needles in these sizes let you place ink precisely where it belongs.
If you’re chasing soft gradients and feathered edges, favor curved magnum configurations. The curved grouping deposits ink more gently, creating subtler transitions between light and dark.
Recommended Products

Mast Pro purple tattoo cartridges needles have been providing with high density clear plastic body.
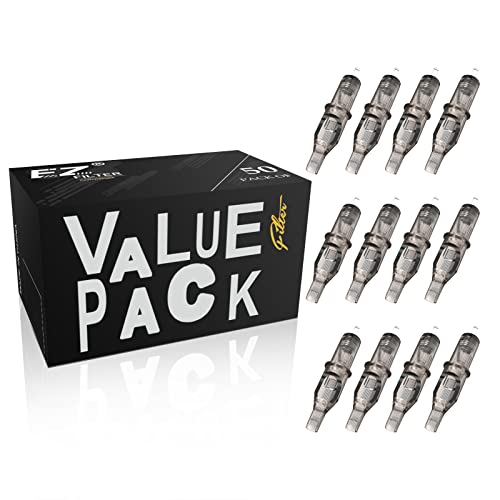
EZTAT2 50Pcs mixed tattoo cartridge needles round magnum or round liner or shaders, flat mag. One step choose 5 sizes assorted kit and help us save more time.
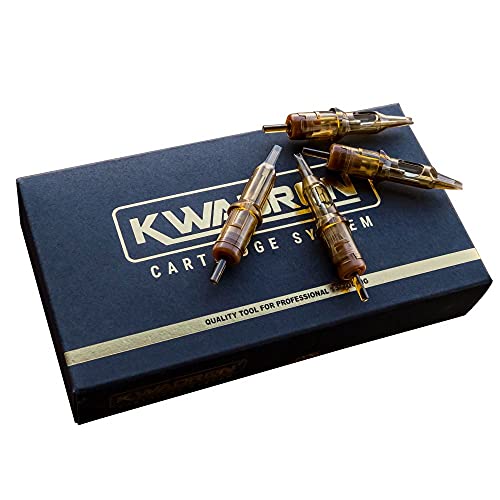
OPTIMAL PERFORMANCE: Kwadron tattoo needle cartridges is precisely made with high-quality materials for optimal performance so that you can achieve beautiful results
Configure Machine Voltage and Stroke for Each Technique
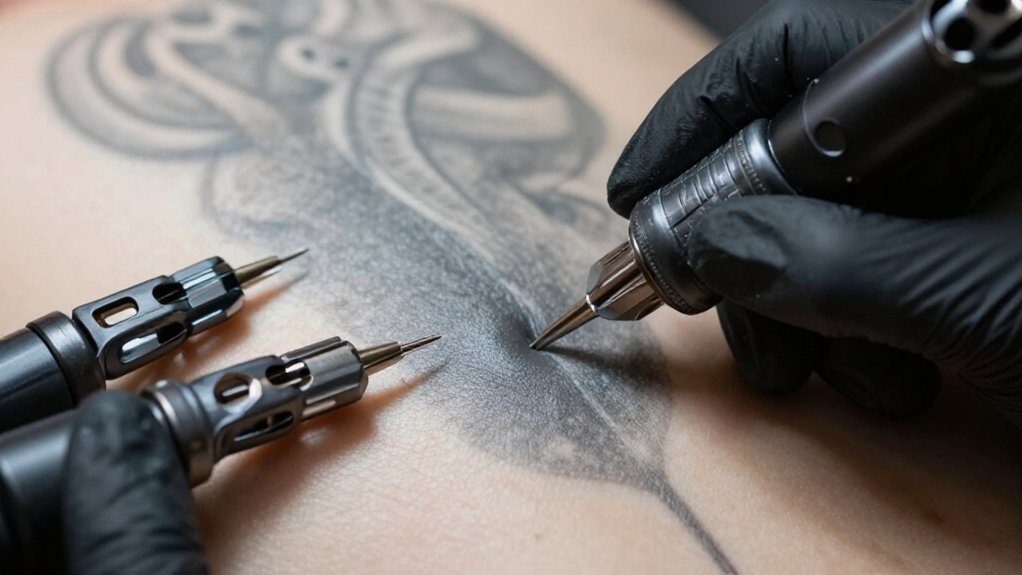
The real finesse comes from matching these settings to your technique. You’ll configure your coil tattoo or Tattoo Pen differently depending on what you’re trying to achieve, and getting the right shading setup prevents trauma while building smooth tones.
Set your stroke shorter for shading, around 3.0–3.5 mm, with 3.5 mm for standard black-and-gray and 3.0 mm for ultra-soft transitions.
Adjust voltage to control saturation: higher power drives needle depth for bold darks, lower settings keep things light and airy.
Crank the voltage for deep, saturated blacks; dial it back to keep your grays whisper-soft and breathable.
Match machine speed to your method: run slow and steady for packing magnums; drop energy slightly for whip shading’s flick-off gradients; hold 3.5 mm stable for pendulum work.
Recommended Products

Gray wash tattoo ink set for smooth transitions gives you steady shading with clean shifts between tones and helps you create soft gradients without mixing inks yourself so you keep your work simple and consistent on real skin

VERSATILE TATTOO INK COLOR SET: Our vinrant tattoo ink color set features four shades of gray tattoo ink—Light, Light Medium, Medium Dark, and Dark. Ideal for blending and mixing, this professional tattoo ink simplifies your color palette, saving time for artists.
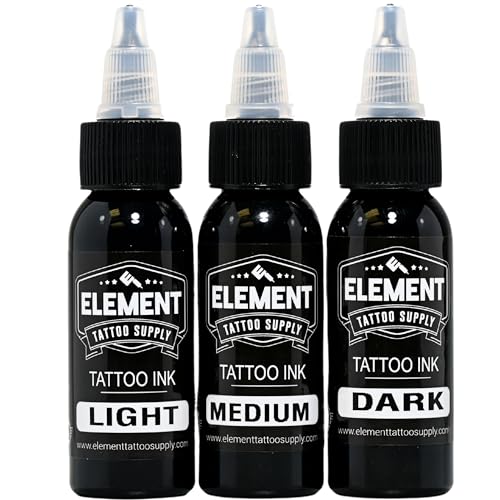
GRAY WASH TATTOO INK SET FOR SMOOTH TRANSITIONS: Achieve flawless shading and smooth transitions with this gray wash tattoo ink set. Designed to create subtle gradients, this tattoo grey wash set eliminates the need for mixing inks yourself.
Execute the Three Core Shading Movements
You’ll master three fundamental movements to control how pigment sits in the skin. Packing builds solid mid-tones through tight, overlapping ovals, while whip shading creates gradients by dragging and flicking the needle at varying depths. Pendulum shading rounds out your toolkit with its rocking motion, letting you feather edges for smooth fades.
Recommended Products
Mast Pro purple tattoo cartridges needles have been providing with high density clear plastic body

Complete Packaging: 50pcs mixed size tattoo cartridge needles set, includes 5pcs each of 1205RL 1207RL 1209RL 1205RS 1207RS 1209RS 1207RM 1207M1 1215M1 1215RM. The unique design of the needle can store more ink, and the sharp needle thread better completes tattoo activities, suitable for both professional tattoo artists and beginners.
Mast Pro purple tattoo cartridges needles have been providing with high density clear plastic body.
Packing Technique Basics
When you’re ready to lay down solid, saturated black or dense gray tones, packing becomes your primary method. You’ll use this technique to fill shaded areas completely, building dark foundations before softer gradual shifts.
Key Packing Principles
- Use tight oval motions, not large circles, to deposit black ink evenly without gaps that heal patchy.
- Maintain balanced pressure so you’re not loading one side of the needle, letting shorter stroke and consistent motion do the work.
- Control your speed, pairing slower machine settings with stacked magnums for efficient coverage without excess ink.
Whip Shading Method
Once you’ve mastered solid packing, whip shading lets you create soft, feathered transitions that no single-pass technique can achieve. The whip shading method relies on a three-part cycle: touch your tattoo needle into the skin, drag it briefly across the surface, then gently flick the machine away so pressure tapers at the edge. This controlled release creates the signature fade.
Execute the Three Core Shading Movements
- Touch with deliberate needle depth at the initial contact point.
- Drag lightly across the surface to deposit ink.
- Flick upward to reduce depth, creating lighter edges in your shading work.
Keep strokes short and consistent. Avoid hopping to new areas mid-shade; instead, expand outward for smooth gradients. Build tone gradually: solid areas first, then peppery dots, finally light washes. This prevents overworking human skin.
Practice on quality fake skin first. Improper flick timing causes oversaturated edges that heal patchy.
Pendulum Shading Motion
Pendulum shading lets you build velvety gradients through a smooth, rocking motion that keeps your needle in constant motion. You’ll swing your needles back and forth over the area, maintaining consistent depth. The pendulum shading motion requires you to move down at the center of each swing, and up at the ends, creating a soft, feathered gradient.
For best results with this technique, follow these key steps:
- Match your shading needle to your area: curved magnums for soft black-and-gray fills, or round shaders for smaller sections.
- Set your rotary tattoo or coil tattoo machines to a 3.5 mm stroke, or 3.0 mm for very soft work, so your speed and needle contact lay gradual tone without trauma.
- Keep hand motion continuous, overlap passes slightly, and let feathering build your fade rather than hopping between spots.
Build Smooth Gradients With Layered Passes
Because smooth gradients rely on patience rather than force, you’ll build them in thin, deliberate layers rather than trying to nail the final tone in one pass. Start with your tattoo gun set up for shading, using the correct needle, and apply the lightest gray wash first. Feather the edges where you want transitions, avoiding hard boundaries.
You’ll use techniques every shading session demands: controlled machine movement, slower hand speed, and consistent needle motions. Try tight, small oval packing or whip shading patterns, keeping each pass steady so you don’t “hop” around the skin. Remember, lining and shading require different approaches, and shading uses less ink per pass than bold lining.
Wipe often between layers, especially after blood or serum appears, since blood makes light grays look darker. Plan for healing; black and gray lighten about 30%, so place darker mid-tones knowing they’ll settle smoothly.
Recommended Products

1.HIGH QUALITY:The needles are 316L stainless steel. All the needles are packed in a separate package. The needles are made of high-quality 304 stainless steel and are beautifully polished and easy to clean

Solong rotary tattoo pen is CNC-Machined by aircraft Aluminium alloy and then anodized finish.The motor is 10w made in Taiwan,low noise,strong and stable to work, no hot for long time working

Dragonhawk Traditional Pro Complete Tattoo Kit: Features two cast iron tattoo machines with full set to make tattooing quick and easy. The lining & shading machines help make it easy to get right tattoo style. You can play and adjust any parts with Dragonhawk pro coils machines. The tattoo machines has a powerful, long-lasting coils. The needles are also stainless steel to provide outstanding cutting performance.
Spot and Correct Patchiness While You Work
When you’re shading, you’ll notice patchiness before it becomes a real problem if you stay alert. Keep your eyes moving across the skin as you work the needle, checking for uneven tone, especially on sensitive areas like ribs where the tattooing process demands extra attention.
Three Quick Fixes for Patchy Shading:
- Tighten your ovals. Switch to smaller, overlapping passes so needle barbs repeatedly lay ink in the same micro-area.
- Slow your hand speed. Quick movements cause broken coverage, while slower motions pack pigment properly.
- Layer gradually. Lower excess pressure, use more light passes, and build tone instead of forcing dark values at once.
For wireless tattoo setups, monitor power consistency. If patchiness persists, check your needle angle and consider switching configurations for fine details or faster packing.
Recommended Products

[Package]: 50pcs Assorted tattoo cartridge needles, includes 10pcs each of 1207RM, 1209RM, 1211RM, 1213RM, 1215RM.

BIGWASP's extra-large magnum needles are designed for compatibility with a wide range of tattoo machines, wireless pen devices, and grips.

BIGWASP's extra-large magnum needles are designed for compatibility with a wide range of tattoo machines, wireless pen devices, and grips.






