

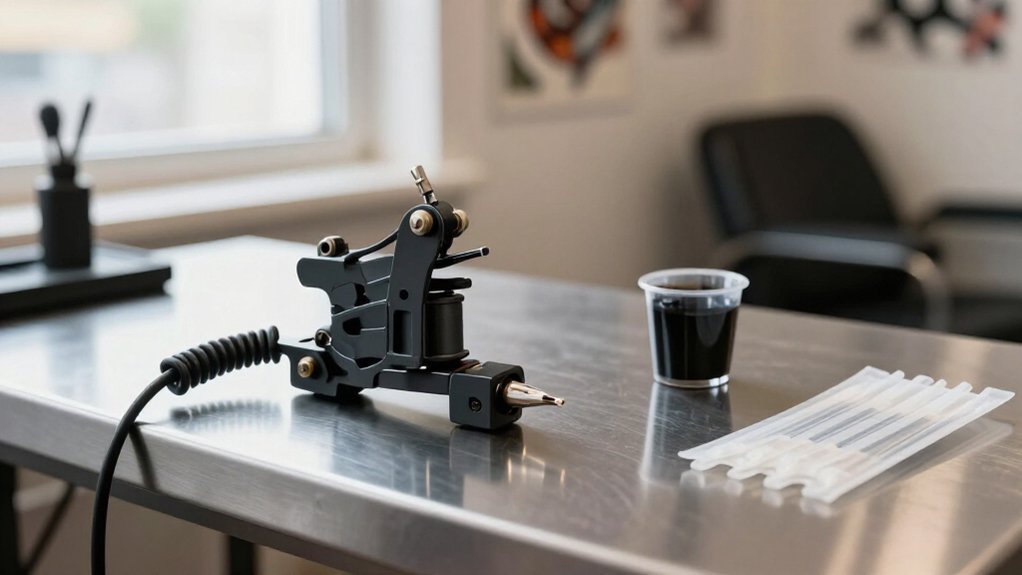
You stand at your station, gloves snapped on, lights humming low, and every tool laid out in sterile rows like a quiet promise of precision.
You need the right supplies, not extra clutter, to keep your client safe and your work clean.
This checklist breaks down exactly what goes where, when you use it, and why it matters.
Complete Tattoo Supplies Checklist for Every Session
Before you touch a client’s skin, you’ll set up your sanitation station properly. You’ll run an ultrasonic cleaner for pre-cleaning, then autoclave your reusable tools. You’ll cover your workstation with barrier film, so surfaces stay clean between clients.
You’ll organize your tattoo supplies by function. For Skin Prep, you’ll keep disposable razors, antiseptic wipes, and green soap ready. You’ll set out Transfer Paper with transfer gel for later use. You’ll arrange tattoo ink in proper ink caps, smaller ones for liners and larger ones for mag work. You’ll load tattoo needles and needle cartridges, matching Round Liners for outlines and Round Shaders for shading to your machine system.
You’ll prep washer bottles, rinse cups with sterile distilled water, and organized waste containers. Finally, you’ll position aftercare products for post-session handoff.
Recommended Products

Self-Sealing Bags: ForPro Self-Sealing Sterilization Pouches are single-use, latex-free pouches that are made to protect.

BULK SELF-STERILIZATION BAGS: PlastCare USA provides 1 box of 200 pouches. These sterilizing bags keep teeth cleaning instruments and other dental tools sterilized until their next use. Keep your dental office or lab clean and sterile with these pouches.

KEEP TOOLS CLEAN: After instruments have been cleaned, they must be placed in sterile bags or pouches to ensure that they remain sterile until their next use. This is true for nail technicians, dentists, and other medical professionals. Knowing you’re getting clean and sterile instruments is a very calming thought when sitting in the dentist chair.
Tattoo Skin Prep and Stencil Supplies
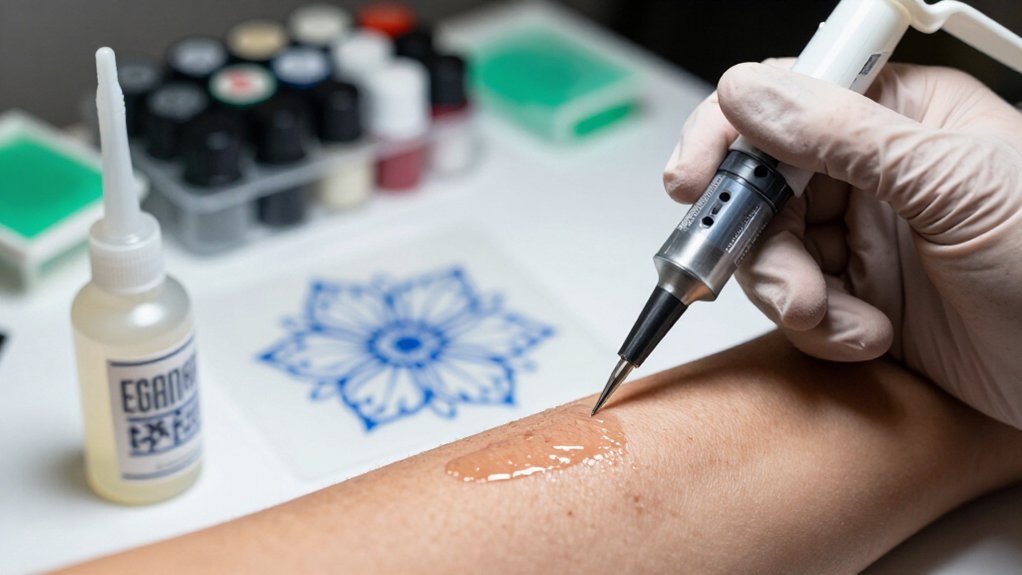
Once you’ve set up your station, you’ll begin skin prep by shaving the area with a disposable razor, working with the hair growth to prevent irritation. You’ll cleanse with green soap to remove oils and residues, then wipe with antiseptic to lessen bacteria and ensure a clean stencil transfer.
- Disposable razors – single-use tools that prevent cross-contamination and give you smooth, nick-free skin
- Green soap – a plant-based cleanser that cuts through skin oils without harsh irritation
- Thermal transfer paper – creates precise digital stencils through a thermal copier for perfect symmetry
- Stencil solution and stencil primer – applied evenly without sliding, dried 10–20 minutes, sealed in with guide covers to prevent fading
Practice skins help you master these steps before working on clients.
Recommended Products

45KHZ PROFESSIONAL CLEANING: Driven by 45kHz ultrasonic waves reach into tiny crevices that brushing can't — restoring shine to rings, chains, and prong-set gems in minutes, with no scratching. Removable power cord, easy to replace water. The transparent lid lets you watch the cleaning happen in real time.

PROFESSIONAL QUALITY CLEANING: Magnasonic has been the industry leader for over 15 years providing deep cleaning solutions to remove dirt and grime from the most hard-to-reach areas

SCIENTIFICALLY ENGINEERED ENZYMATIC CLEANER: Specifically designed to take advantage of the ultrasonic machine’s implosion of billions of minute vacuum bubbles. It is formulated to release enormous amounts of energy and safely remove contaminants from dirty dental equipment and instruments like scissors, tweezers, scopes, forceps, clamps, picks, scrapers, mirrors and more.
Tattoo Machines, Needles, Cartridges, and Grips
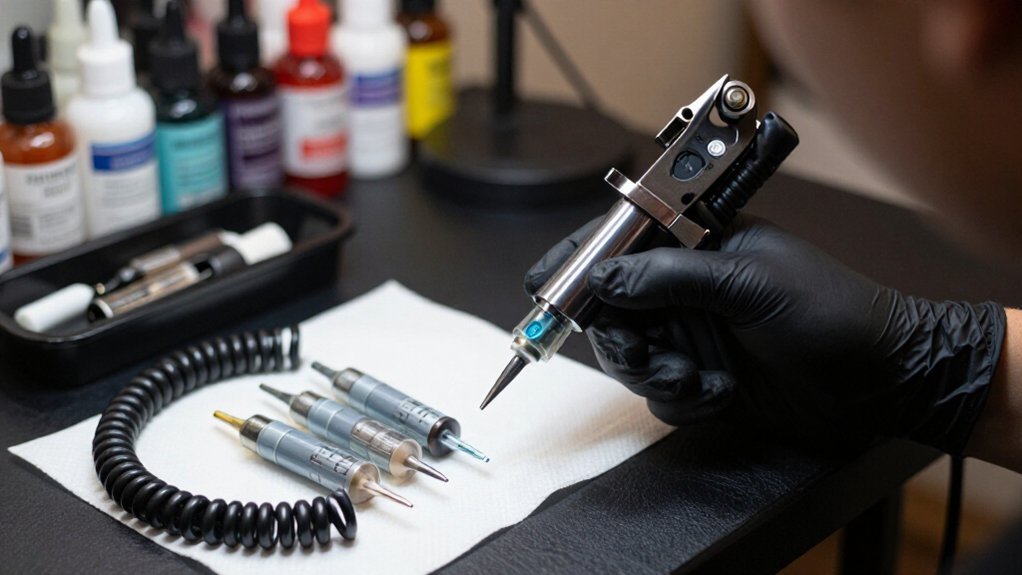
After you’ve prepped the skin and applied your stencil, you’ll turn your attention to the equipment that actually deposits ink.
Once your stencil is locked in, it’s time to focus on the tools that bring your design to life.
1. Tattoo Machines
You’ll choose between rotary machines, which run quietly for smooth general work, and coil machines, which deliver a heavier punch but require more maintenance. Many artists now use a Wireless Tattoo Machine, pen-style units that pair ergonomics with the cartridge system for a smooth workflow.
2. Needles and Cartridge Needles
You’ll select needle configurations based on your goal. Use Round Liners (RL) for crisp outlines, or Round Shaders and magnums for softer blending. Cartridge needles combine needle and tip into prepackaged, disposable units that click into compatible grips, improving hygiene and speeding setup compared to traditional bar needles.
3. Grips
You’ll match disposable or autoclave-friendly stainless-steel grips to your cartridge choice, ensuring stable needle alignment through long sessions.
Recommended Products

Phomemo Tattoo Transfer Paper kit - Paper size: 8.27 in x 11.69 in (210 x 297 mm), Quantity: 1 Box, 100 Sheets in the box, Color: Blue. Phomemo Tattoo Transfer Paper is ideal for tattoo enthusiasts, artists and professional tattoo artists, offering reliability and consistency in tattoo stencil creation

Precision Transfer Performance - It’s professional-grade tattoo stencil paper delivers vibrant, high-definition transfers even for intricate designs. The carbon layer ensures sharp outlines without smudging or fading, ensuring crisp lines that stay true to your original artwork.

Precision Transfers & Long Lasting: Tattoo stencil paper delivers vibrant, high-definition transfers even for intricate designs. Creates crisp, dark lines that transfer cleanly to skin (clearly on different skin tones) which are easy to follow during tattooing. The carbon layer made from high-quality dyes ensures sharp outlines without smudging or fading and maintains crisp lines visibility throughout long tattoo sessions, so you can focus on creating art instead of re-drawing lines
Tattoo Inks, Caps, and Rinse Setup
You select inks by pigment quality, carrier fluid compatibility, and skin type considerations. You portion pigments into appropriately sized caps, liners for detail work and magnums for broader coverage, while keeping sterile distilled water ready in a labeled rinse cup.
You organize these elements within arm’s reach to maintain clean shifts, consistent flow, and minimal contamination risk throughout your session.
Recommended Products

Mast Pro purple tattoo cartridges needles have been providing with high density clear plastic body.

Mast Pro purple tattoo cartridges needles have been providing with high density clear plastic body.
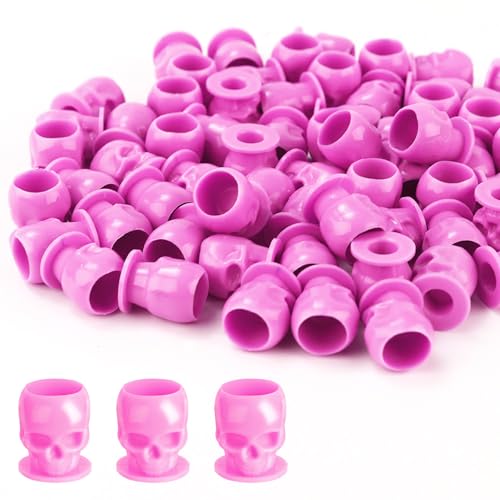
Premium Material: Tattoo ink cup is made of high-quality hard plastic, which is durable, not easy to deform, break, and leak. Avoiding ink leakage accidents during tattooing, ensuring a smooth and easy tattoo process.
Ink Selection Essentials
How do you guarantee your ink setup won’t jeopardize a clean, predictable tattoo? You start by understanding that tattoo inks aren’t interchangeable. Each pigment serves a specific job on skin.
- Match ink to task: Use black inks for lining, shading, and tribal fills. Select greywash inks for pre-diluted values. Choose color inks for vibrant packing, noting yellows and reds fade differently.
- Size your ink caps correctly: Pair larger ink caps with magnum cartridges, smaller ones with liners. This keeps ink flow controlled around the needle.
- Inspect before use: Check viscosity and color delivery so consistency holds through the session.
- Store properly: Maintain appropriate conditions so the tattoo artist’s pigment-to-carrier balance stays intact, ensuring saturation and opacity during healing.
Cap and Rinse Setup
Once you’ve matched your inks to the task at hand, the next step is setting up your caps and rinse station so everything flows without interruption.
1. Choose Your Ink Caps by Needle Type
Select larger ink caps for magnums, smaller ones for liners. This keeps correct ink depth and flow during work.
2. Prep Your Ink and Rinse
Pour only the ink you’ll use into caps before starting. Fill your rinse cup with sterile distilled water for frequent rinsing between colors or after wiping excess.
3. Position for Safety
Keep your session setup on a barrier-managed station, within easy reach. Label bottles and arrange tools so you grab quickly without pausing. This reduces contamination risk and wasted time.
Workspace Organization Tips
A well-organized workspace keeps your session smooth from the first line to the final wipe. You don’t want to hunt for supplies mid-tattoo, so your setup ensures everything sits within arm’s reach.
- Ink Station: Match small caps to liners, larger caps to magnums, so you don’t scramble mid-line.
- Rinse Routine: Position labeled cups with sterile water nearby, keeping your workflow clean and predictable.
- Ink Organization: Sort black lining blacks, graywash shades, and color bottles by type, so you grab the right tone instantly.
- Barrier Placement: Arrange green soap, alcohol, and rinse supplies before starting, using Clip Cord Sleeves on your wireless machine to keep cross-contamination out of your tattoo studio.
This tattoo supply discipline lets you work efficiently, maintaining clinical standards without wasted motion.
Barrier Protection and Hygiene Supplies During Tattooing
You’ll wrap your workstation, armrests, and machine components with medical-grade barrier film, creating disposable shields that block cross-contamination between every client. Fresh gloves go on before you start, and you’ll swap them instantly if your hands stray to phones, door handles, or your own clothes, maintaining that critical clean-side/dirty-side divide.
These barriers and protocols form your first defense, so you’ll want to understand which films grip best, which PPE holds up under hours of work, and how to sanitize surfaces without cutting corners.
Barrier Film Types
Before you set up your station, you’ll need barrier film to shield surfaces and equipment from contamination during the tattoo process. You’ll maintain Sterilization standards by pairing barriers with autoclaved supplies, not replacing them.
- Clear single-use barrier film lets you see labels and placement while guarding the work surface during any tattoo session.
- Bottle covers and tool wraps protect your green soap, alcohol, and other items you can’t autoclave between clients.
- Grip barriers for your wireless machine cover parts that contact the client’s skin but can’t withstand heat sterilization.
- Disposable sheaths for medical-grade bandages and permanent makeup tools and equipment keep your setup compliant and easy to refresh.
Swap soiled barriers immediately, then clean, disinfect, and reapply. You’re building a reliable hygiene routine that protects everyone.
Disposable PPE Essentials
Barrier film protects your surfaces, but your hands and body need the same level of defense during every session. You rely on disposable PPE essentials to maintain safety from setup through cleanup.
1. Hand and Body Protection
You wear disposable gloves at all times, and you change them whenever you touch non-sterile surfaces or after contamination. This practice helps keep the work zone hygienic. You also use masks and eyewear when splashes might occur.
2. Sterile Tools
You always open sterile needles and cartridges only after confirming sterilization dates on intact packaging. Tattoo artists never reuse these items.
3. Clean Supplies
You use clean disposables like single-use paper towels and wipes for skin and equipment. You keep all sealed items protected until needed, even near power supplies.
You maintain strict hand hygiene throughout every phase.
Surface Sanitation Protocols
Once you’ve suited up in your PPE, you’re ready to secure your workspace. Surface sanitation protocols demand that you establish barrier protection before any skin contact occurs.
- Cover your station with protective film, and place disposable barriers on every touch point, including trays, lamps, and machine grips.
- Prepare labeled, dedicated bottles for green soap and alcohol, so you never pour from shared containers mid-session.
- Execute proper skin hygiene by wiping the area with antiseptic, removing oils with green soap, and discarding each cloth after a single use.
- Maintain a strict “clean-to-dirty” workflow: open sterile items last, keep them separate, and change gloves immediately if you touch non-barrier surfaces.
You discard single-use items instantly, and you introduce only sterile, newly opened needles to the client.
Green Soap, Wash Bottles, and Tattoo Rinse Protocols
How do you keep a tattoo clean and visible without damaging the skin you’re working on? You rely on green soap, wash bottles, and a solid rinse protocol.
1. Your Core Cleaning Setup
You keep green soap in a labeled wash bottle or squeeze bottle. You use it to remove oils and ink buildup without stripping the tissue barrier. You also keep spray bottles separate and clearly labeled for different fluids, so you don’t cross-contaminate green soap with alcohol/antiseptic.
2. Your Rinse Protocol
You follow a consistent rinse protocol: you rinse the area with sterile water into a dedicated rinse cup. You wash away excess pigment, which helps you maintain visibility. You use only sterile or distilled water, never tap water. You keep your rinse cup and bottles in a controlled, barrier-protected workflow.
3. Your Wipe/Rinse Technique
You wipe/rinse efficiently. You apply green soap, wipe clean, then rinse as needed. You avoid over-wiping, which reduces irritation and preserves line clarity.
Recommended Products

BULK SELF-STERILIZATION BAGS: PlastCare USA provides boxes of 200 pouches. These sterilizing bags keep teeth cleaning instruments and other dental tools sterilized until their next use. Keep your dental office or lab clean and sterile with these pouches.

BULK SELF-STERILIZATION BAGS: PlastCare USA provides 1 box of 200 pouches. These sterilizing bags keep teeth cleaning instruments and other dental tools sterilized until their next use. Keep your dental office or lab clean and sterile with these pouches.

Keep Clean: Suitable for steam and EO sterilization, the color-changing arrows indicate when sterilization is complete, keeping the instruments sterilized until next use
Aftercare Supplies and Client Take-Home Instructions
When a client walks out your door, your responsibility shifts from hands-on work to clear guidance they can follow without you. You equip them with Aftercare essentials, starting with a healing gel that protects, soothes, and moisturizes healing skin. You confirm they understand numbing doesn’t replace proper aftercare, and you stress safe tattoo handling throughout recovery.
Your client take-home instructions must be clear and specific. You tell them to clean and moisturize daily, and you warn against picking or over-washing. You help them avoid incompatible lotions that could irritate fresh ink.
- Healing gel: Studio-approved product for protection and moisture
- Instruction sheet: Step-by-step guidance for home care
- Reminder checklist: Application tips, warnings, and contact info
- Product timeline: When to start, continue, or stop specific items
Recommended Products

The Solution to Stubborn Grime: The Creworks 10L ultrasonic cleaner, equipped with 240W of power, a heater, a timer, and a digital control panel for effortless operation, is designed to restore delicate gun parts and heavy-duty auto & machine tools to a pristine condition.

Powerful Cleaning Effect: The machine possesses an ultrasonic cleaning frequency 40kHz, the most fittable frequency, with ultrasonic power of 60W. The scientific parameter design of frequency and power can effectively make your valuables and items clean as ever without any damage.
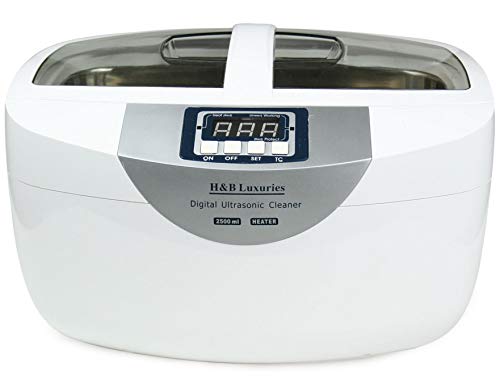
The ultrasonic cleaner with large & lengthened stainless steel tank -- Suitable for long and large items such as dental equipment and tube, gun parts and carburetor. Tank Capacity: 5.29 pints (2500 ml). Tank Size: 9.84" (L) x 5.90" (W) x 3.15" (H). 2.62" deep to max line (2100ml capacity to the Max mark). Strong plastic basket (material ABS 757) -- Better water-proof and drop-proof ability than metal.
How to Restock and Organize Your Tattoo Station
Because a disorganized station interrupts your flow and risks client safety, you’ll build restocking and organization into your routine before problems arise.
A disorganized station interrupts your flow and risks client safety—build restocking and organization into your routine before problems arise.
1. Rotate and Label Your Stock
Apply FIFO rotation to needles/cartridges and inks. Mark cartridge packs with sterilization dates, and check labels before grabbing supplies.
2. Restock Before You Run Low
Keep extra ink caps, barrier film, stencil primer/transfer gel, and gloves within reach. You’ll avoid mid-session scrambles.
3. Organize by Workflow Zones
Separate clean/sterile supplies from used tools and aftercare items. Group bottle types: green soap and alcohol stay in washer bottles, not spray bottles.
4. Check and Reorder Systematically
Run a pre-session checklist against your inventory list. Set reorder alerts for core items.
5. Inspect and Store Properly
Test new supplies before active use. Store inks at proper temperatures to maintain consistency.
Recommended Products

Spirit Tattoo Classic Thermal Transfer Paper, 8.5” X11” (100 Sheets): Established since 1946, the original and trusted choice of tattoo artists globally, offering reliability and consistency in tattoo stencil creation.
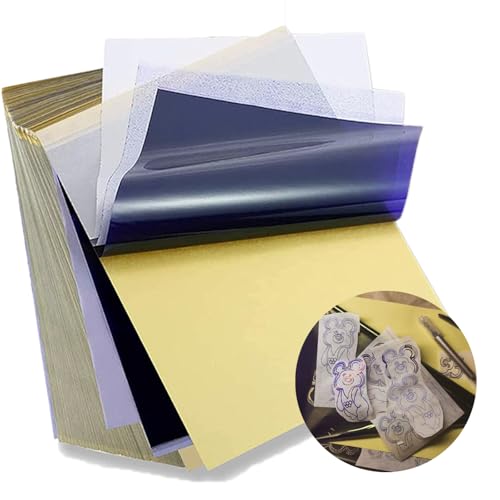
Standard size: Tattoo Transfer Paper is standard A4 paper size, each measures 8.27 in X 11.69 in. There are 4 levels in total. The thickness of the paper is very light and smooth to the touch.

Warm Tips: The tattoo transfer paper need to work with transfer medias.You will need to purchase the stencil ointment separately. Apply the design made on the master paper. Please pay attention to press the back side of the pattern to the skin for at least 3 seconds






