

Nearly 70% of people with visible scars have considered tattooing over them, but most never follow through because they do not know where to begin.
You are about to learn exactly how this process works, what determines success, and how to avoid the mistakes that leave people disappointed.
The steps are simpler than you might expect, but the details matter more than you might think.
Can Your Scar Actually Be Tattooed Over?
Why cover scars with tattoos? You change marks you’re self-conscious about into art you choose. But first, you need to know if your scar can actually take ink.
Transform the marks you hide into art that tells your story—if your skin is ready.
1. Timing Is Everything
You’ll get the best results when the scar is fully healed, usually 6 to 12 months after injury. If you rush, you’ll face problems. You shouldn’t tattoo over red, itchy, or sensitive skin. Your ink won’t settle properly, and you’ll get patchy, unreliable results. Wait it out.
2. Flat Versus Raised Scars
You’ll find flat scars tattoo more predictably. Raised scars, like hypertrophic or keloid types, need prep work first. You might need laser treatments or steroid injections before an artist can cover scars effectively.
3. What Professionals Assess
A skilled scar-cover specialist evaluates your scar type, texture, and healing stage. They’ll map your safest timeline and design approach.
Expect multiple sessions, since scar tissue absorbs ink unevenly and needs building up for smooth coverage.
Recommended Products

Package includes 3 pairs of tattoo cover sleeves, black, grey, nude color. Tattoo cover sleeves are available in a variety of colors and quantities, which can be used and replaced in your daily life.

CUSTOMIZABLE SKIN MANAGEMENT ROLL: Kothrain Scar Sheets feature a versatile 1.6" x 60" design that adapts to all your length requirements. This silicone scar tape can be cut effortlessly into one continuous long strip or multiple small sections for targeted areas, allowing you to maximize your supply with minimal waste.
How Scar Texture Affects Your Cover-Up Options
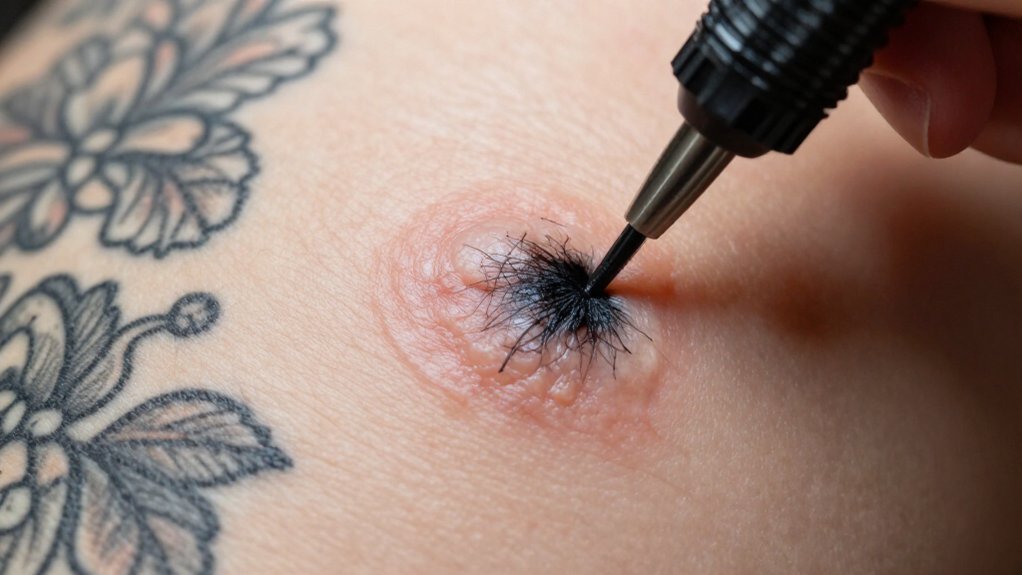
Because scar tissue doesn’t behave like normal skin, you’ll need to match your tattoo approach to what you’re actually working with. Scar texture strongly affects ink uptake, and uneven roughness often causes patchiness that makes the scar’s shape and bumps more noticeable.
Raised scars, including hypertrophic or keloid types, generally need flattening first, often via lasers and anti-inflammatory steroid injections, because covering raised texture directly tends to be unreliable.
When scars compared to normal skin show uneven surfaces, organic textured tattoo approaches usually work better than heavy linework, since bold straight lines can look distorted and highlight texture. Darker colours, intricate patterning, and well-planned shading better disguise discolouration and subtle variation, while black-and-grey alone may reveal underlying contour.
Account for scar thickness and sensitivity, since damaged tissue requires slower work to avoid irritation and improve saturation consistency.
Recommended Products
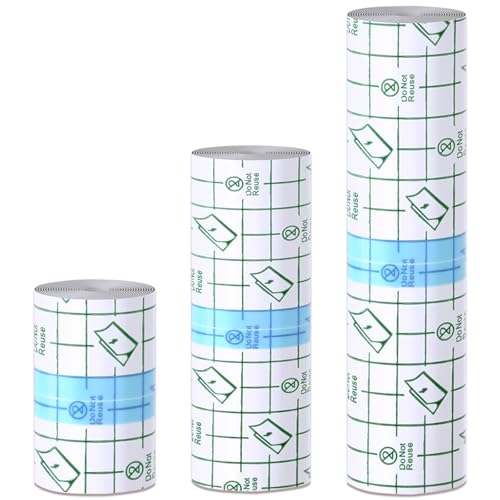
Triple-Size Value Pack for Every Tattoo Style - Get 3 full rolls of premium second skin tattoo cover (2" x 2.2 Yd, 4" x 2.2 Yd, 6" x 2.2 Yd) - sized for wrist art, back pieces, or sleeve designs. The tattoo aftercare bandage can be cut freely to match any ink!

WHAT IS PAMIOU TATTOO AFTERCARE FILM? - The second skin tattoo cover is design of three-layer: Composed of PU film, PE protective layer and the release paper. It can be used to lock the tattoo ink, protect your tattooed skin.
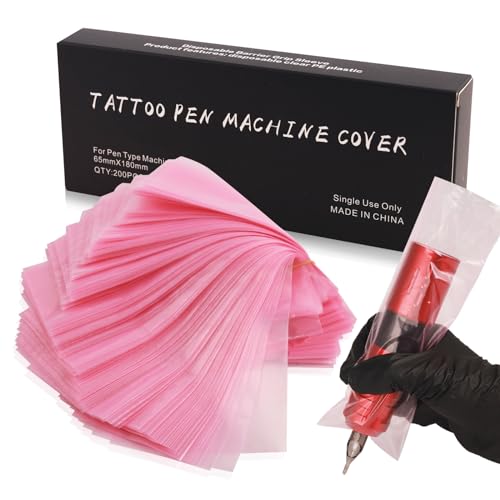
✅Hygienic Protection & Large Quantity - 200 disposable tattoo pen covers ensure a clean environment. Size ~2.5x7.1in (6.5x18cm), fits most standard rotary pens. Shields grip and machine from ink splatter and contamination.
Which Designs Work Best for Different Scar Types
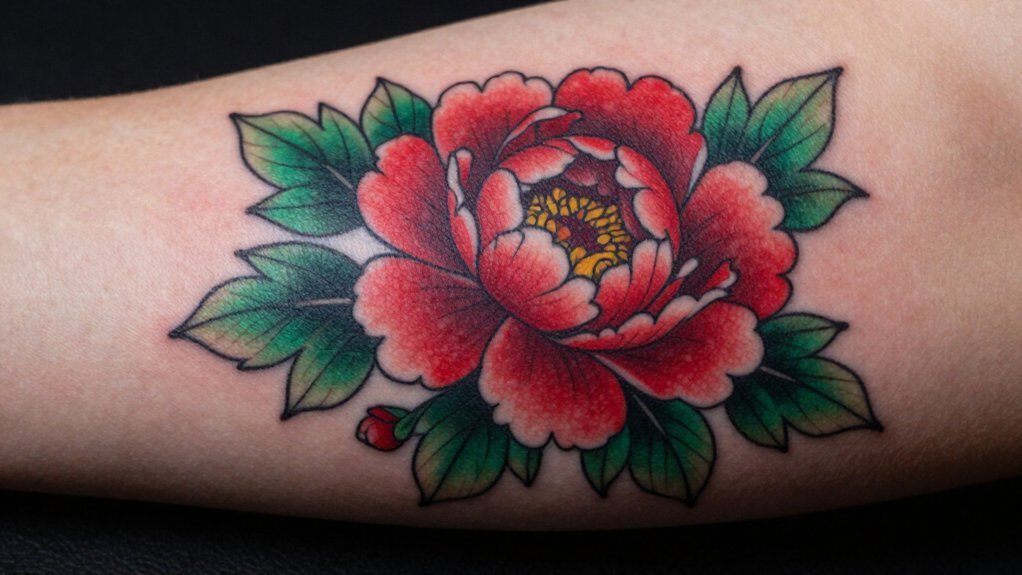
Your scar’s texture and type will guide your design choice more than personal preference alone. Flat white or pink scars generally take ink better than raised scars, so you’ll want designs that blend smoothly with your skin’s surface.
1. Flat Scars: Flexible Options
Organic, flowing patterns work best, as they follow the scar’s direction naturally. Avoid heavy linework, which can emphasize irregularities.
2. Raised or Keloid Scars: Special Considerations
You’ll likely need flattening treatments first, such as laser therapy or steroid injections. Tattoo artists typically recommend waiting until the scar stabilizes. Darker colors and intricate patterns disguise discoloration better than black-and-grey shading, which can turn patchy over scar tissue.
3. Planning Your Sessions
Expect 1 to 4 sessions for full coverage, since scar tissue holds ink unpredictably. Discuss design adaptability with your tattoo artist before committing.
Recommended Products

RICH TEMPORARY TATTOO KIT - Contains rich tattoos pattern templates (126 designs),6 tattoo inks in 2 colors (black and brown),4 disposable gloves 1 pack of cleaning supplies,allowing you to easily create unique personalized tattoos
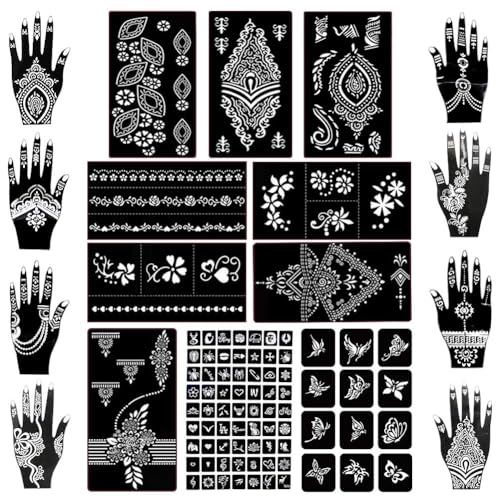
97 HENNA TATTOO DESIGNS IN 18 SHEETS:Includes 8 hand stencils, 8 rectangle flower pattern sheets, and 2 small pattern sheets. Features butterflies, flowers, roses, mandalas, paisley, and traditional Indian/Arabian mehndi designs. Perfect for creating stunning body art for weddings, festivals, and summer celebrations.

The stencils can be applied with henna paste, temporary tattoo inks, glitters, tattoo markers and airbrushes to make tattoos.
How to Find Artists Specializing in Scar Cover-Up Tattoos
Finding the right artist for scar cover-up work requires more than browsing portfolios for appealing designs. You need a tattoo artist who explicitly advertises Covering Scars, with substantial experience, since scar tissue demands different planning and technique than standard tattooing.
Scar cover-up work demands more than appealing designs—it requires an artist with explicit expertise in tattooing scar tissue.
During your consultation, ask the artist to assess your scar type. Flat, white-pink scars differ from raised hypertrophic, keloid, or uneven textures, and some scars need flattening treatments before tattooing begins.
You should also confirm these key points:
- Verify the artist has 25+ years of experience specifically with scar cover-up work
- Ask how they’ll design around your scar’s flow and unpredictability, since ink may spread unevenly and need multiple sessions
- Avoid artists pushing heavy linework or black-and-grey shading, and seek organic, textured approaches instead
- Confirm they’ll tailor aftercare for sensitive scar tissue, including session limits, sun protection, and preventing picking
Recommended Products

Strong Coverage: This tattoo cover up provides strong coverage for tattoos, blemishes, scars, birthmarks, and burn marks. It helps create a smoother, more even-looking skin tone with a natural finish.
What Happens in Scar Cover-Up Tattoo Sessions
You’ll start by mapping the scar’s texture and flow with your artist, who adapts the design freehand to fit uneven areas. Then you’ll space sessions 4–8 weeks apart so the skin settles and accepts ink properly.
Between appointments, you’ll keep the area moisturized with fragrance-free lotion, avoid sun exposure, and watch for lingering redness or sensitivity that could delay your next sitting. Your artist will track healing progress, adjust saturation levels, and schedule follow-ups until the cover-up blends smoothly and holds color evenly.
Recommended Products

◈ Premium Value Set - Get 2 rolls of professional tattoo aftercare bandage (6"x2 Yard each), totaling 4 yards. Easily cut to fit large tattoos, saving frequent repurchases. Ideal for all body areas.

LARGE SIZE AND QUANTITY: The tattoo pen machine covers size is 2.7 inch X 7.5 inch (70mm X 190mm). Suit for wireless tattoo machine pen, big size pen type machine.

【Practical Function】The tattoo cartridge machine covers PLUS size is excellent for extra protection in keeping tattoo pen and grips clean. Pen covers can help keep the safe working environment and prevent other adverse effects.
Session Planning Steps
Because scar tissue behaves differently from healthy skin, your artist will begin by mapping a design that follows, rather than hides, your scar’s natural flow. You’ll collaborate on adjustments until the fit feels right, using freehand placement to cover the scar with confidence.
Before getting a tattoo, confirm your scar is fully healed. Look for reduced redness, sensitivity, dryness, and itchiness. If you’re unsure, consult a surgeon first.
Your artist will limit the session to avoid overworking delicate tissue. Heavy coverage often needs multiple visits for smooth, even saturation.
Technical choices matter for your scar’s surface:
- Organic, textured shading usually works better than heavy linework
- Black-and-grey may underperform if it can’t mask uneven texture
- Patchy results can occur with poor technique choices
- Topical anaesthetics help you tolerate longer, detail-focused sessions
Healing Between Sessions
Once your artist finishes a session, your scar enters a critical recovery phase that determines how well the next sitting will take. You must let the area fully heal before continuing your body art.
1. Wait for Complete Healing
Your scar must show no redness, sensitivity, dryness, or itchiness. Tattooing too early causes unsuccessful results and further skin damage.
2. Understand Why Multiple Sessions Are Necessary
Artists avoid overworking delicate scar tissue in one sitting. Uneven texture affects ink uptake, so you’ll likely need 1–4 sessions total for complex scars with tattoos. Sometimes ink spreads heavily; other times, you’ll need follow-up work for smooth, full saturation.
3. Practice Proper Aftercare
- Keep the area clean and moisturized
- Protect it from direct sunlight
- Never pick scabs
This recovery routine helps your skin heal between sittings, so your next session improves coverage. Your artist will also adjust technique for unpredictable scar behavior, such as contour bumps that distort lines and pigment.
How to Protect Your Scar Cover-Up Tattoo From Fading
Protecting your scar cover-up tattoo from fading requires consistent, mindful care that starts the moment you leave the studio and continues for years. You invested time and money into turning your scars into art, so you’ll want to preserve that tattoo’s vibrancy.
Follow these essential practices:
- Shield healed work from direct sunlight using clothing or high-SPF sunscreen, since UV exposure fades ink and diminishes camouflage effects
- Wash gently, moisturize regularly, and protect from irritation to support even ink uptake and prevent patchiness
- Resist picking scabs or scratching during healing, as disruption causes uneven pigment loss that reveals scar texture
- Wear loose clothing to minimize friction, because rubbing irritates delicate skin and accelerates fading
Be prepared that scar tissue accepts ink unevenly, so multiple sessions may be needed for smooth, lasting saturation.
Recommended Products

TATTOO COVER UP: Specially designed patch to conceal tattoos discreetly, ideal for tattoo enthusiasts seeking temporary coverage.

What You Get - The tattoo aftercare bandage totall 4.4 yard (6" x 4.4 Yard), you will get tattoo aftercare bandage, the size is 6" x 4.4 Yard. You will the tattoo supplies is best combination of with guaranteed quality. According to the size of the tattoo area, the shape can be freely cut, and it is suitable for all kinds of large-area new tattoos






