

Like the myth of Icarus, a moment’s carelessness with sharp objects can bring consequences you’d never anticipate.
You’re handling tools that pierce skin and carry biological risk, so proper disposal isn’t optional; it’s your professional duty.
This guide walks you through each step, from container selection to final drop-off, so you protect yourself, your clients, and your community without guesswork or stress.
Avoid These Dangerous Tattoo Needle Disposal Mistakes
Although tattooing involves artistic expression, the aftermath requires strict safety protocols. You must never toss tattoo needles, lancets, or other sharp components into household trash or recycling bins. These items puncture waste handlers and aren’t recyclable.
Tattooing is art; sharps disposal is serious business. Never mix needles with household trash.
1. Don’t Use Weak Containers
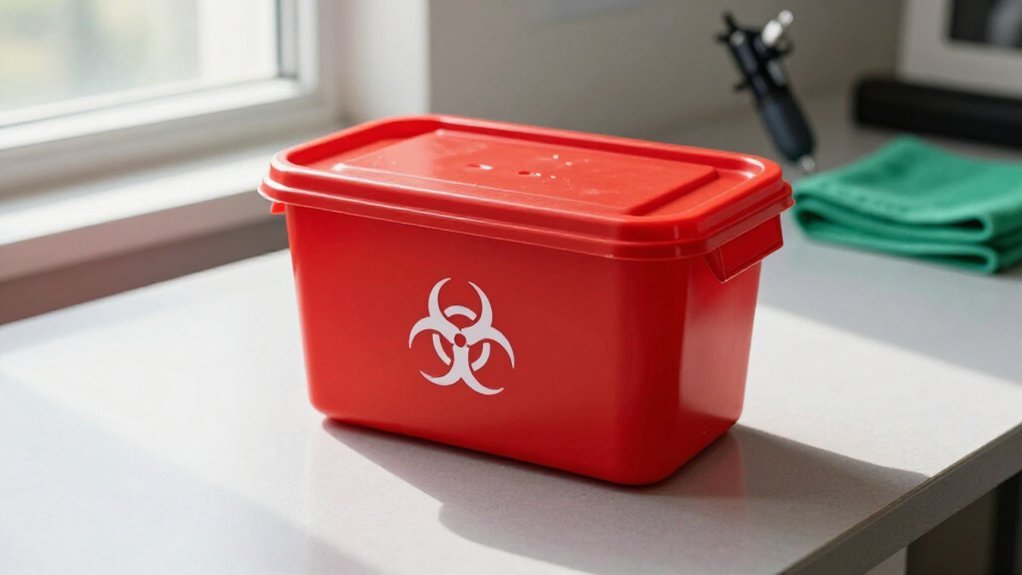
You can’t rely on soft or thin containers, like plastic milk jugs. Needles poke through these easily. Instead, you select a rigid, leak-proof, puncture-resistant sharps disposal container with a tight-fitting lid. You label it “SHARPS” on all sides.
2. Don’t Delay Disposal
You place used needles into the sharps disposal container immediately after use. Waiting increases your risk of accidental needle sticks.
3. Don’t Overfill
You replace the container when it’s about 3/4 full. This prevents needles from sticking out.
4. Don’t Improvise Mail-Back Steps
Used sharps safely dispose of used sharps only when you follow your program’s exact manufacturer instructions. Safely disposing requires precision, not guesswork.
Recommended Products

DURABLE AND HIGH QUALITY – The durable and high-quality sharps container is constructed of puncture and impact resistant material.

Versatile Use: 1 Quart sharps disposal container for home use, hospitals, labs, and EMS; holds needles, lancets, and injector pens.

DURABLE AND HIGH QUALITY – The durable and high-quality sharps container is constructed of puncture and impact resistant material.
Choose a Puncture-Proof Sharps Container for Your Setup
Position Your Container Properly
Keep it upright, stable, and at a convenient height near your workstation. You’ll reach it easily when you recap and discard.
Know When to Stop
Do not overfill. Stop when the container reaches three-quarters full, reducing your risk of accidental needle sticks.
Emergency Alternatives
If commercial options aren’t available, use a heavy-duty plastic household container with a tight, puncture-resistant lid. Never use thin plastic like milk jugs. Prioritize Safe Needle Disposal every time.
Recommended Products

Versatile Use: 1 Gallon sharps disposal container for home use, hospitals, labs, and EMS; holds needles, lancets, and injector pens.

Versatile Use: 5 Quart sharps disposal container for home use, hospitals, labs, and EMS; holds needles, lancets, and injector pens.

DURABLE AND HIGH QUALITY – The durable and high-quality sharps container is constructed of puncture and impact resistant material.
Dispose of Tattoo Needles Immediately After Every Use
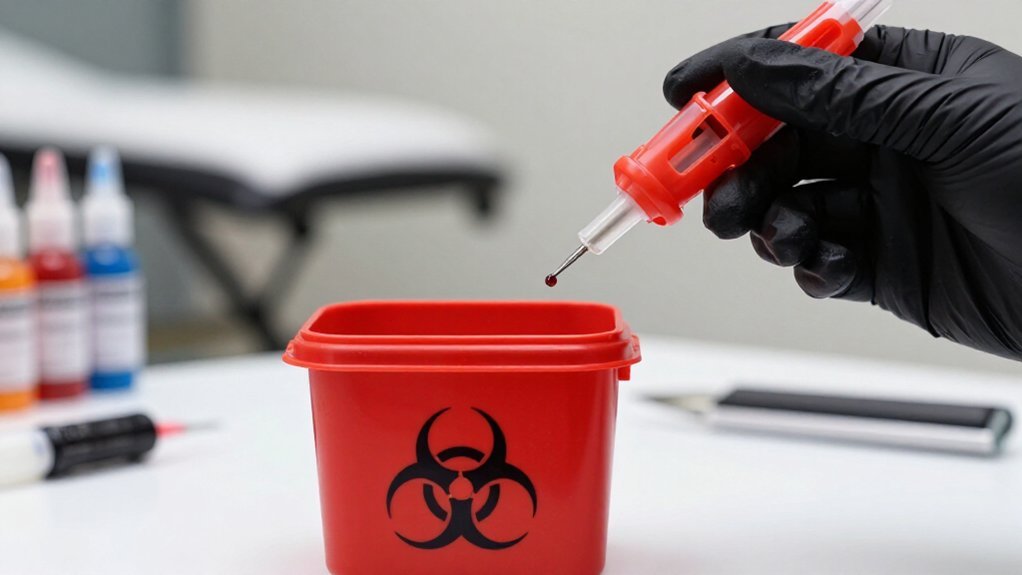
Once your container is positioned and ready, you’re set to build safe disposal habits. You must dispose of used sharps immediately after every tattoo session to protect yourself and others from needlestick injuries.
Build the Habit
Place your container within arm’s reach at a convenient height. You’ll drop needles and other sharps directly into the bin without pausing. Never set medical sharps on counters or trays, even briefly. You must safely dispose of used items the moment they leave the skin.
Drop used needles directly into the bin—never pause, never set them down, dispose the instant they leave the skin.
Secure Your Container
Keep the lid closed tightly when you’re not actively adding sharps. This prevents needles from falling out or puncturing someone. Don’t overfill; stop at three-quarters full to avoid dangerous spills.
Never toss tattoo needles into regular trash or recycling. Use only approved community drop-off or mail-back programs when your container is ready.
Recommended Products

Pack of 2 containers. Horizontal drop provides easy access to the large counter balanced opening (8.5"x 1.7"). This self-closing door is 33% larger than comparable products

DURABLE AND HIGH QUALITY – The durable and high-quality sharps container is constructed of puncture and impact resistant material.
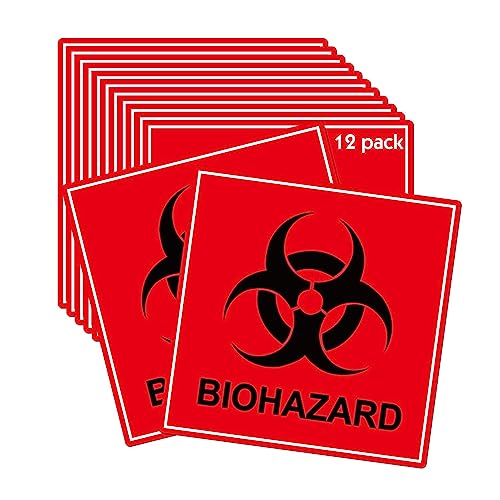
Clearly mark hazardous biological waste, medical waste containers, test kits, and sharp disposal boxes with internationally recognized biohazard symbol. Essential for hospitals, clinics, laboratories, and research facilities requiring OSHA-compliant safety labeling.
Know When Your Sharps Container Is Full Enough
You’ll want to stop adding tattoo needles once your container hits about three-quarters full, or whichever fill line the manufacturer marked. Overfilling squeezes sharps toward the lid and sides, which raises your risk of an accidental needlestick.
Watch the fill level through the container wall without touching anything inside, and switch to a new container promptly when you hit that limit.
Recommended Products

SAFE SHARPS DISPOSAL – A sharps container is a medical storage box for collecting, storing, and disposing of used sharp medical supplies such as syringes, lancets, catheters, needles, blades, etc.

Versatile Use: 1 Quart sharps disposal container for home use, hospitals, labs, and EMS; holds needles, lancets, and injector pens.

Dispose Of Used Sharps Safely - Use these needle disposal containers for the safe disposal of used sharps. Properly throw out syringes, lancets or finger sticks, auto-injectors, pen needles, and blades.
Fill Level Indicators
Because a sharps container can become hazardous when packed too tightly, you’ll want to stop filling it at about three-quarters full. Most Safe Sharps containers include a visible fill line, so you can check status without touching the opening area.
- Locate the line: Find the marked level on your container, usually near the top rim.
- Monitor regularly: Glance at the fill status after each session to avoid surprises.
- Plan ahead: As you approach the limit, prepare to Dispose of Used Containers through local drop-off sites or approved mail-back programs.
Never overfill. Packed sharps create puncture risks during closing, transport, or disposal. Follow community guidelines and manufacturer instructions for your specific kit.
Three-Quarters Capacity Rule
The three-quarters capacity rule keeps you and others safe from needle-stick injuries during every stage of sharps disposal. Fill your sharps container only to 3/4 full capacity, since exceeding this line raises your risk of needle-stick injury when you close, move, or handle the container.
Monitor Without Touching
Use your container’s fill-status indicator or design. You’ll judge capacity without touching contents, cutting handling risks.
Know When to Stop
Once you hit 3/4 full capacity, stop adding tattoo needles. Follow your local community disposal rules for the sharps container.
Position Wisely, Watch Closely
Keep Proper Sharps containers close to your work point. This prevents carrying loose needles around your workspace. Monitor fill level carefully so you don’t overfill.
Switch Early if Needed
If you need a new container before reaching 3/4 full capacity, switch early. Overfilled containers seal poorly, leak, and puncture more easily.
Overfill Prevention Risks
While the three-quarters rule gives you a clear stopping point, recognizing the risks of pushing past that limit reinforces why the guideline exists. You must prevent overfill in your sharps container, or you risk serious consequences during handling and transport.
- Needle-stick injuries spike dramatically when containers bulge beyond capacity, exposing you to bloodborne pathogens through accidental punctures.
- Safe disposal becomes impossible because overfilled bins cannot close properly, violating regulations and endangering waste workers.
- Structural failure threatens as stressed plastic cracks or lids pop open, scattering contaminated needles across your workspace.
You can avoid these dangers by choosing transparent containers, so you monitor fill levels without touching contents. Keep your sharps container upright in a secure location, preventing accidental bumps that compress materials upward.
When you hit that three-quarters mark, stop immediately and arrange pickup per local guidelines.
Seal, Label, and Store Your Container Safely
Once your container reaches the proper fill level, you’ll need to secure it completely before labeling. Tape the lid shut with heavy-duty adhesive if the closure feels loose, and then mark every visible side with bold letters reading “SHARPS” so anyone handling it understands the risk immediately.
These two steps, proper sealing and clear warning labels, form your first line of defense against accidental exposure.
Recommended Products

It is very suitable for pocket, wallet and carry on. Each sharp container can hold 26 used pen needles, as well as blood pricking needles and strips for diabetes patients. It provides a worry free way to deal with used medical waste

USA MADE - CDC Approved -Sharps Container from Oakridge Products Features a Simple to Operate POP-UP lid Easy to Open to Dispose of Waste

Durable and Reliable: Crafted from tough, puncture-resistant, and leak-proof material, this small sharps container ensures reliable protection and secure containment of medical sharps, including insulin pen needles, lancets, and test strips. Properly labeled needle disposal container for biohazard disposal for safety and compliance.
Proper Sealing Methods
Inside your workspace, you’ll seal used needles using a rigid, puncture-resistant container with a tight-fitting lid, which prevents sharps from escaping through the top. Tape the lid securely with heavy-duty tape to prevent leakage or accidental opening during storage and transport. You’ll stop filling when the container reaches about 3/4 full, then seal it completely.
Key Steps for Sealing:
- Choose rigid, puncture-resistant Containers designed specifically for disposing of sharps, not flimsy plastic bottles
- Secure Used needles immediately after use, never leaving them exposed on work surfaces
- Apply heavy-duty tape around the lid seam to lock it during Disposal transport and storage
Store your sealed container upright and stable, out of reach of children and pets, until you can transport it to an approved facility.
Clear Warning Labels
Why risk accidental exposure when a simple label can help protect everyone who handles your container? Proper disposal of tattoo needles and syringes requires clear warnings that anyone can recognize instantly.
1. Label Your Container
Grab a marker and write “SHARPS” in large block letters on all sides of your rigid, puncture-resistant container. This signals sharp points or edges inside. You’re creating a safety barrier for family, coworkers, and waste handlers who might otherwise grab the bin without thinking.
2. Seal It Tight
Follow the manufacturer’s instructions to lock the lid completely. Use any provided seal mechanism.
3. Store Strategically
Keep the container upright, stable, and out of reach from children and pets. Don’t overfill, stop at ¾ full. Ensure your “SHARPS” label stays visible during storage and transport.
Your vigilance protects everyone in the health care chain.
Find Local Drop-Off Sites for Tattoo Sharps Disposal
Where exactly can you take used tattoo needles when your sharps container fills up? You start by contacting your local health department, or checking city and county trash services, to confirm which facilities accept tattoo sharps as medical waste in your area. You can also search SafeNeedleDisposal.org by ZIP code, filtering by distance, to find supervised collection points where you can drop off needles safely.
Common Drop-Off Locations
- Hospitals and pharmacies: Many accept sealed sharps containers at staffed collection sites.
- Doctors’ offices and medical waste facilities: These often provide disposal services for small generators.
- Household hazardous waste programs: Some HHW sites accept used sharps containers, so verify locally.
If options remain limited, you’ll need alternative solutions, but exhaust local resources first.
Recommended Products

DURABLE AND HIGH QUALITY – The durable and high-quality sharps container is constructed of puncture and impact resistant material.

【Durable and High Quality】: Made of puncture resistant and impact resistant materials, this sturdy sharp tool container is durable and of high quality.
Use Mail-Back Programs When Local Options Aren’t Available
When local drop-off sites aren’t accessible, you can turn to FDA-cleared mail-back sharps disposal programs as a reliable alternative. These programs ship you a container, which you’ll return once it’s about 3/4 full.
FDA-cleared mail-back programs ship you a sharps container filled and returned at 3/4 capacity when local drop-off sites aren’t available.
How to Use a Mail-Back Program
- Request an FDA-cleared container. Confirm pricing first, since most programs charge fees based on container size.
- Fill the container properly. Place needles only in the rigid, leak-proof, puncture-resistant container. Never put sharps in regular trash or recycling.
- Follow instructions exactly. Some programs require specific labeling, packaging, and return documentation.
- Mail it back. Use the prepaid shipping label when your container reaches 3/4 capacity.
If no mail-back program serves your area, contact your local health department. They can direct you to household hazardous waste collections or special pickup services for sharps disposal.
Recommended Products

Versatile Use: 2 Quart sharps disposal container for home use, hospitals, labs, and EMS; holds needles, lancets, and injector pens.

USA MADE - CDC APPROVED - Sharps Containers from Oakridge Products Feature a Simple to Operate POP-UP lid Easy to Open to Dispose of Waste

Simple, one-handed operation opens and closes the 1 quart disposal opening.?
Check Your State’s Tattoo Needle Disposal Requirements
Once you’ve secured a disposal method that works for your situation, you’ll need to confirm it actually complies with your state’s rules. Start by contacting your local Health department, since tattoo sharps disposal regulations vary significantly by location. They’ll direct you to the specific guidelines governing safe, medical-grade needle disposal in your area.
Most states mandate rigid, puncture-resistant containers with tight-fitting lids for disposing of tattoo needles. Never place used needles in regular trash or recycling, as this creates serious public health hazards.
Key Steps to Verify Compliance:
- Check your state’s “fill level” rule, commonly requiring you to stop at three-quarters full to prevent needle-stick injuries and container rupture.
- Confirm whether your state permits drop boxes at hospitals, pharmacies, or medical waste facilities.
- Validate that any mail-back or pickup programs meet manufacturer labeling and shipping requirements.
Recommended Products
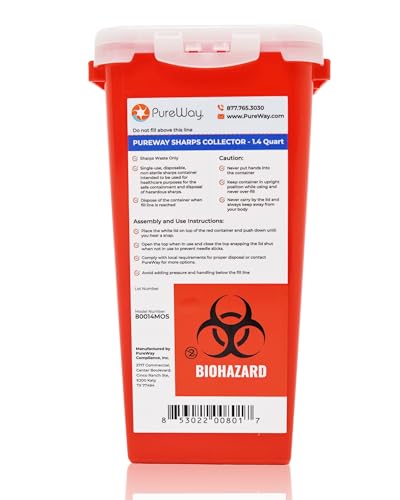
PREPAID RETURN & COMPLETE DISPOSAL – Sharps container mail back kit includes a 1.4 Quart sharps disposal container, prepaid return label, compliance tracking, and certificate of destruction — safe solution for used needle disposal at home or clinics

SELF CLOSING ROTATING DOOR (8.5 inch by 2 inch) - is counter balanced is designed for touchfree disposal. Just drop needle into the lid and will it will safely rotate, drop the waste and return to open position.






