

You just got your baby tattoo, and you’re staring at the wrap wondering what comes next. The first 30 days determine how your ink ages for years. You’ll need to navigate plasma oozing, intense itching, and invisible sun damage that can blur fine lines.
Most people guess their way through and regret it later. Here’s exactly what to do, step by step, so your tattoo heals crisp and clean.
Day 1 Tattoo Aftercare: Remove the Wrap, Wash, and Apply First Ointment
Start your aftercare by keeping the studio wrap in place for about two hours after you leave the chair. You’re beginning day 1 of your tattoo healing, so patience matters.
1. Remove the wrap properly. Wash your hands thoroughly with anti-bacterial soap before you touch anything. Gently peel off the studio wrap or second-skin bandage. Don’t rush this step.
2. Clean the tattoo. Use lukewarm water and mild, fragrance-free soap. Avoid hot water, and don’t scrub or rub the area. Pat dry with a clean paper towel, no rubbing. Let it air dry for one to two minutes.
3. Apply first ointment. Aftercare works best when the skin is fully dry. Apply a thin layer of petroleum jelly-based ointment, typically A&D Original for the first day or two. Don’t re-bandage unless your artist instructs otherwise.
Expect normal redness, soreness, and weeping today. You won’t apply sunscreen until healing completes.
Recommended Products

Protect Your Body Art: Moisturizing with the bonus of itch relief! Tattoo Goo's Tattoo Care Lotion soothes healing skin & keeps healed ink looking sharp for life. With olive oil & glycerin, it delivers deep, breathable hydration that won’t clog pores

Nourishes Healing Ink for Vibrant Color: Tattoo Goo supports healing tattoos & maintains vibrancy on healed ink with a lightweight formula rich in olive oil, lavender oil, cocoa butter, and beeswax. It absorbs quickly, moisturizes deeply, and helps reduce dryness, itch and tightness so your tattoo looks and feels comfortable through everyday routines

Nourishes Healing Ink for Vibrant Color: Tattoo Goo supports healing tattoos & maintains vibrancy on healed ink with a lightweight formula rich in olive oil, lavender oil, cocoa butter, and beeswax. It absorbs quickly, moisturizes deeply, and helps reduce dryness, itch and tightness so your tattoo looks and feels comfortable through everyday routines
Days 2–5 of Tattoo Healing: Manage Plasma, Scabbing, and Early Peeling
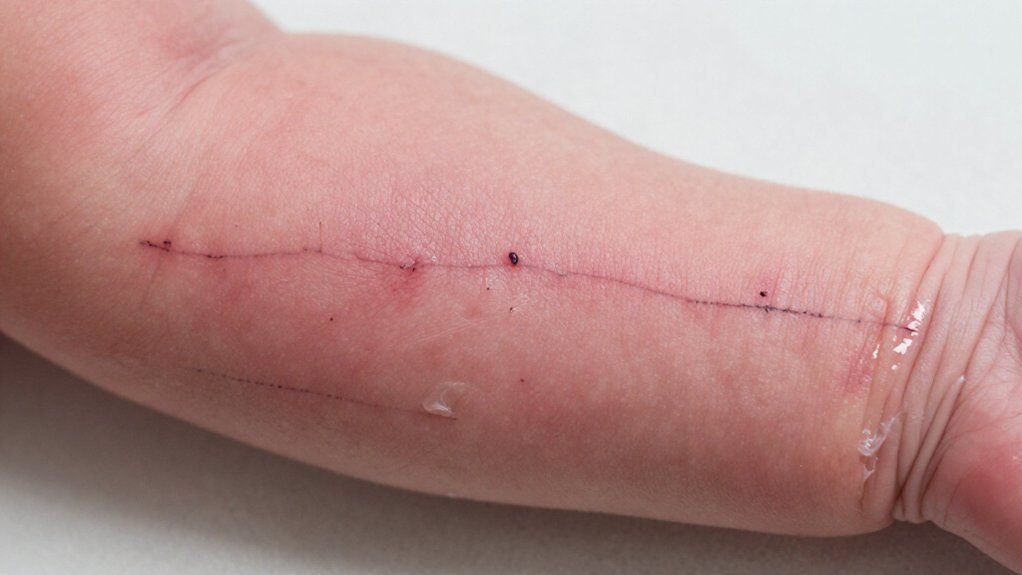
Although your tattoo won’t look as fresh as it did yesterday, you’re entering a critical phase where your skin begins its real work. Plasma and excess ink rise to the surface during Days 2–3, so you wash the tattooed area gently with lukewarm water and fragrance-free soap. Scabbing starts as the ink settles, forming a protective layer you must not pick.
If you used a second-skin bandage, it lifts now; remove it per your aftercare instructions. Early peeling begins around Days 3–5, resembling sunburn flakes. You apply a thin layer of approved lotion 3–4 times daily, keeping the skin lightly moist without caking.
- Wash gently twice daily to remove plasma and prevent thick scabbing.
- Pat dry completely before you apply any aftercare product.
- Resist scratching; let scabs protect the healing ink underneath.
Recommended Products

Gentle, Deep Cleansing: Tattoo Goo Foaming Cleansing Soap for tattoos and piercings helps remove impurities and clean the inked or pierced areas at a deep level by removing dirt, dead skin cells, and killing germs without damaging the skin

GENTLY CLEANSES NEW TATTOOS - Use Repair Tattoo Wash during the healing process to keep your fresh tattoo ink clean or as a perfect prep wash before and after tattooing.

PERFECT FOR THE TATTOO ARTIST AND COLLECTOR – Whoever you are, you want to make your tattoo aftercare experience convenient and effortless. This soap ensures the tattoo always leaves the shop or house sanitized and moisturized.
Days 6–10: Relieve Peak Itching Without Scratching or Picking
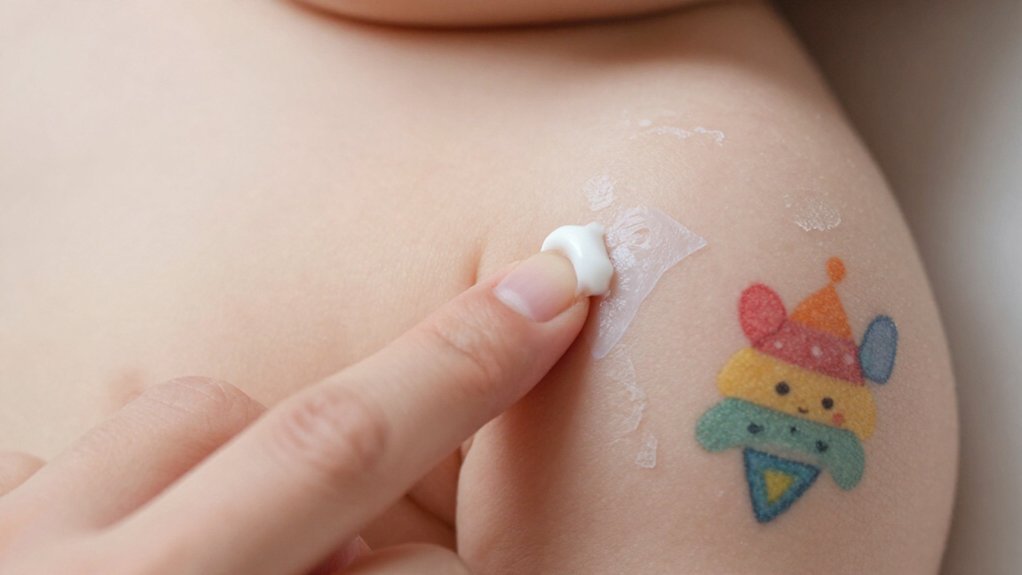
Brace yourself: Days 6–10 bring the itch you’ve been dreading.
Days after getting your ink, regeneration kicks in beneath the surface. This makes the healing process feel maddening, but you’re caring for your tattoo correctly when you resist the urge.
Regeneration kicks in beneath the surface, making healing feel maddening—but resisting the urge means you’re caring for your tattoo correctly.
How to Handle the Peak Itch
First, you pat, never scratch. You use clean hands to tap the area lightly when itching spikes. You wash with fragrance-free soap, then pat dry completely.
You apply a thin layer of fragrance-free, alcohol-free moisturizer three to four times daily. You stop if skin turns shiny or tacky.
Dead skin and scabs lift now. You let flakes fall naturally. You don’t pick at the scabs, rub harshly, or expose fresh skin to direct sunlight.
Healing demands patience, not perfection.
Recommended Products

TATTOO AFTERCARE ESSENTIAL: Hustle Butter is the original tattoo aftercare balm for new and older tattoos. With over 10 years in the market, we are a pioneer of the tattoo aftercare category.

Tattoo Aftercare Daily Lotion: gives your tattoos the everyday care they deserve to keep your artwork looking fresh. Formulated to provide deep hydration and leave skin feeling soft and smooth. Rejuvenates your artwork and moisturizes skin.

FRAGRANCE FREE TATTOO AFTERCARE FOR SENSITIVE SKIN - The same #1 artist recommended Hustle Butter formula, now with no added fragrance, dyes, or parabens. The unscented tattoo lotion of choice for sensitive or easily irritated skin.
Days 11–14: Watch Your Tattoo’s True Color Emerge
By the second week, you’re nearly through the surface healing phase. Your tattoo healing enters a revealing stage as light scabbing and excess ink finish clearing away.
This Day by Day Guide shows what’s normal; your new skin may look dull or slightly blurry before the true color emerges. Weeks after getting inked, that dead top layer sheds to expose sharper detail beneath. You might notice one last round of flaking, especially where clothing rubs.
Keep up your care for your tattoo with these priorities:
- Moisturize gently using fragrance-free, alcohol-free lotion to calm lingering itch without scratching
- Pat, don’t rub when applying product to protect fragile new skin
- Avoid UV rays completely; your tattoo remains highly photosensitive now
Watch for warning signs: spreading redness, heat, swelling, pus, or fever mean you should contact your artist and seek medical care, not wait.
Recommended Products
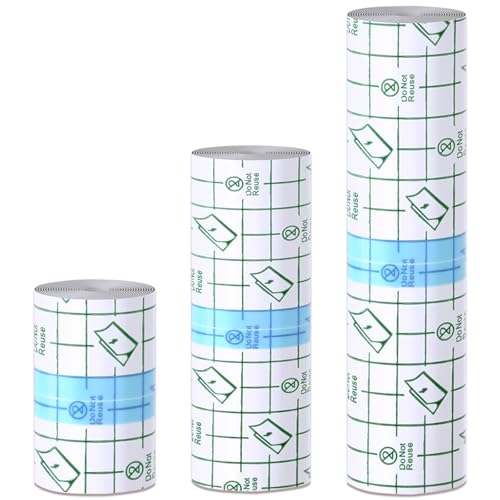
Triple-Size Value Pack for Every Tattoo Style - Get 3 full rolls of premium second skin tattoo cover (2" x 2.2 Yd, 4" x 2.2 Yd, 6" x 2.2 Yd) - sized for wrist art, back pieces, or sleeve designs. The tattoo aftercare bandage can be cut freely to match any ink!

Widely Used: Our tattoo film has grid lines on the backing paper, which can be cut into different sizes according to requirements. The size of the film is 6 inches x 8 yards, including 3 layers, namely PET backing, PU film and release paper. Soft and stretchable, which makes it fit perfectly anywhere in the body

✡Various Purpose - Care for all types of wounds; Waterproof cover; Fixed dressing; Tattoo aftercare. It can help lock in the color, protect your tattooed skin, and reduce scabbing when you wash or moisturize your tattoo, quickly form a protective film then accelerate your recovery
Days 15–30: Complete Healing and When to Resume Swimming, Sun, and Exercise
Into the third and fourth weeks, your tattoo’s surface is nearly mended, and you’ll notice the heavy flaking has mostly stopped. Days 15–30 mark the final stretch of visible healing, though deeper layers still recover for months.
Keep moisturizing lightly, and follow your artist’s plan so new skin fully recovers through the month. You can resume swimming only after shedding stops, typically at 3–4 weeks, to avoid bacteria. Skip hot tubs longer.
Restart exercise gradually, but avoid excessive sweating and friction until fully healed. Make sure you continue avoiding direct sun exposure until healing completes, then use SPF to prevent fading.
Unlike the first few days, you no longer keep the dressing, but still cleanse the area gently, pat dry, and protect the surface for the first month.
Recommended Products
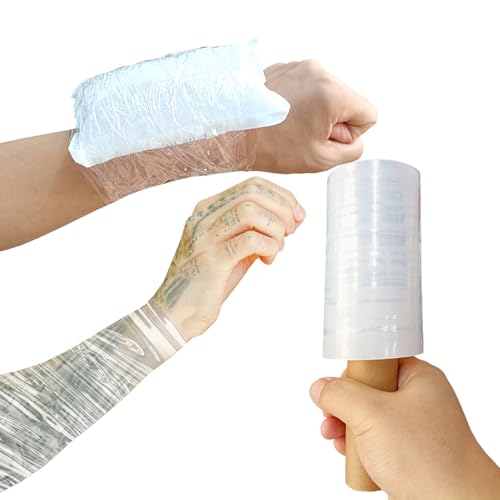
Plastic Wrap for Tattoo - The Tattoo plastic wrap can keep the tattoo clean and dry,effectively isolate dust and water.
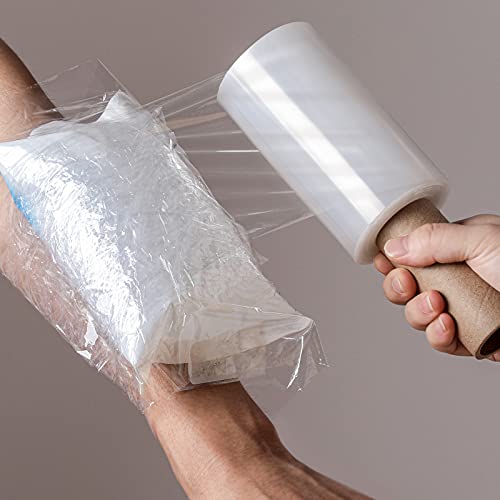
Package content: receive a roll of film with handle, measuring approx. 12 cm/ 5 inches in width and 150m/ 500 feet in length, which can easily meet your daily usage

Professional Eyebrow Tattoo Plastic Wrap: This eyebrow tattoo saran wrap set comes in good toughness, it helps increase the effectiveness of the numbing cream, and the side openings design make it easier to take the cling film out.






